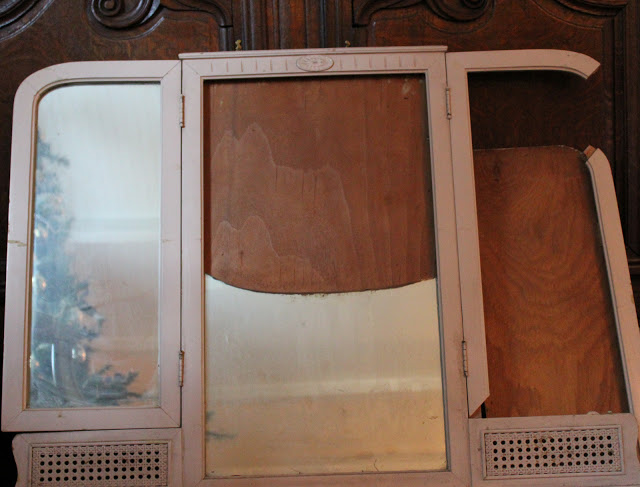
The other day I shared the vintage vanity mirror
that got a new lease on life with a pin board center.
In case you missed the post
this is a vintage vanity frame that I found at the Re-Store
with broken glass and a broken frame
I loved it nonetheless…
and had an idea about just what this little vanity mirror could be.
This project is super simple to do.
Here’s where I started.
Don’t forger to grab your supplies
Glue
Cork squares
Fabric
You will also need thick gloves, a hammer and possibly some little nails to reattach
and fix up the backing and a paint brush for applying glue
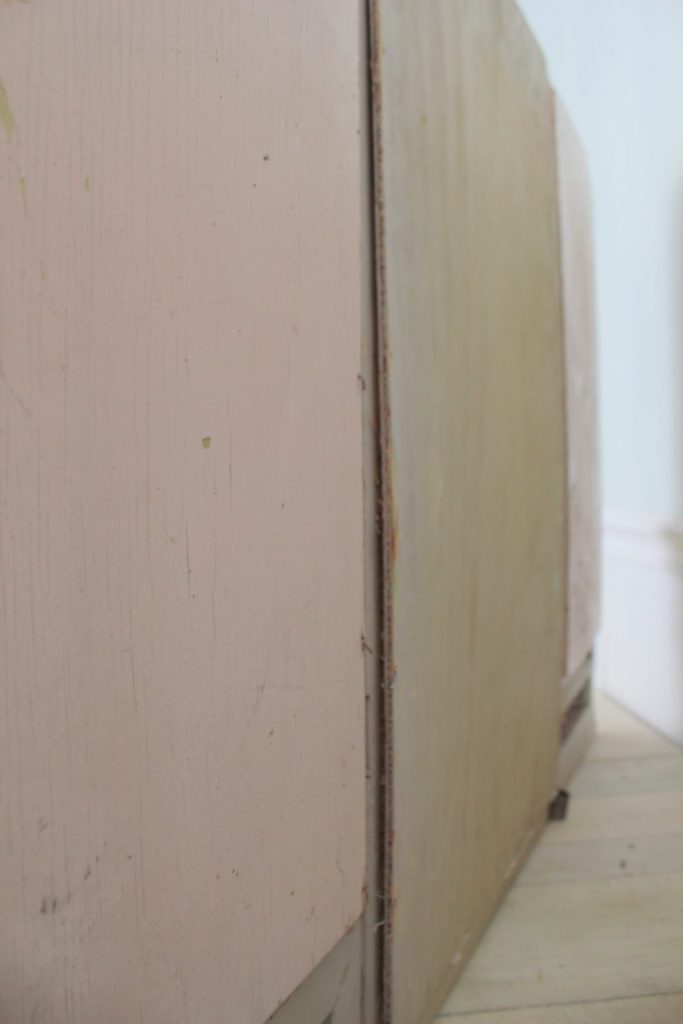
The first thing I did was to remove the broken piece of glass from the center.
I gently pulled the wood backing off of the back of the mirror with the pry bars on a hammer
just enough to be able to slide that glass down and out the bottom.
Definitely wear thick gloves when dealing with broken mirror or glass- don’t want any injuries.
I did not remove the backing fully~ but you can do that if you would like to.
After the glass was removed~ it was time to repair the broken pieces of the frame.
All it took was a little bit of wood glue & time to dry to get it fixed.
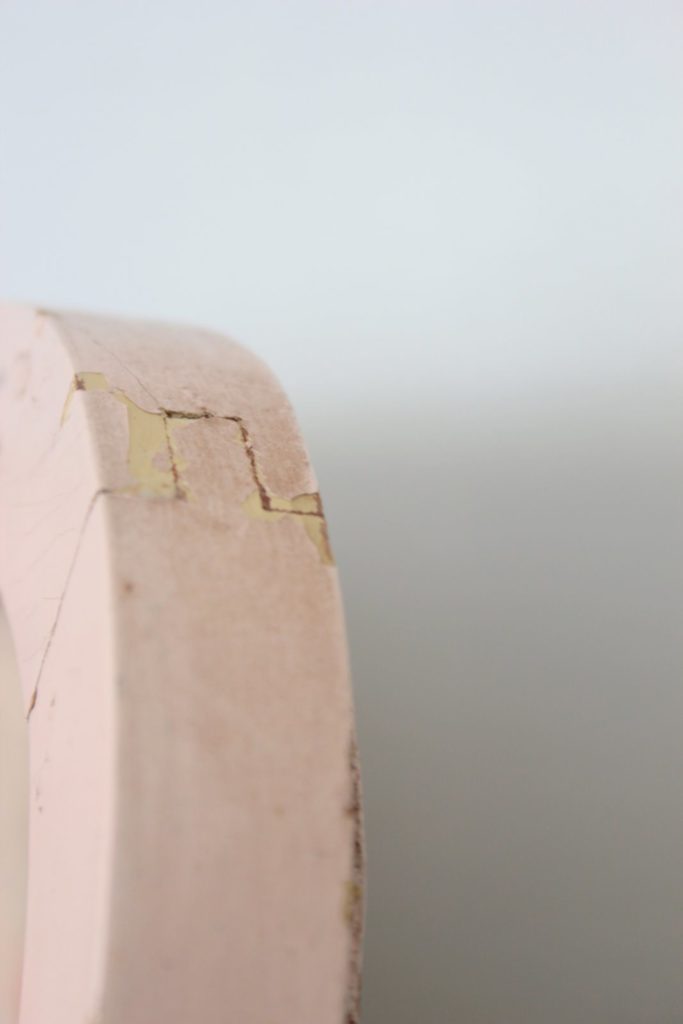
This is the piece on one of the side mirrors that was broken off- luckily the
wood and joint was in tact- it just needed some glue for reinforcement.
After that- I replaced the mirror and the wood backing on this side where it had come off.

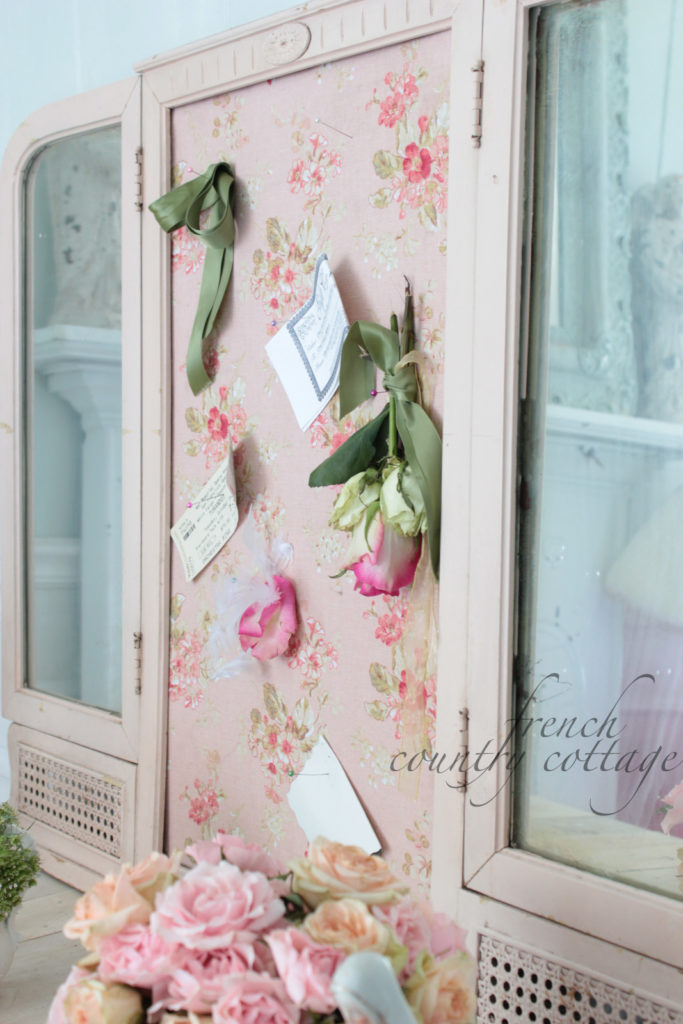
Now it was ready to be transformed
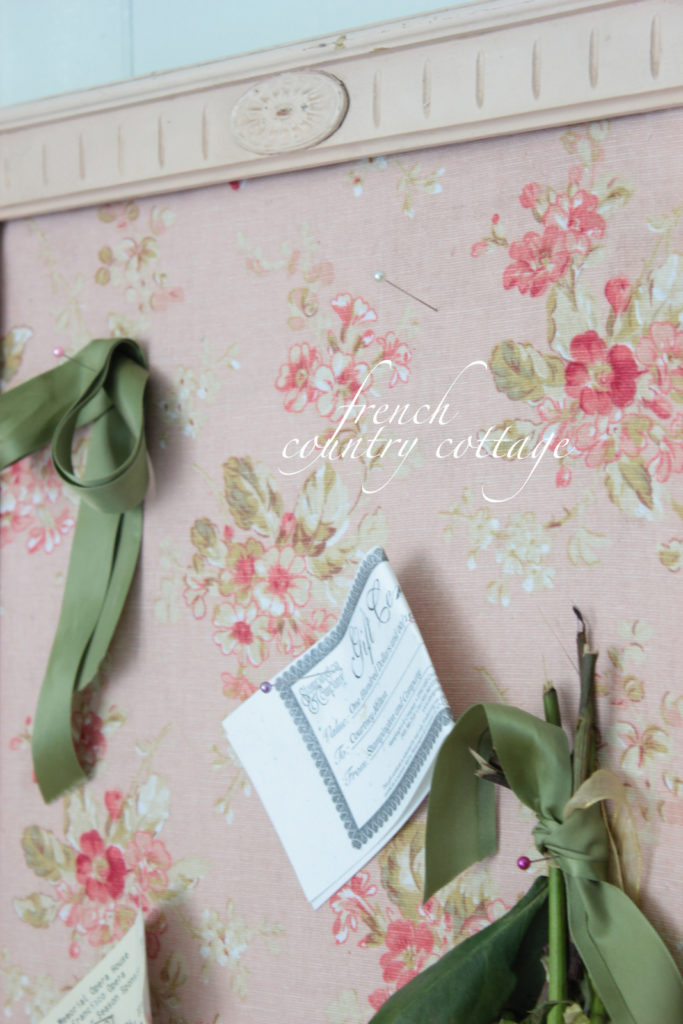
I had decided that I wanted to make a message or dream board
in the center where the original mirror was.
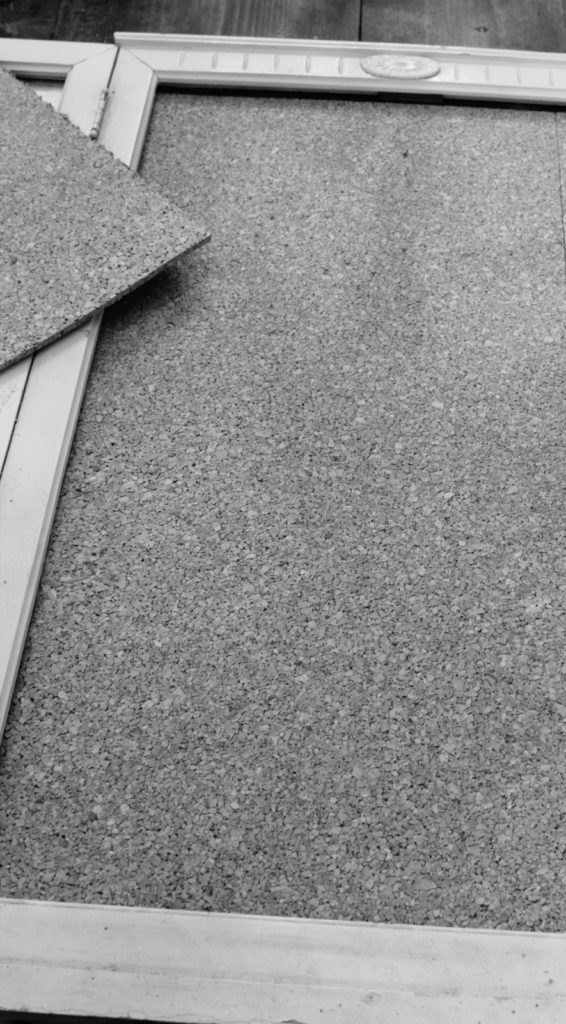
The first step to doing that was to use cork and attach it to the wood.
I picked up several cork squares at Lowe’s for the center.
Love these because they are nice and thick and easy to cut to fit where you need them to.
Taking plain white glue- simply spread it all over the back of the cork with a brush
and press them into place against the wood backing and inside the frame.
If you use a roll of cork- you might need to lay something heavy like books
on top of it to get it stay down until it’s dry.
The squares were nice and flat so they worked perfectly and easily.
Then it’s time for your fabric.
I chose a vintage inspired fabric that I already had in my stash of fabrics.
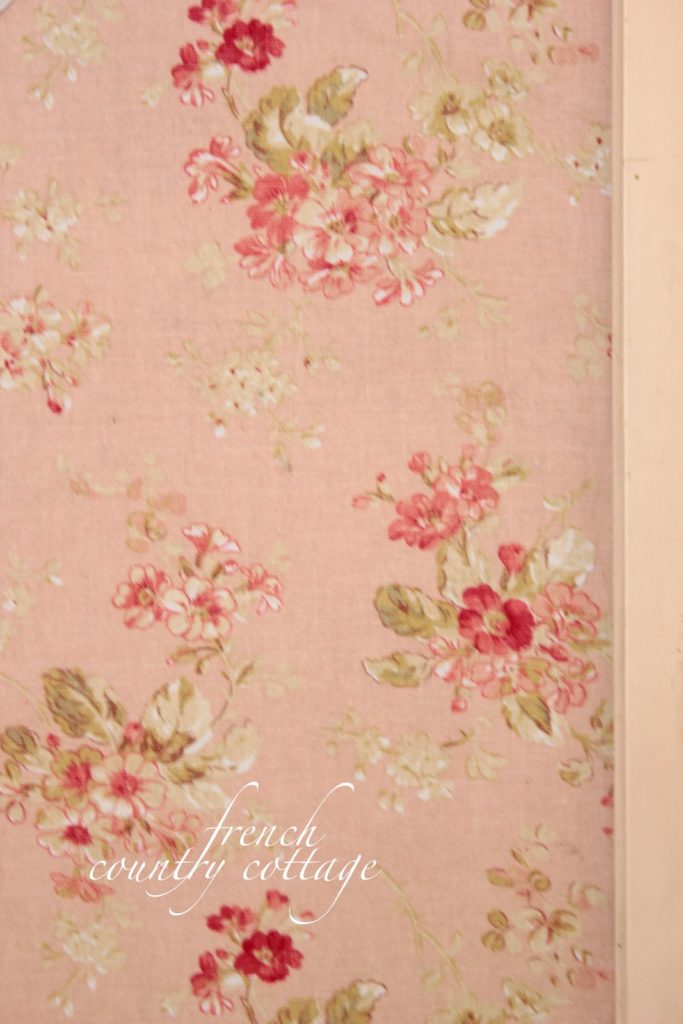
I cut the fabric to size ~ adding just a little bit all the way around to make sure
to have enough to go under the frame edges.
Spread the top of the cork with glue – be generous- you don’t want just a drizzle
and then lay your fabric down carefully.
Press it into place and tuck the edges of the fabric under the frame so that you don’t see them.
You can wrap it around the back of the wood if you pulled it all the way off
I did not pull the wood backing all the way off as I didn’t want to damage it-
so I simply made sure there was glue all the way under the frame and pushed the fabric
as far back as it would go behind the frame.
Smooth any wrinkles you find and let it dry
and then start saving your inspirations!
A little side note:
I like to use pretty pins for my message board rather than tacks.
They hold everything just as well and don’t leave a large hole in the fabric or the cork.
These are simple sewing pins with pearlized heads for a little fun.
See you tomorrow for Feathered Nest Friday!
Love this!
That is so pretty–what a great find!
Miss Courtney, you have the most unbelievable ability to turn something most of us would never look twice at into something everyone drools over! This is gorgeous! Very inspiring! Bravo!
How pretty! You have great vision.
How pretty. I love the fabric it goes perfectly with the pink. And you saved a vintage piece at the same time.
Rosezeeta.
oh….it is sooooooo beautiful!
You are so amazing. I just received My Romantic Homes and your guest bathroom was on the cover. You are always up to something beautiful. Thanks for sharing your talent.
xo
Betty @ My Cozy Corner
Gorgeous!!!
Bonjour,
Le résultat est formidable… Vous êtes une petite fée…
Merci pour ce joli billet romantique.
Gros bisous à vous et ravie de vous retrouver après mes longues semaines d'absence.
Gorgeous. What a beautiful shade of pink.
This was such a good tutorial. Thanks for sharing such a unique project.
Leslie (Gwen Moss)
Thank you for sharing this tutorial Courtney!LOVE getting a second look at this beautiful piece too!That fabric is dreamy!
xx
Anne
Ahhh….this makeover is sooooo very pretty. Would love to have you share it at my party:) See ya at your party on Thursday.
Blessings,
Linda
So pretty! Love the pink- am going to be hunting an inspiration piece to do this myself!
so beautiful…and what a great way to repurpose this item.
Loved it and the fabric too . YOU can make anything Fabulous.. I have decided . YOU make all things beautiful… Have a beautiful day my friend……….. HUGS
Simply lovely!
Once again you've work some magic in there…
so beautiful.
Thanks for showing us how you did it! I was looking at the photos on the previous post and was falling in love with your description of the paint. I just adore pieces that show their age. Great find and awesome transformation!
So pretty, and clever, too! What a great idea. And that fabric! Swoon! Gorgeous. ~Angela~
Great idea. I love it.
This is gorgeous, Courtney. Wonderful job giving it a whole new life!
Jeanette
beautiful job on this sweet piece!
I just can't take it…..this is so darn gorgeous!!! Love it and pinned it to my DIY and Inspirations bosrd! Gonna go hop over to your party, now!
This is very cool! I've used the rolls over cork board before…it's a pain…it rolls really badly. I wish I had known about the squares.
I love your vision board.. and all the colors..Also loved the great blogs and their pretties that you featured… Awesome job sister !!!!!!! HUGS and have a beautiful weekend
un recupero superlativo, sei bravissima!
Love it Love it just beautiful i would love to know what color pink that is and what brand it is . I am new to your post but i love your style will be back to visit,hugs peggy
Gorgeous!! You have such a great vision!
*hugs*deb
What a stunning piece! It is one of the most perfectly my style piece I have seen. Perfectly pink and gorgeous.
Lynnie
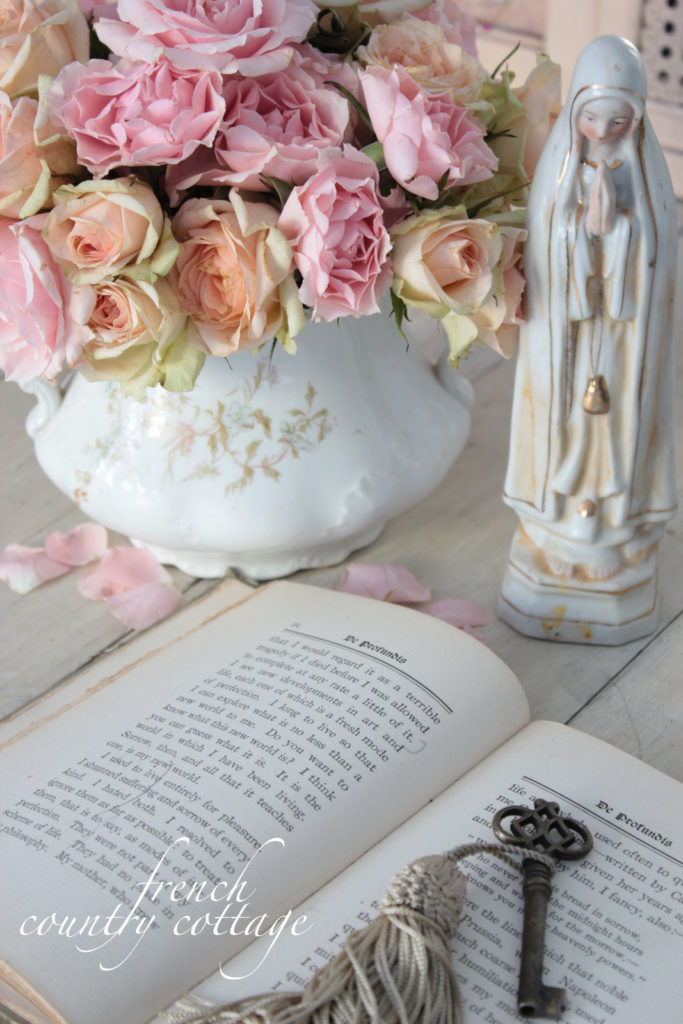
I love the statue that you have of the Blessed Mother. So beautiful and peaceful. Adds a lovely touch of tranquility to the area.
Love,
Mary
That's so gorgeous! My husband and I really like decorating our house. We have a lot of mirrors at home. My favorite is the gold mirror that I got from World To Home website. Thanks for sharing your post!