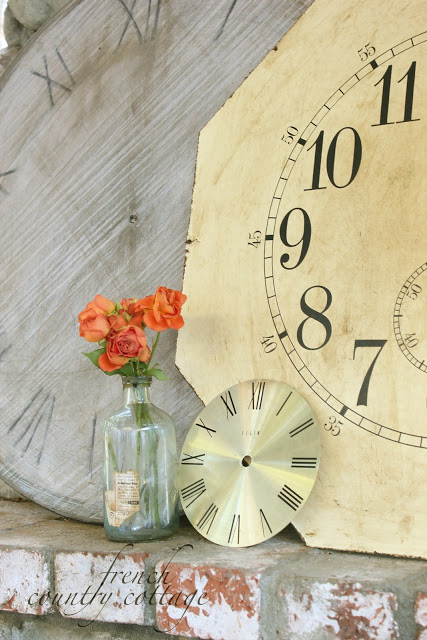
Last week, I shared a couple of vintage inspired clock faces that I made

The first one was a simple round clock using a wood round from the lumber department
and layers of paint for the ‘antiquing’ but I also shared a peek at a square one too.
I had tons of questions about how to get the effect on the large, square clock face as well and
it is actually a more simple effect to achieve than the round
Here was my inspiration for the square one from Pottery Barn
I love the huge numbers and the style of this one- they are not all the same believe it or not. I never noticed the differences until I looked for one to copy but you can print off a template or example to copy
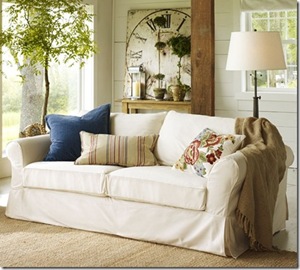
Just a simple shape with distressing~ I love the look of this.
The tutorial for the round clock face has more steps and photos-
it has layers and layers of paint and is coated with chalk to finish it off.
The vintage look on this one is more simple to create ~
it’s really just one layer of paint and one layer of antiquing
I love a simple project.
I started out with a piece of smooth grain thin plywood and measured to be the size I was looking for.
This one is about 30″x30″ but you can make it any size you would like.
The first step was to simply paint it with a coat paint.
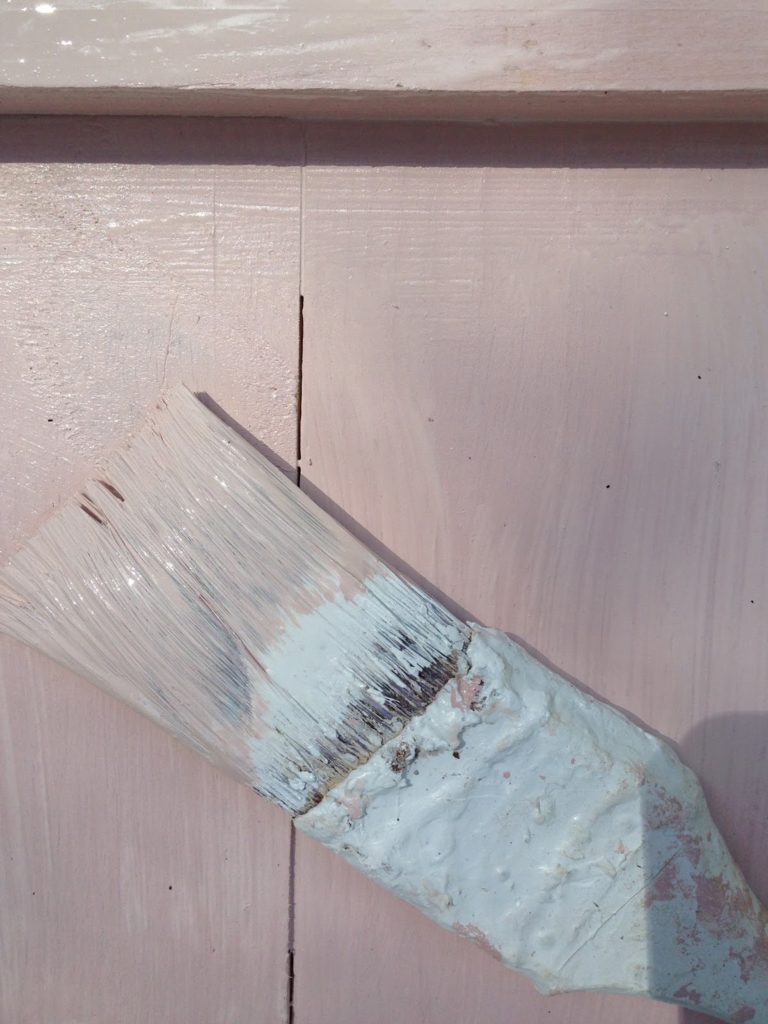
I chose a pale pink oops paint and then thinned it to milk consistency with water.
Note: This photo is from different project to show the color and the paint is not thinned.
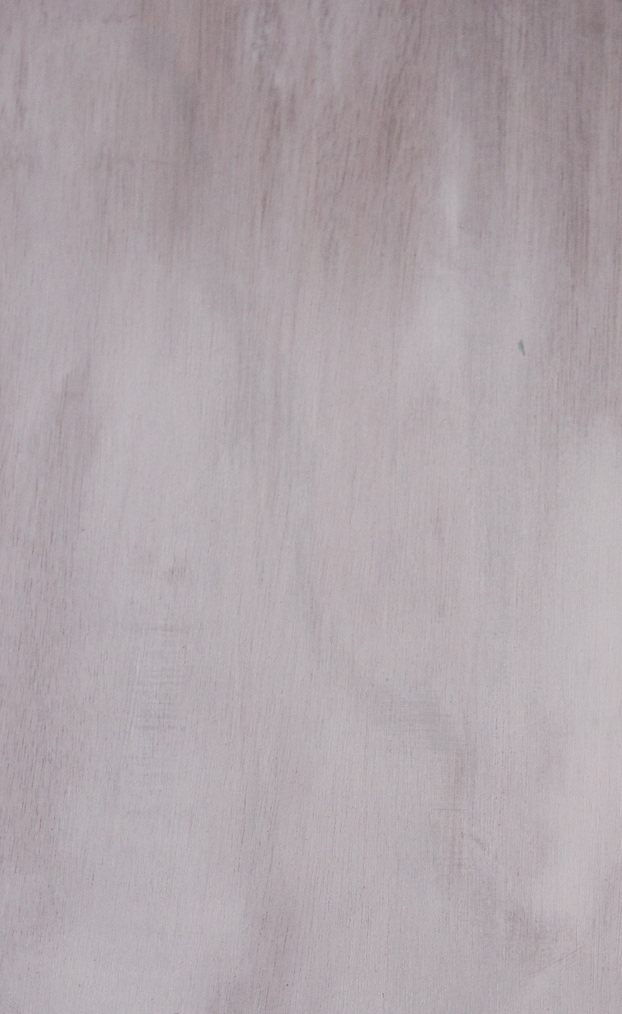
When you thin the paint it basically covers the wood but not so thick that you don’t see a bit of the variation with the grain. After that- it was antiquing time
I used Annie Sloan’s dark wax to antique it but you can use a stain or gel or any type of
antiquing paint that you like.
On this piece- for some reason the wax tended to like to sit a bit more in some of the grooves or pattern of the wood and showed up less in other areas- you can see it in the photo below.
I was not loving the blotchy look that resulted so I ended up doing 2 coats of the wax to fill in some of the areas that I wasn’t as happy with and sanding, sanding, sanding where it needed less.
You might have better luck with an antiquing gel than a paste
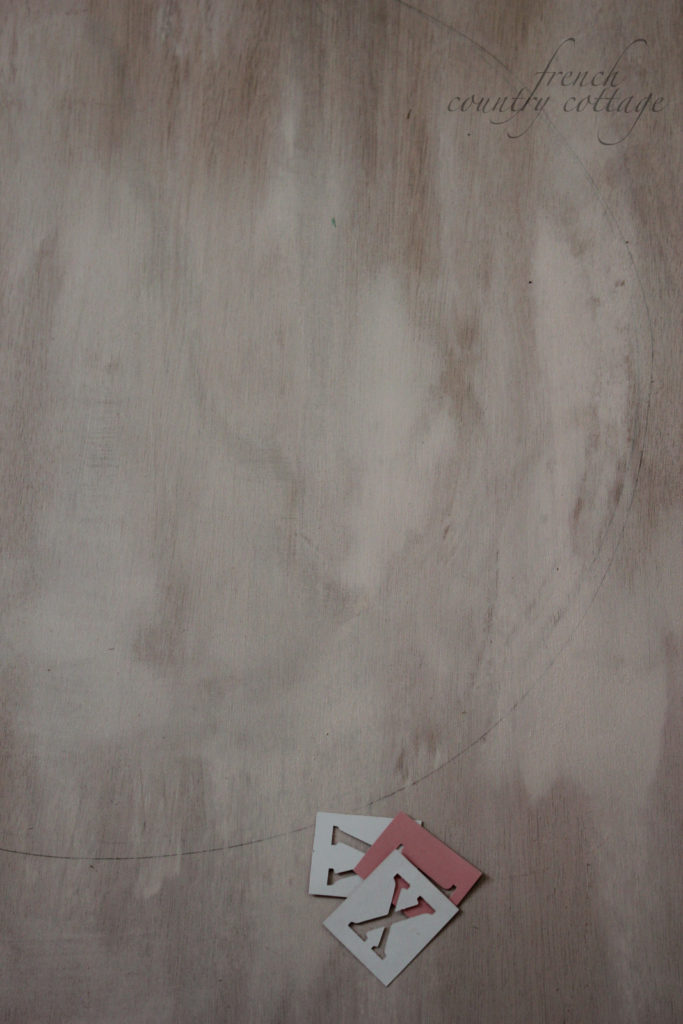
The hardest part of this clock was spacing the stencils and creating the clock face.
I am a non-traditional girl when it comes to things- and since I didn’t have much luck free-handing the barely there round line I wanted- I used a glass table top that was nearly the perfect size and traced it.
I *might* have had to re-do that line a couple times before finding that glass table top and if you look
closely you might be able to see some of those oops lines
but hey, I like the ‘artisan’ made look so it just adds to the feel.
😉
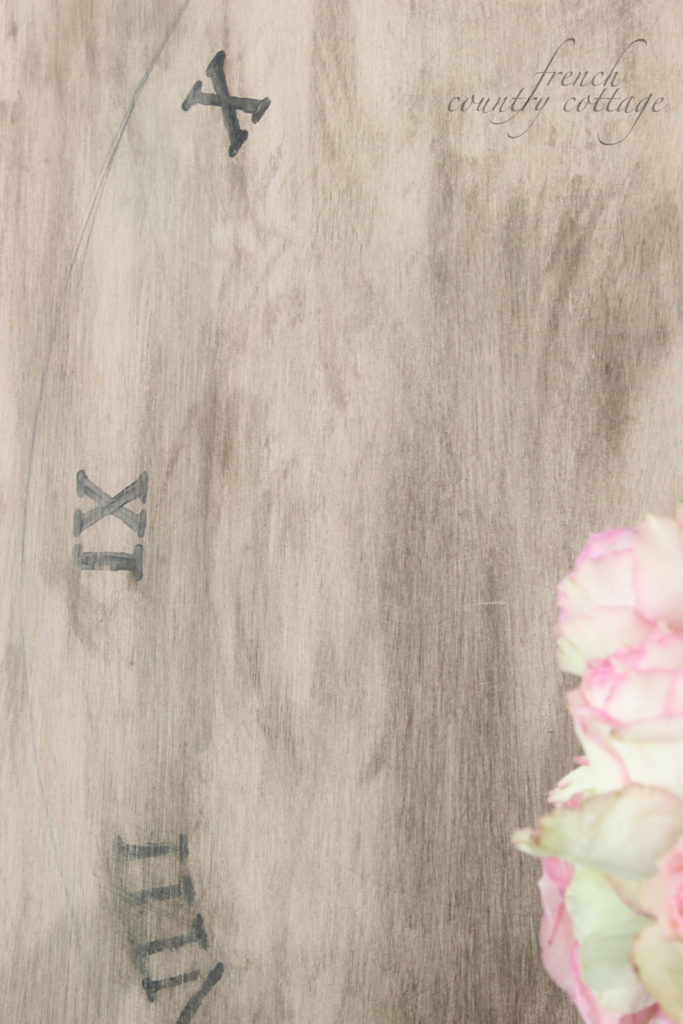
Then I just placed the stencils around it and used a black paint to stencil the numbers
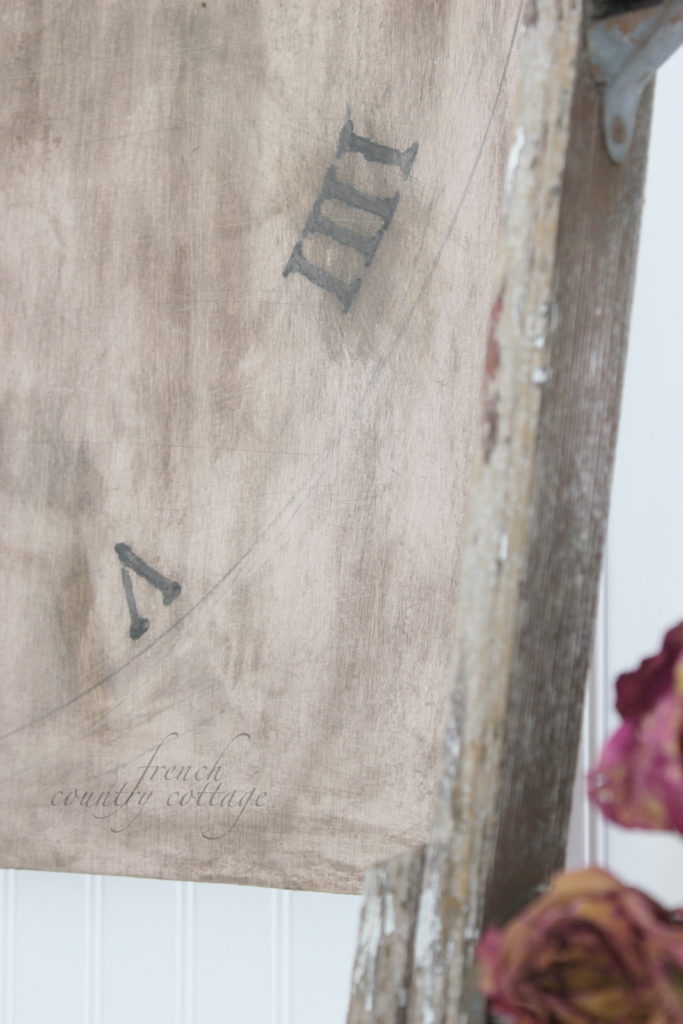
I wanted the clock to look old and with it’s paint barely there
so I took my sandpaper and sanded away the numbers until I got the look I liked.
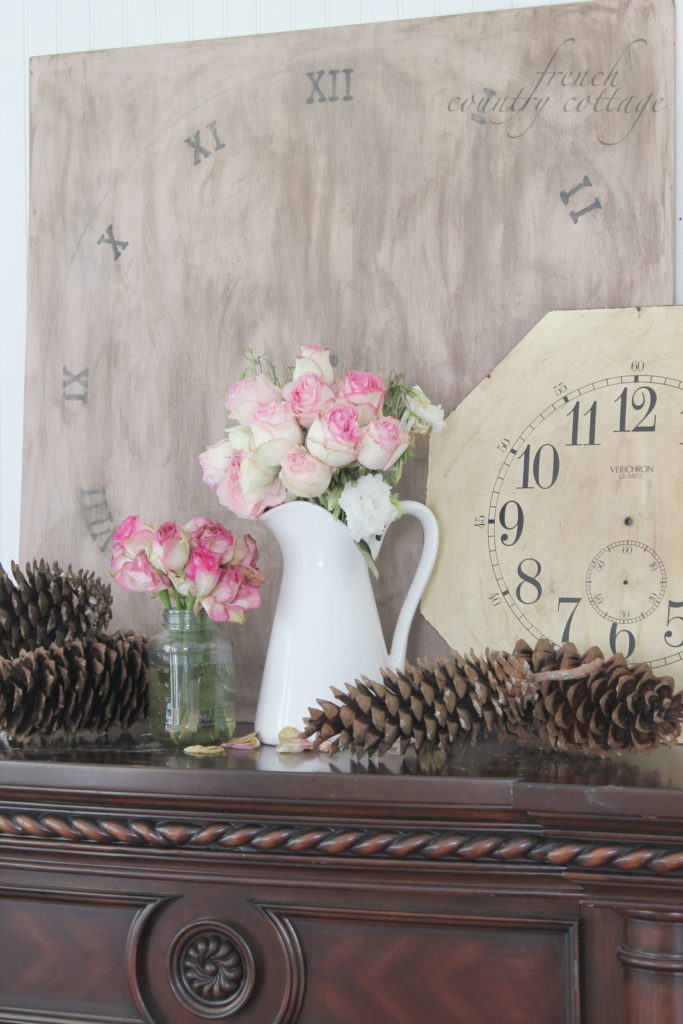
Over all- I love how it turned out and it really was so simple to make.
Even easier would be if you ordered a stencil in the correct size ahead of time
that you could just place and transfer onto the wood.
I’m kind of loving it.
A couple fun things coming your way…
Excited to be joining several fantastic blogging friends for a Summer Home Tour
coming up next week~ more on that soon

Also sharing a sneak peek at something I am working on
There will be a pretty fantastic giveaway with it too ~ you won’t want to miss it!!
Stay tuned!
Happy Sunday!!
sharing at
wow
wow
Courtney, it's a wonderful craft project – but what really makes it work is your incredible STYLING and photography – you could make a rubber band something everyone wants, I swear.
You are so amazingly gifted and talented. I always get a flutter of anticipation every single time I come visit you and your ♥ blog!
Love the looks of this clock. I like yours better than Pottery Barn's!!!
Love this idea:)
I love clocks, clock faces, you name it…We have so many clocks around here. I even have a little cheap $ store clock, it ticks loud and I love it.xoxo,Susie
I love it! It's so gorgeous! I agree with Katie, better thanPottery Barn!
You did a great job with your clock project, Courtney. I truly love it! 😀 I love the first photo of it…..I might need to pin it…
That corner of the room is delightful!
xo,
RJ
Courtney, your clocks are wonderful and what a great job. Thanks so much for sharing your DIY on the clocks. I have always wanted one of the big ones but to cheap to pay the big price at PB.
Have a great week.
Mary
Love it Courtney!!! I loved it before, but I too love the artisan look with the lines! And I love the flowers and that red pillow, beautiful!
The clocks are lovely thank you for the how to. I have that same red floral pillow which I love.
Love this look! You did a fantastic job!
This is a terrific project, Courtney – love the aged look and the unique shape. Beautifully done. I am looking forward to the Showcase of Homes – I know it will be amazing and inspiring – I hope you have a blessed week,
Kathy
hello
je viens de vous découvrir sur une revue " maison romantique "
c'est superbe , merci pour ce partage avec le cadran
votre blog est magnifique
je m'inscris
à très bientôt
tendresse
edith (iris)