Remember that little table with the little plank top?
The one with the weathered charm and sweet curvy details
that was destined for the trash
but that became a treasure?

I promised a quick share on how I achieved that weathered wood look on the top
and I have a confession…
It’s not exciting really.
And another confession:
It’s not difficult.
And another confession:
I love an easy project and this is perfect.

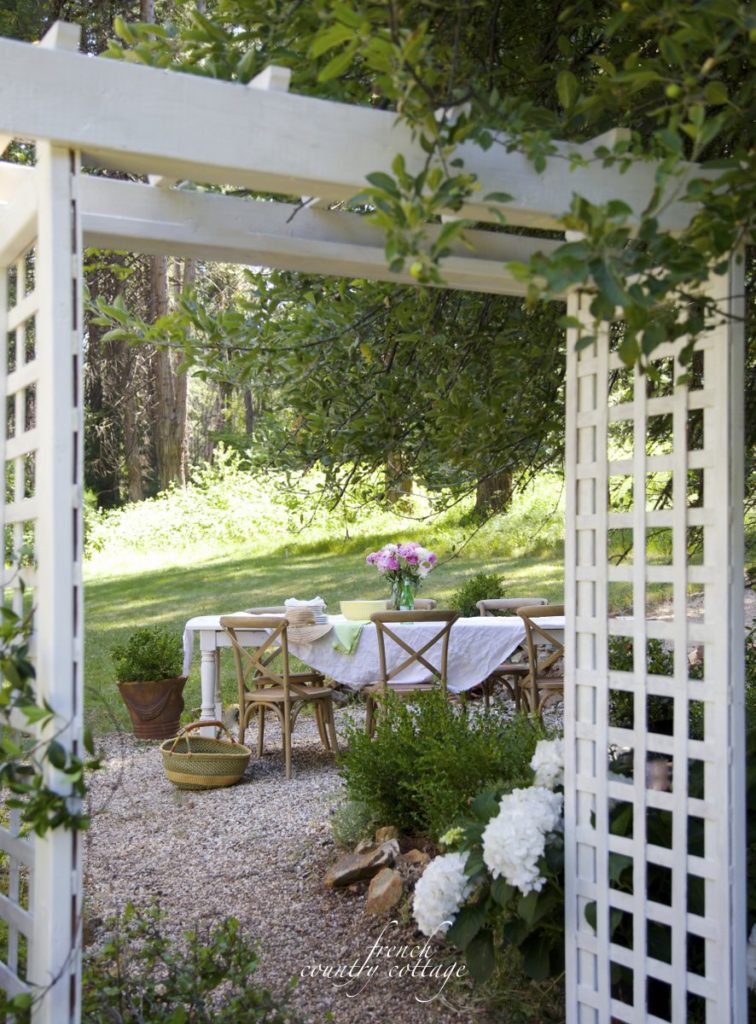
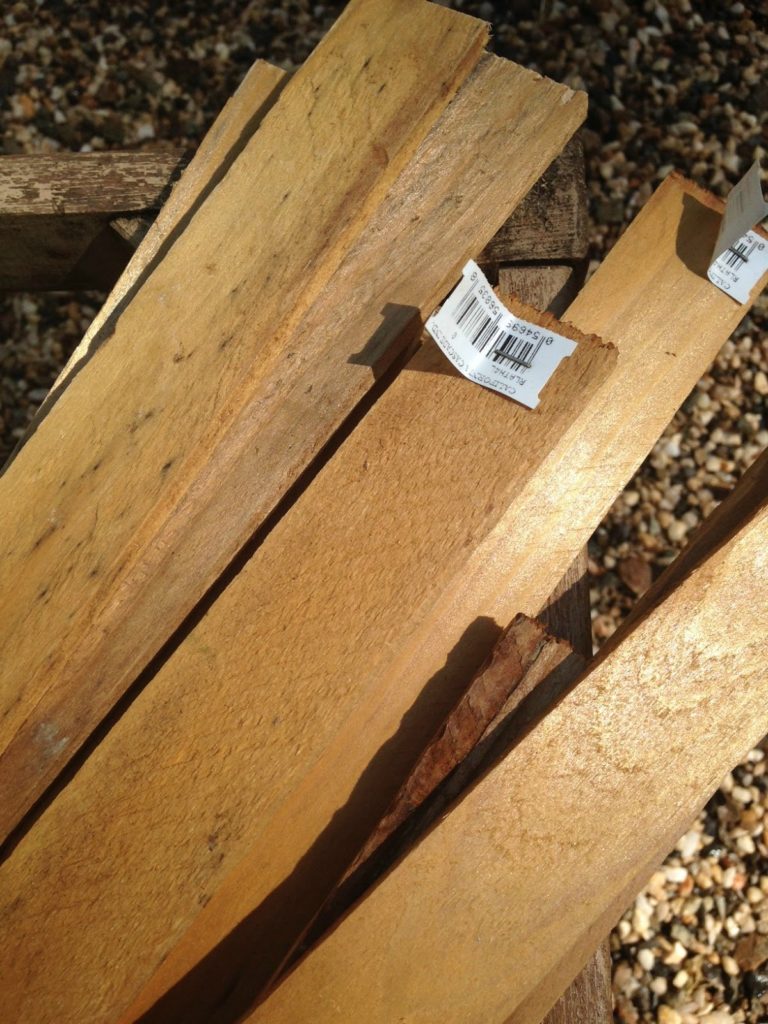
I started with those little planks that are used for lattice.
You can find them in the garden center at Lowe’s-
we used them to create our own sides for our arbor over the Summer instead of purchasing pre made panels.
we used them to create our own sides for our arbor over the Summer instead of purchasing pre made panels.
Since this little table was wearing the remnants of a yellow paint
mixed with a lot of that weathered, worn look – it was a little hard to place new boards on top of it
and make it look right.
mixed with a lot of that weathered, worn look – it was a little hard to place new boards on top of it
and make it look right.
So, in order to make the top somewhat match, I decided to weather the boards a bit.
There are a couple ways of doing that.
You could leave the boards out in the sun and rain for a bit
as in- maybe a few months?
or you can do your best to recreate the look.
as in- maybe a few months?
or you can do your best to recreate the look.
Most of these boards will come already looking somewhat weathered – you can see some of the spotty discoloration- so they didn’t require ‘extra’ weathering in the
sun and rain just a little bit of faux weathering.
sun and rain just a little bit of faux weathering.
So for a little more ‘rustic’ than new-
here’s my big bad arsenal of weathering tools
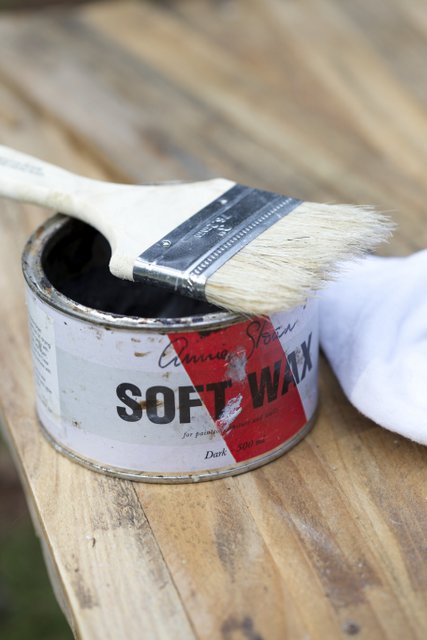
Annie Sloan dark wax
a chip brush (LOVE these because you can toss them when you are finished)
a rag (or your husbands white undershirt – shhhh)
sandpaper
sealer
Exciting right?
I told you. 😉
{Tip:} If you don’t want a rough finish on your top- lightly sand the boards to smooth them a bit.
I didn’t sand them- I just grabbed the dark wax and jumped in.
I’m a little impatient.
I’m a little impatient.
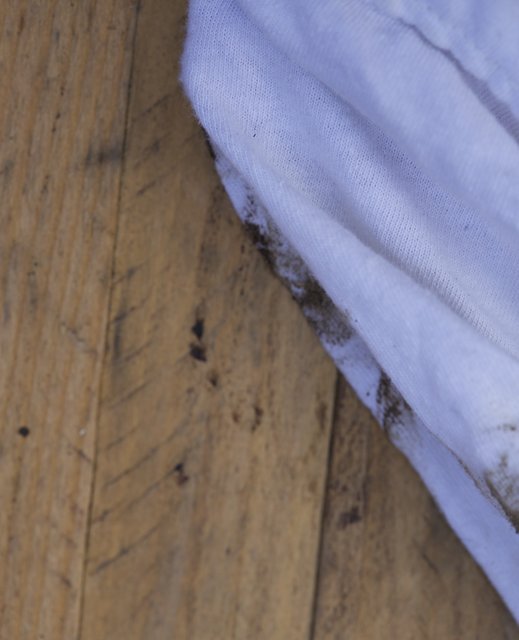
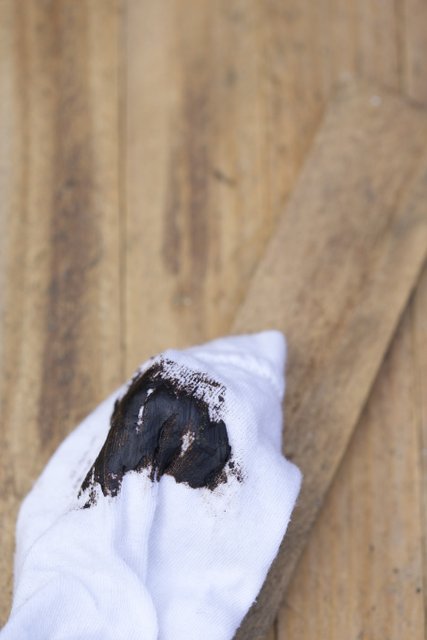
Using a soft cloth or a brush if you prefer- wipe the wax on the boards lightly- know that it will grab onto rough areas and be quite streaky- especially if you put it on heavy. So, try to have a soft hand
as best as you can.
as best as you can.
You can also try to mix it a bit with a clear wax to ‘lighten’ it if you would like.
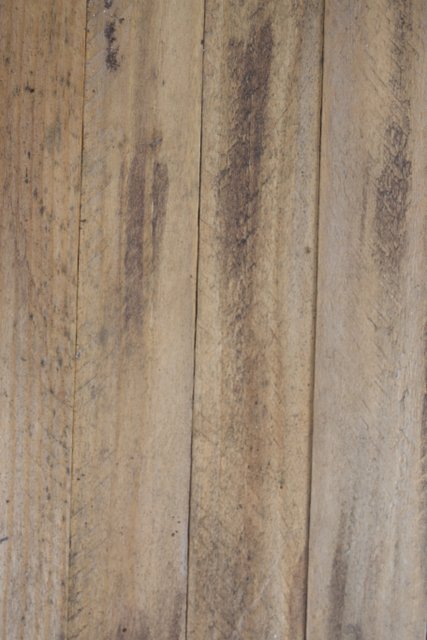
See the streaks? Not loving them.
These below are even worse.
I am showing this because – trust me- the dark wax is not the easiest to work with on things
I actually used something completely different for that painted project I shared a sneak peek at last week. The dark wax was making me crazy. But for this- it did an excellent job.
With a little extra work.
I actually used something completely different for that painted project I shared a sneak peek at last week. The dark wax was making me crazy. But for this- it did an excellent job.
With a little extra work.
So, after rubbing the dark wax on,
rub it with a clean cloth to really rub the wax further into the wood
and then I lightly sanded to smooth the edges of the streaks and create a more uniform ‘grungy’ look.
rub it with a clean cloth to really rub the wax further into the wood
and then I lightly sanded to smooth the edges of the streaks and create a more uniform ‘grungy’ look.
Lightly sanded is probably an exaggeration that is how little I rubbed the sandpaper over the wood.
Repeat. Repeat. . Repeat.
Until you are happy with how it looks and then seal the wood if you would like.
A secret?
I like the spotty grungy areas sometimes- makes me feel like I can’t really do damage by spilling coffee on it 😉
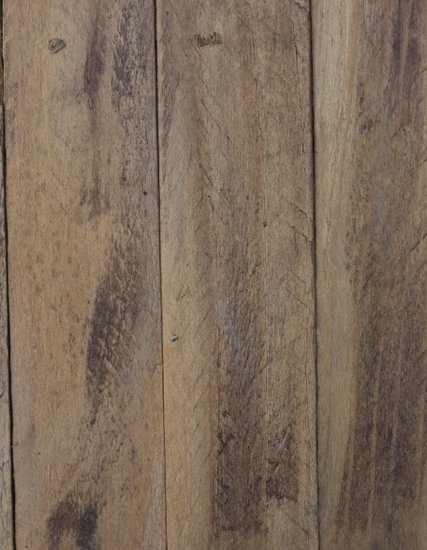
In the photo below- you can see how some areas took the wax more than others
It might drive some crazy- but I am good with it. I want it to look like it was weathered
and worn like the rest of the piece and the rest of it certainly had areas that were darker
and more ‘aged’ than others.
A secret?
I like the spotty grungy areas sometimes- makes me feel like I can’t really do damage by spilling coffee on it 😉
In the photo below- you can see how some areas took the wax more than others
It might drive some crazy- but I am good with it. I want it to look like it was weathered
and worn like the rest of the piece and the rest of it certainly had areas that were darker
and more ‘aged’ than others.

Simple, right?
Love a simple project that is easy to do.
Oh- just for disclosure wise- not compensated to share Annie Sloan wax with you-
it’s just what I had on hand and used for this project.
To see the original post about the table
you can find it HERE
Happy Monday everyone.

I am thrilled to be a part of the Lowe’s Creative Ideas Network
and was compensated for this post but all designs and opinions are my own.

Enter your email address:
Delivered by FeedBurner
I love this table and the weathered look, so easy and it really looks like it took hours to do !
Got to try this sometime 🙂
Luv this look!! Beautiful little rustic table Courtney 🙂
Courtney this is really so very easy to achieve this look. Thanx for showing it. Jo
Love the outdoor space. Is so chic.
LOVE this table!!
It turned out so great! Thanks for sharing your technique. I want to try this too.
Have a great week.
ciao!
Could you tell me what sealer you used? Thanks in advance.
Could you tell me what sealer you used in this project? Thank you in advance!
I think the table looks fantastic! I love your honest way with the way you didn't strive for perfection! Do you have "before" pics? I have never used the ASCP dark wax before…I like a wash on wood that you can pretty much achieve with any color paint. The mini jars are perfect.
Jane x
A perfect sweet look!
Love this table, and I am on the outlook for one that I can salvage.
Beauty to you courtney.
Xx
Dore
Courtney – if you do something like this again do what I finally thought of: Mix AS dark wax with her clear wax – makes the perfect light brown wax.
I know, right? Like "doh?" I cannot tell you how many things I fought with until I thought of it and ermagurd has it made a difference! ♥ Hugs!