You know, I have done some crazy things before.
I can admit it.
Like the time that I thought it was a GREAT idea to
drive across country BY MYSELF at the wise old age of 17…
Because… you know, back in the no cell phone days
and the I only have $15 in my wallet so I really hope that
$7.50 dollars worth of gas will get me where I am trying to go days
looking back… that was kind of a crazy idea.
But hey- somehow I survived.
Or maybe it was deciding that the tiny fireplace that we found in the thrift store
on the GMCHTA was a GREAT find.
When everyone mocked me literally for 3 days.
And when each day something else fell off of that fireplace in the back of the trailer.
And when I went to paint it-
at 2 am-
before I painted- I had to rebuild it first.
From nothing.but.a.pile.of.boards.

Yeah, THAT was crazy.
But I don’t always do crazy things…
only on occasion.
😉
Though… this chair-
well, it could fit into the category of some of the crazy things I have decided to tackle before.
And today I am joining a great group of bloggers sharing posts that are all
Thrifty Under $50
If you are coming over from Anderson + Grant- and her amazing little stool-
Welcome!

So let’s jump on in and talk about where we started…
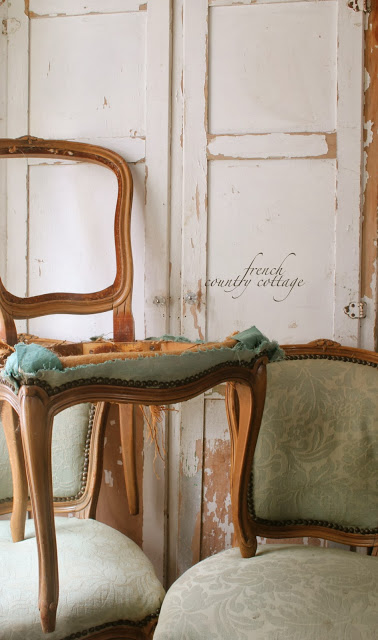
4 antique French louis style chairs at the thrift store…
but Hello…
but Hello…
What was I thinking?
Though they were just $18…
these chairs were more than an afternoons worth of tinkering with…
and that is the reason they sat for a bit.
Actually, I have been using the usable 1 or 2
of them as is for awhile (meaning just in a room sitting there looking pretty with books on them
but, it was time for a change.
The 2nd crazy thing…
it was a simple photo shoot request…(more later)
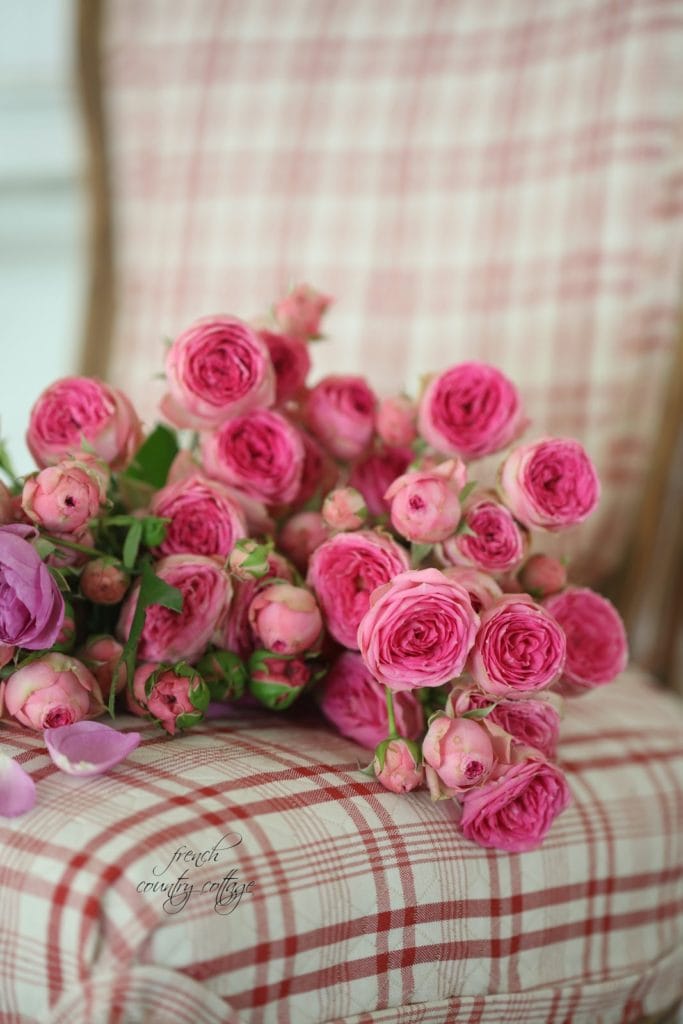
that involved a red checked/striped upholstered French chair…
and that inspired me to get to work and change the upholstery
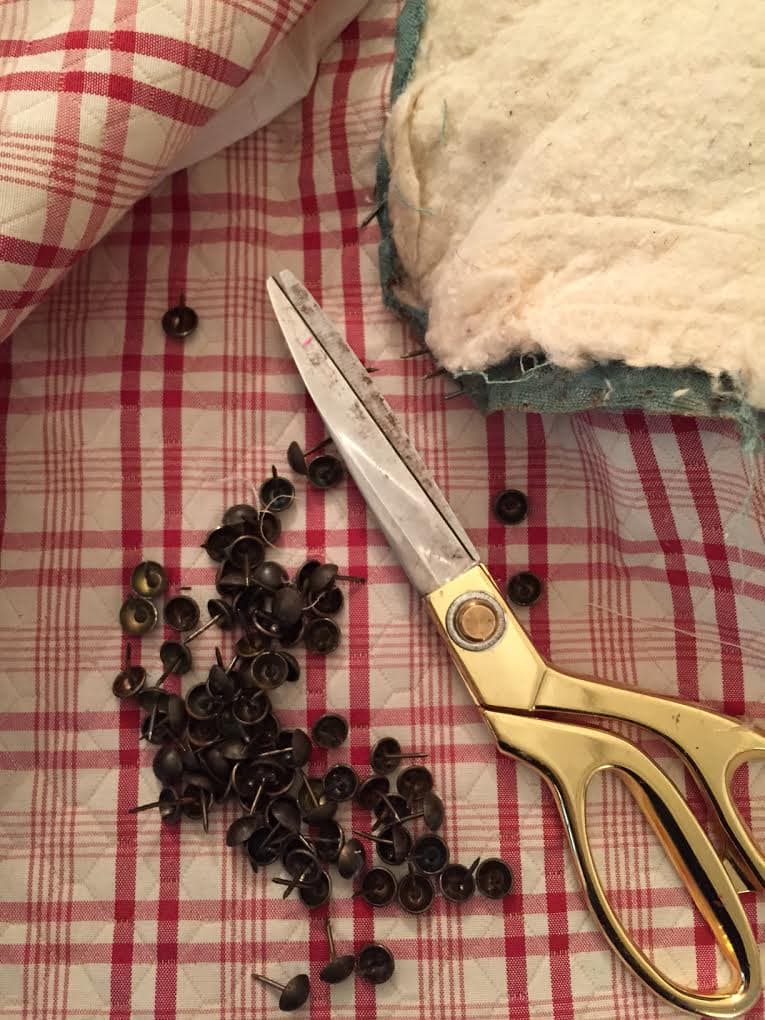
Lots of tacks. Lots of busy.
Lots of FUN.
I started by cutting the new fabric –
which I had on hand and was about $20 for 5 yards-
and cutting it to fit.
Basically, pull the old fabric off of each area and use it as a template for cutting the new piece
and then staple it onto the frame – pulling it tight as you go.
and then staple it onto the frame – pulling it tight as you go.
I snapped just a few photos of the in between but not as many as I intended to-sorry!
So the next chair redo will be more detailed.
So the next chair redo will be more detailed.
It looks messy-
but it always looks messy before looking good.
but it always looks messy before looking good.
Note:
The hardest parts?
Matching the fabric lines and getting them straight. UGH.
Simple fabric would have been easier.
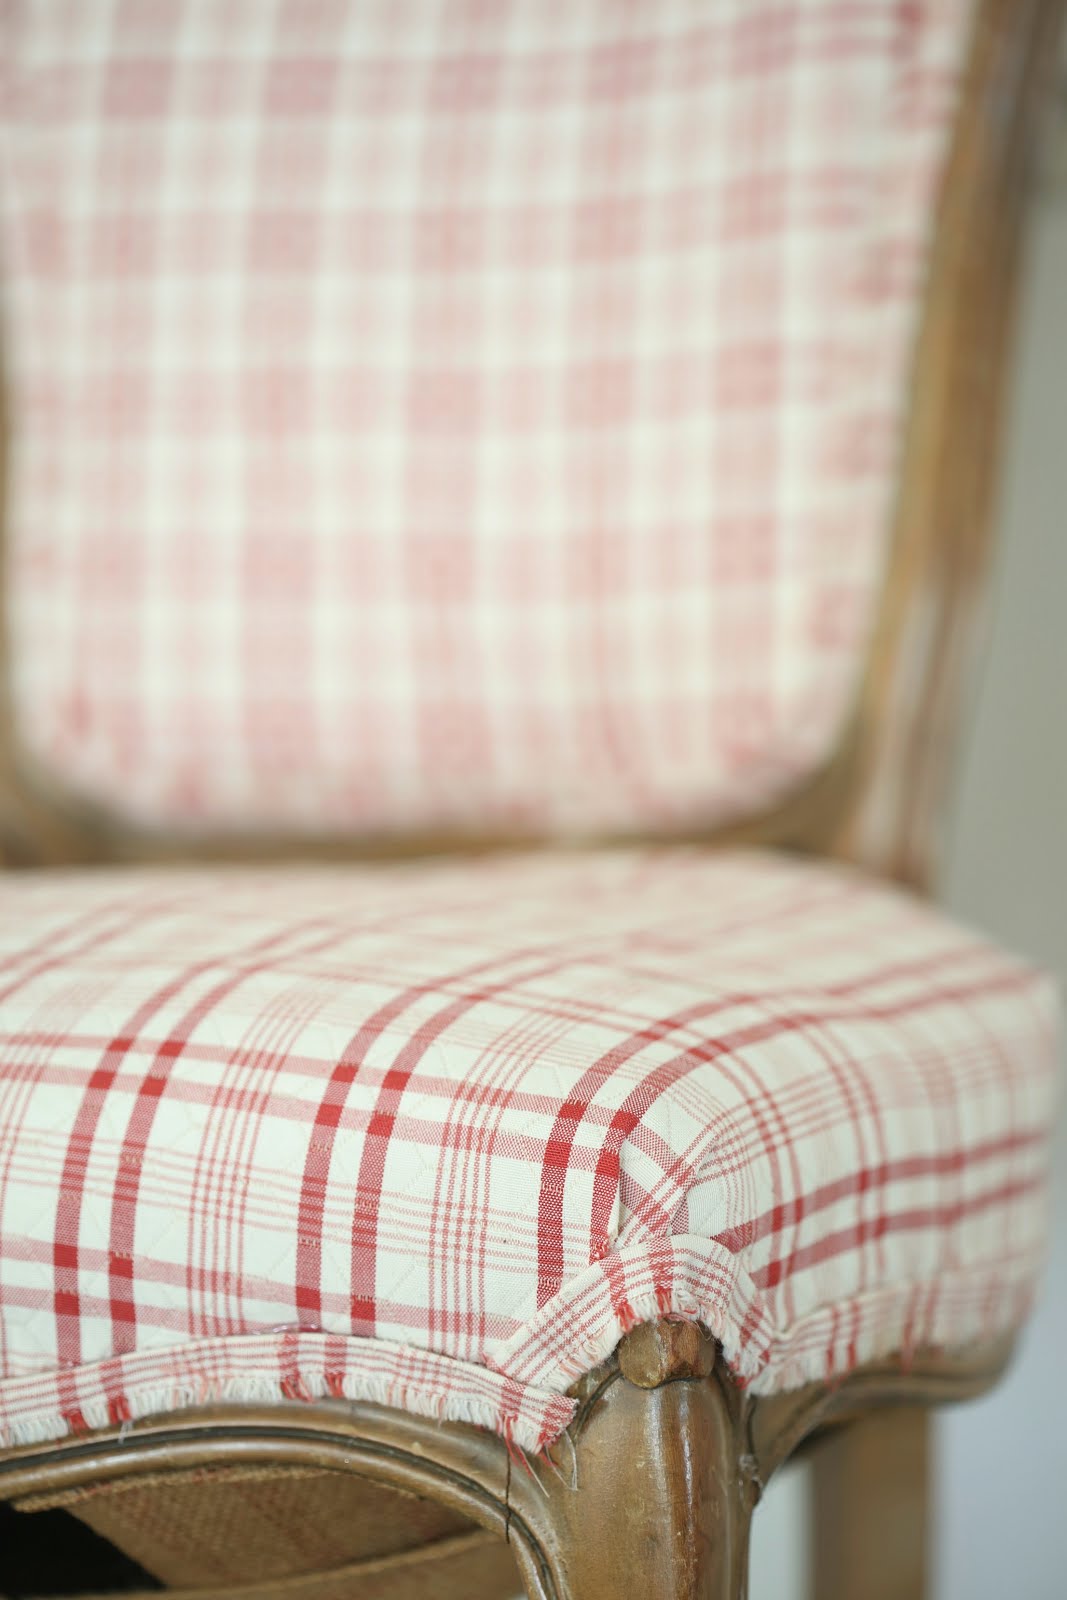
And cutting around the seat back for the seat fabric and getting it to fit
Matching the fabric lines and getting them straight. UGH.
Simple fabric would have been easier.
And cutting around the seat back for the seat fabric and getting it to fit
nicely around the frame/legs was a little challenging since the chair is older and not perfectly straight.
When I pulled the back fabric off-
I almost left it naked there for a minute…
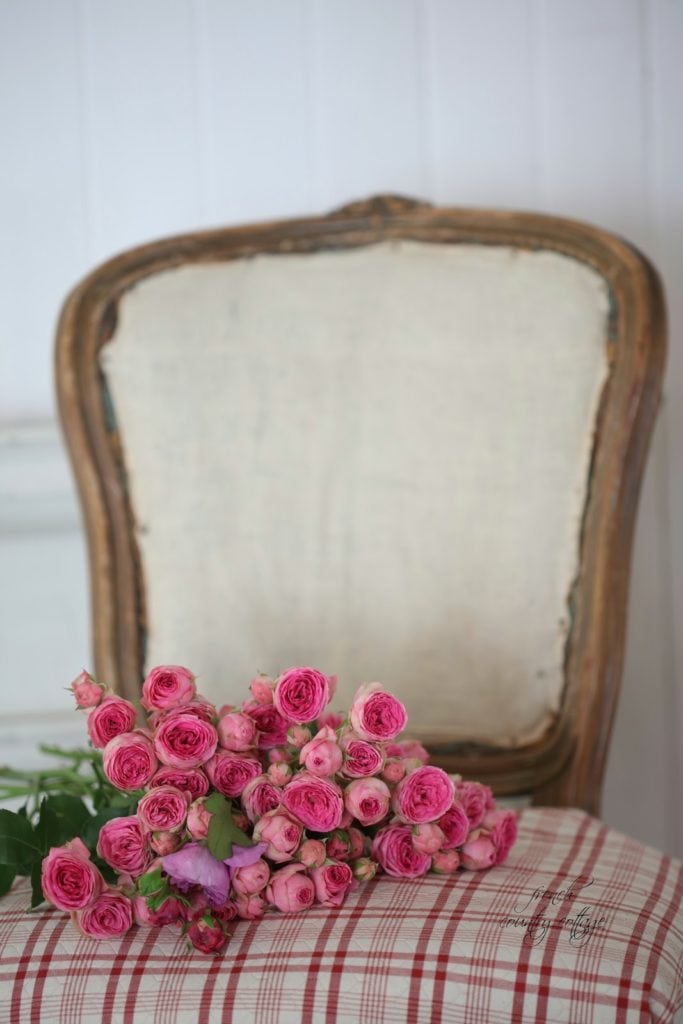
But after all the back and forth-
it only took a few hours start to finish
and that pretty French style frame was standing out like the pretty I knew it could be.
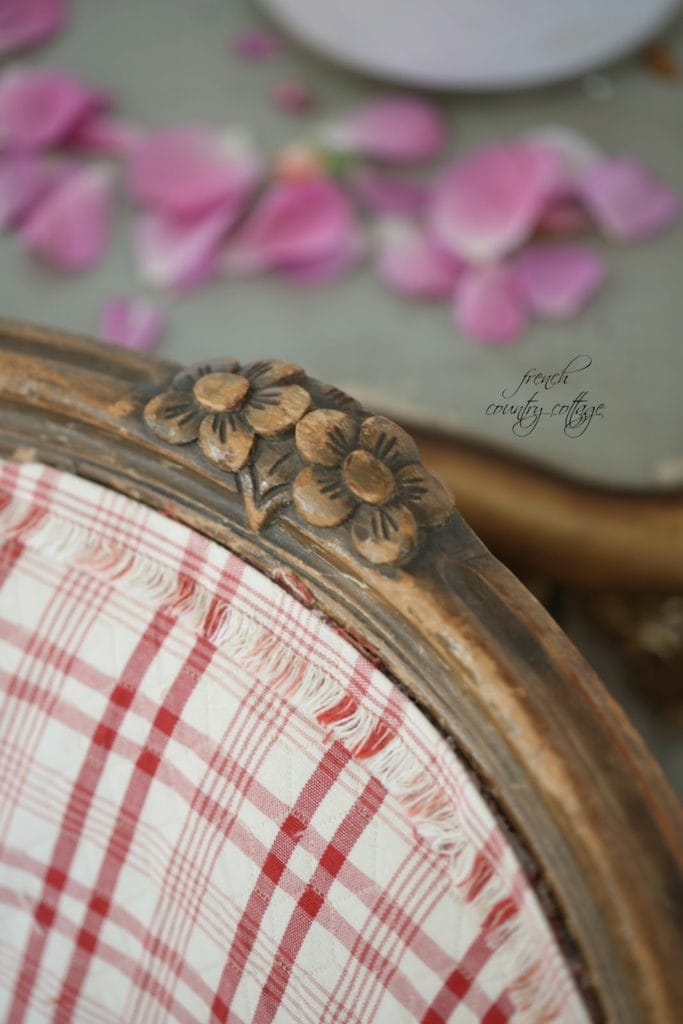
I added a simple edging that was just made out of the fringed edge of the fabric
and hot glued into place along the frame.
(don’t forget to go back and pull off the extra threads- there will be a TON)
And you can see those stray fibers here too.
Go around and clipped those little stray pieces of string here and there –
and then wipe down the frame- because as I have found- even when you think you have them all-
there is a random couple just waiting to be discovered.
I am not totally done with this chair-
I need to finish the bottom of the chair with a piece of fabric
I need to finish the bottom of the chair with a piece of fabric
which I didn’t have on hand-
(you can see that the springs are sagging down)
(you can see that the springs are sagging down)
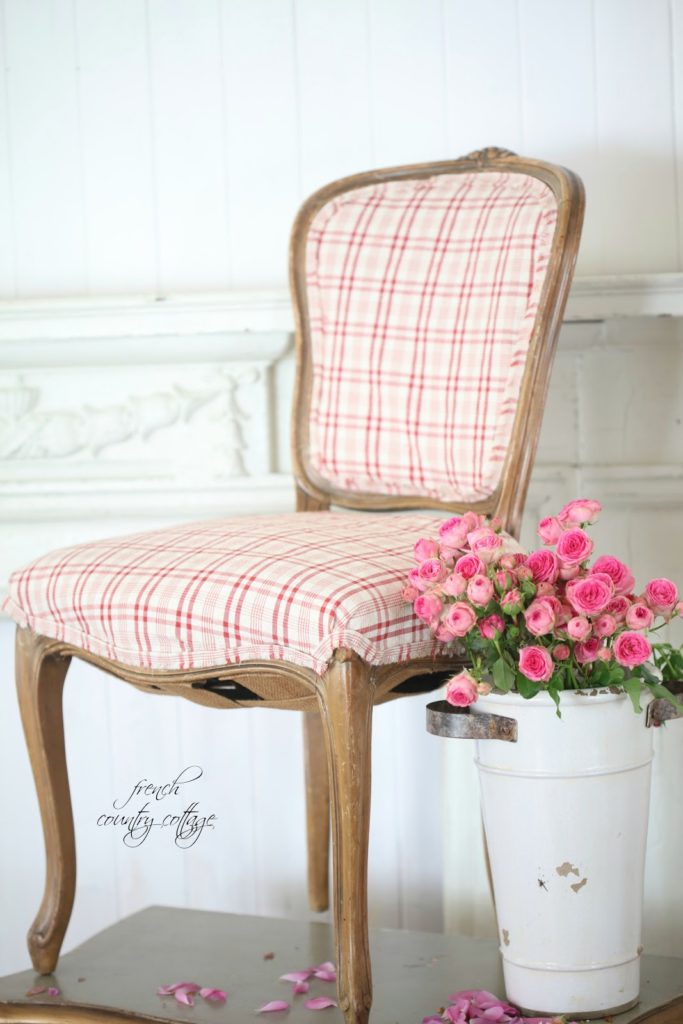
So all total this chair and makeover will be about
$30

Not bad for a 1920’s chair…
that it is pretty charming in all it’s checked/plaid/French country glory
So maybe that craziness is a good thing.
😉
Up next- Refresh Restyle is sharing her Thrifty under $50 makeover
and stop by the others who are sharing this week
Tuesday
Happy Tuesday everyone.

Enter your email address:
Delivered by FeedBurner
I think it looks fantastic and to think you only paid 18.00 for the chair. I also like the fabric you chose for it too. Great job.
Thanks so much Betty!
You are my inspiration. I have a pile of antique chairs to redo.
Thank you- so sweet of you! Would love to see them when you get them finished!
Gorgeous – you make it seem almost not too intimidating that I might be willing to take it on!
Thanks Laura! Definitely a big job- but you can totally do it.
Love it! Great find!
Debbie
Thanks Debbie! Obsessed over your chicken cage!! I would LOVE to find one of those in a thrift store!!
You brave girl! I know how much work reupholstering is! Your chair looks lovely and I always appreciate your styling. Thank you so much for joining the blog hop!
Really not my favorite type of diy job for sure- upholstery can be tricky! Love your chairs too btw- so cute and loved the video 🙂
Lovely as always! That fabric pattern is simply charming too.
Thanks so much Kim!! xo
Great job. I have a beautiful French chair that a friends little boy JUMPED on it and stretched the springs/webbing. Do you know what to do to fix those? I don't want to tear it all apart… Thanks. I truly enjoy your blog. Keep it comin'. Linda
I don't know unfortunately. I have tried to just tie the springs with string and then staple the string the frame before- pulling it super tight- but to be honest- for a chair that will be used rather than just enjoyed from afar- I am not sure that would work well.
I remember that fireplace AND thinking you were crazy! ha! ha! This chair is BEAUTIFUL. I love it with the upholstery. I think I need to try reupholstering one day. I'm too scared right now. You make it look so easy. Beautiful chair and beautiful styling. 🙂
It was admittedly a CRAZY thing to buy- and even more so after it fell apart! Such a great trip and memory though!! 😉
Beautiful! Your idea of using the fringed fabric as trim is so unique and looks fabulous.
I agree with everyone else here, your chair is gorgeous. Cheers, Ardith
It is lovely. I absolutely love your fabric choice and the fringe is classic.
Bonjour chère amie,
Une belle trouvaille et surtout une belle rénovation ! Mon ami vient tout juste de terminer la rénovation de deux très jolis fauteuils… Dans la semaine je les prendrai en photos pour vous…
Un grand merci pour ce délicieux partage.
Gros bisous ♡
Love the way you covered that chair!….and going cross country with $15? Now that's a story!
So pretty & I love the fringe detail!
So stinkin cute! LOVE
Lovely! The fringe detail is a beautiful touch!
The only kind of crazy I see is crazy talent. Such a beautiful piece!
Beautiful chair and love that fabric 🙂
Lauren | Lovely Decor
xx
For nearly 40+ yr., two country French cane back Thomasville chairs and a rich dark wood finish have been recovered several times. In my most recent move, someone punctured the cane. The chairs now need new seat supports. Saw instructions on how to do the straps interlacing to provide support — which I may have gotten from you. I learned to buy batting, as the seats tend to go flat over time. Instead of tacks, I took the easy way out with a staple gun but once you put the seats back in place, you no longer see the Staples. Now I'm forced to also cover the cane back portion of the chairs which I've been hiding the small hole with decorative pillows. I see you use the same fabric to Edge your chairs. You might consider the next time using a decorative edging. I did that when I upholstered my headboard. It's a great way to hide seams or tax or raw edges. I tried to double fold the fabric so there's no Rod edges exposed. I have beautiful blue silk fabric with little tiny yellow squares in it, but I am thinking of getting something more Country Cottage as you've sparked my inner mademoiselle.
I received 3 similar chairs. Mine is newer knockoffs and cheaper. It is lament or pressboard I’m guessing . They have a shiny finish. I love the look of the chairs so I still want them to turn out gorgeous. I know it’s going to be major project so I have been holding off. I have a beautiful hot pink and black Paris motif Fabric I picked up at the thrift store for 50 cents. I have been thinking of using that and painting the “wood” part a glossy black. And finishing the chair off with a black braid. I read above how one of the other readers has gained so much from reading the different blogs. I have to agree. I do furniture makeovers all the time but this one I needed the information I have gotten from yours and a few others. I think spring time my chair will finally see the makeover I have wanted to do… now I need to decide what to do with the other two…. maybe go wild and do fur??? Thanks for sharing and helping to inspire me to take the leap. Keep making those beautiful pieces.