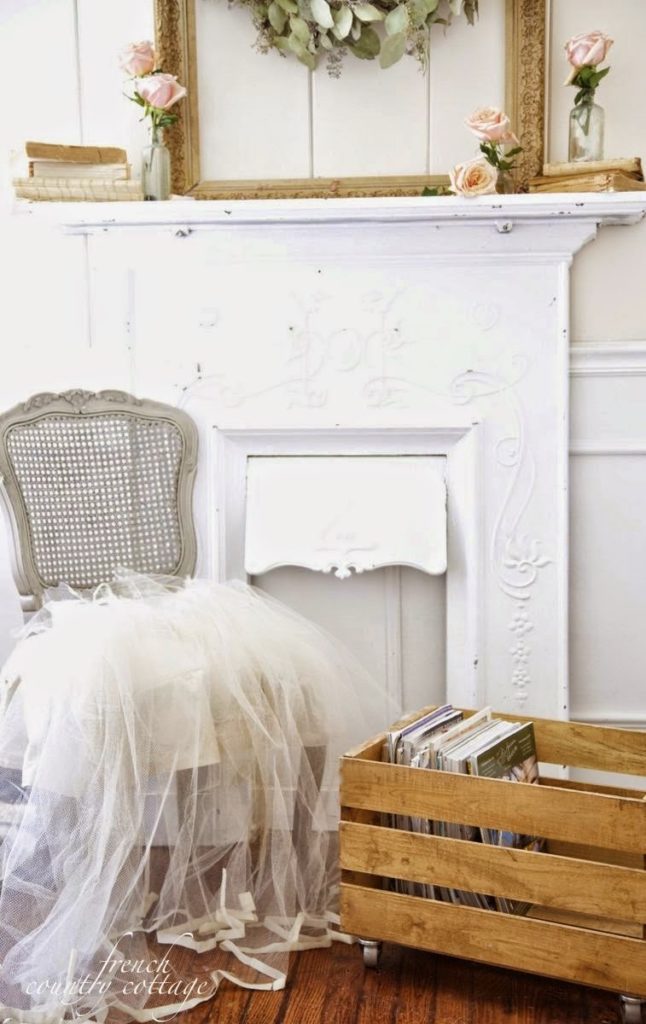
Last week I shared those simple pine crates on wheels
and promised to share more on how to make them
They are super simple to make and easy to customize as well.

We picked up simple smooth slats of 4″ pine at Lowes in the trim/moulding department.
They have various size widths that you can choose from.
They are cut to 24″ each
( you can either cut them to size yourself if you are comfortable
or ask and someone at Lowes can help you.)
Here’s what you need:
(9) 4″ thin pine boards
(1) 1″x12″x 36″ (for end pieces)
natural pine stain
gray or black paint or antiquing stain
industrial wheels (4)
You will use 3 slats on each side of the crate and 3 slats on the bottom
Cut each one at 24″ (or whatever size crate you are making)
For each end piece- take the 1x12x36 and cut 2 pieces at 14″ each
Those will be the ‘ends’ of your crate
Once you get all your supplies
and have them cut to size- it takes just a few minutes to build the crate
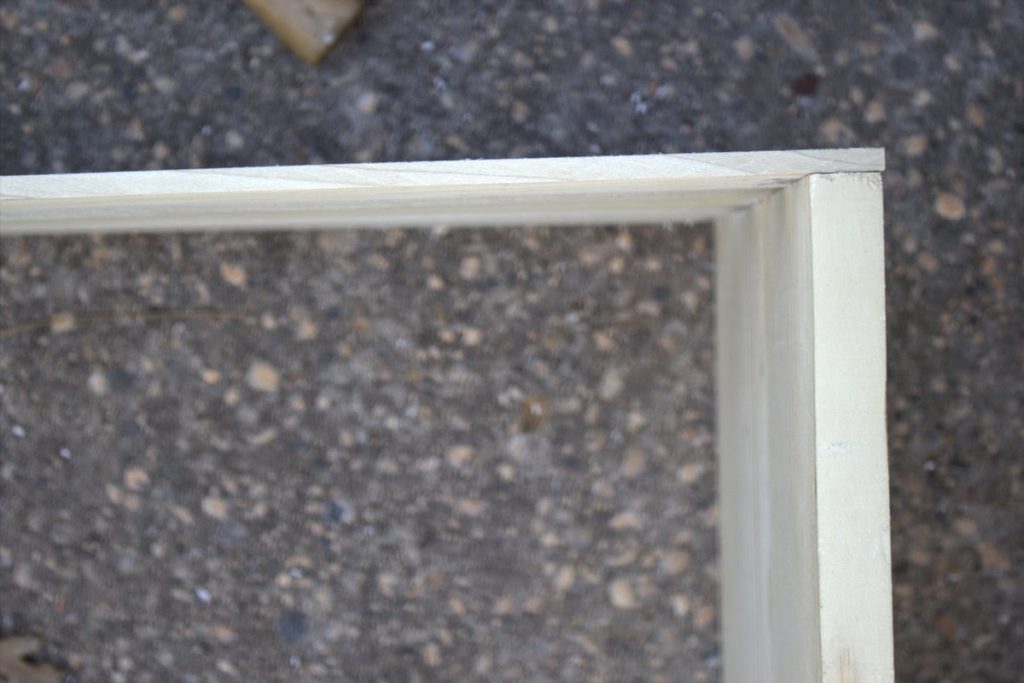
Start by setting the end boards on a side
so that you can lay 3 of the slats across from one to the other to attach them

(This shows the other sides boards already attached)
Lay the board on the top part of each end to nail them
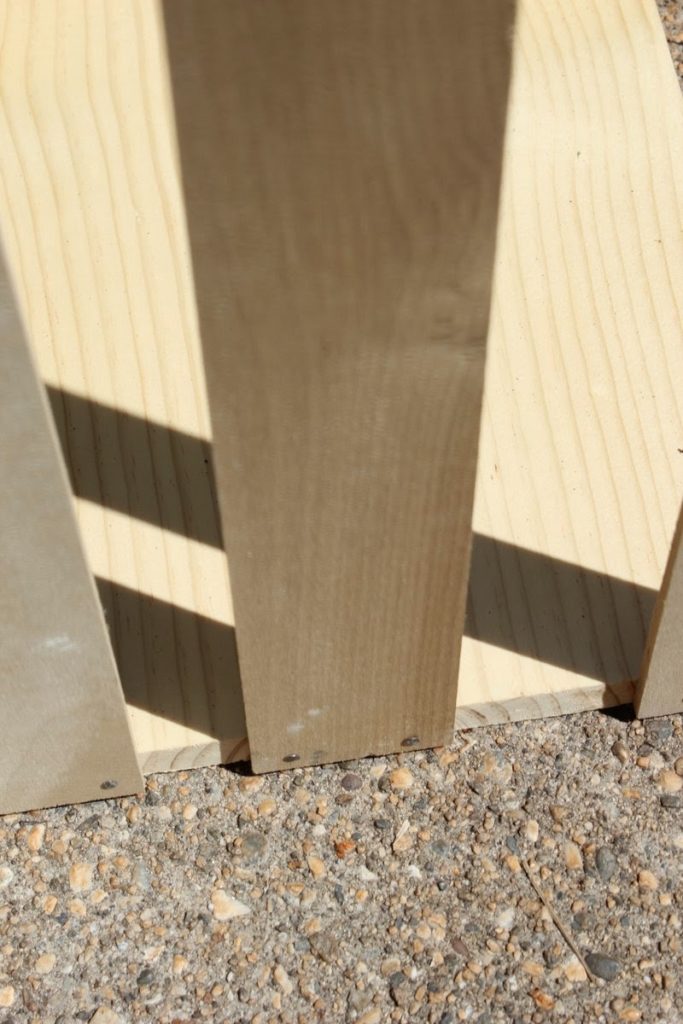
I started by position the top slat in line with the top of the edge of the ends
and then spaced them evenly with the bottom slat ending up even at the bottom
does that make sense?
1 slat at the top, 1 slat at the bottom, 1 slat evenly spaced in between
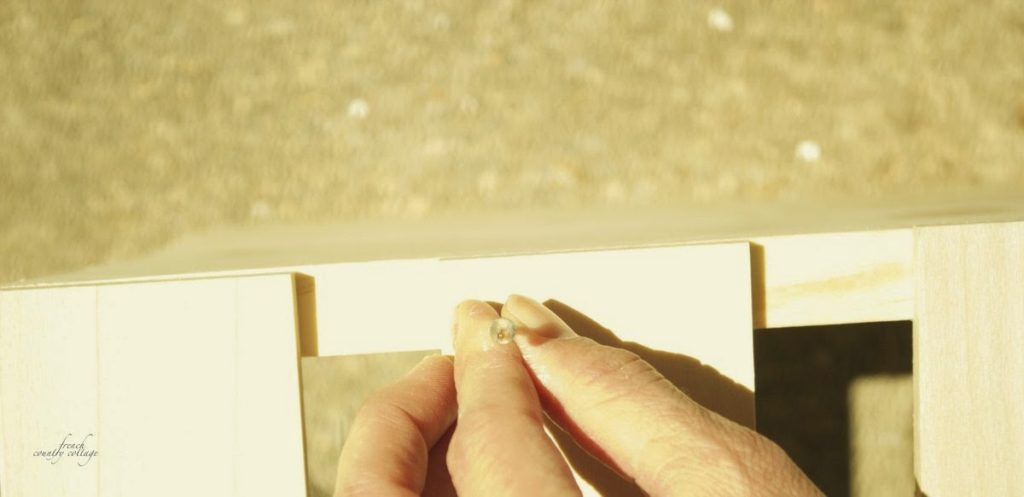
I used my grandfathers probably vintage nails that I found in his workshop for these crates
because I loved the old look and the little bit of age and rust look that they have
Nail each slat with 2 nails and then repeat at the other end
Repeat for each of the other 2 slats and then flip it over
and repeat it again.
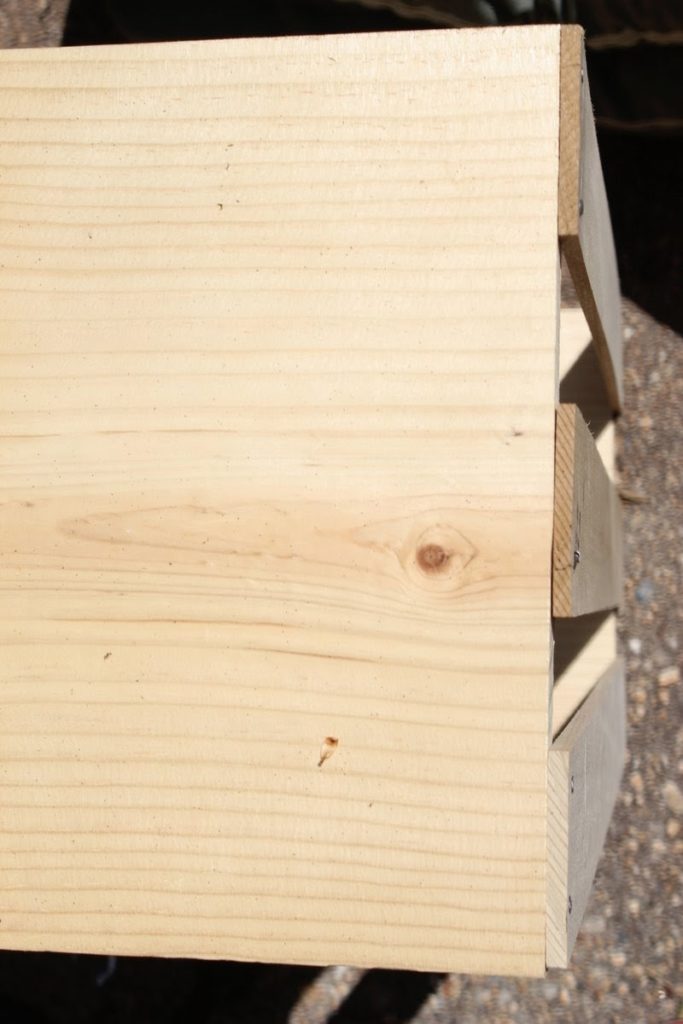
You should have something that has slats on both sides and is open on the top and bottom.
So you can probably guess the next step is to repeat attaching the slats to the bottom.
Now you should have a chunky little unfinished crate that is looking so cute already
but one more thing to really add that charm
The rolling wheels.
Each crate will require 4 casters- which are at Lowes near the rope
and pipe section
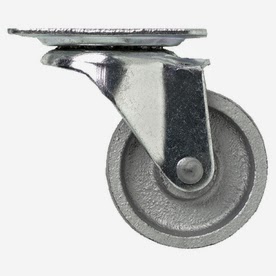
I used a swivel metal caster – they are around $6 each and you will need to make sure you get 4 of them. Since these are all metal- I liked the more vintage vibe they have.
Some casters come in packs of 4 – truly up to you what you want it to look like.
Some casters come in packs of 4 – truly up to you what you want it to look like.

Simply flip your crate over and place them into the corners
and attach them with small screws
Next is to stain and/or age your crate.
Unfortunately- I didn’t take photos showing the staining process- I know- my bad.
I used a honeyed pine stain that is available in the paint section. After that
I like to add a bit of antiquing.
I love when pine ages just a bit and gets that weathered grayish look
So you can either leave it outside in the weather for a bit 😉
or add an antiquing to it to give it that look.
So you can either leave it outside in the weather for a bit 😉
or add an antiquing to it to give it that look.
I have had good luck with watering down a darker gray or black paint
or by using an antiquing gel thinned a bit
Brush it on the wood and quickly wipe it off
You don’t want too much to grab onto the wood at one time
and you can always repeat.
Brush it on the wood and quickly wipe it off
You don’t want too much to grab onto the wood at one time
and you can always repeat.
I like to add a bit more in areas as well to really add some character and some natural rough areas
or knots in the wood will pick up more color as well.
or knots in the wood will pick up more color as well.
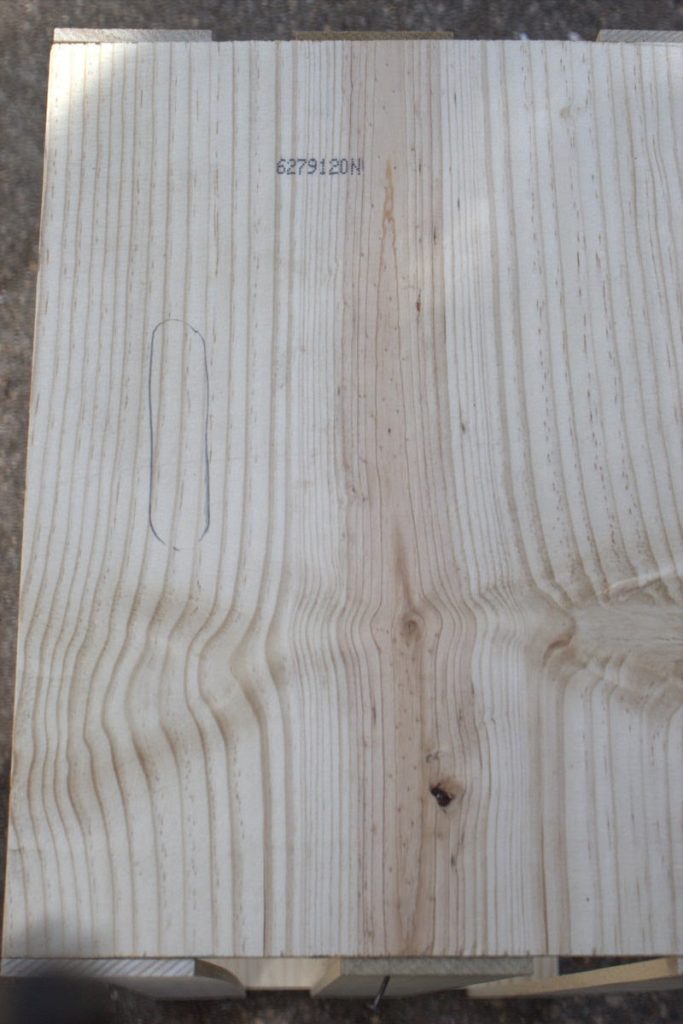
I did add cut out ‘handles’ to the ends of my crates but in the interest of keeping it easy
you can attach a simple rope handle
you can attach a simple rope handle
to the crates or leave them without a handle at all.
Enjoy!
Disclosure:
I am not a trained professional and am simply sharing how I built something
I will not be held responsible for any injuries or damages
that might result in you attempting to make any project that you have seen on my blog.
Remember to use all safety precautions when working with all
tools, stains, paints, etc and when working on any diy job
If you are not familiar with how to do something or are not proficient and comfortable
using power tools- consult someone who can help you
Do not just wing it!
Enter your email address:
Delivered by FeedBurner
i can't believe how beautiful and chic you can make a pine box on wheels look. these are fantastic and so functional. i am guessing your DIY is going to blow up big time because this idea works for every home!
happy monday!
michele
I love these crates. I have just dug out my record yes I did say record collection out of the barn and need somewhere to store them.
This will be perfect., and fit in with the room.
Rosezeeta.
A creative way to use a crate in a home's decor. They are useful in every room. Thanks for the great tutorial.
This is such a great idea and seems pretty easy (for my hubby to do:):):) Thanks!!!!!!
I love the look of crates about the house. I am sooooooo trying this!
Jeanine