It has been raining and raining and raining here…
pretty much for weeks!
Can you believe I wore my winter coat this weekend…
it’s June!

California has been unseasonably cold and wet this year
so outdoor projects have taken a back seat.
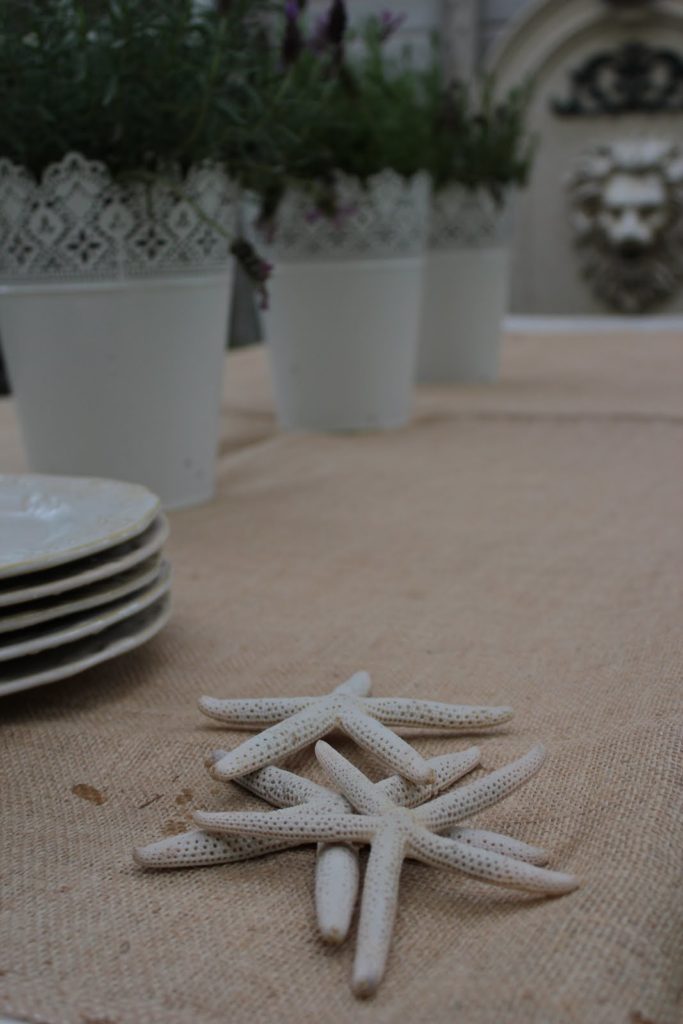
But there were a couple little breaks in the rain yesterday so I ventured out
& snapped a few pics for the farmhouse table how to
that I promised you a couple. weeks. ago.
🙂
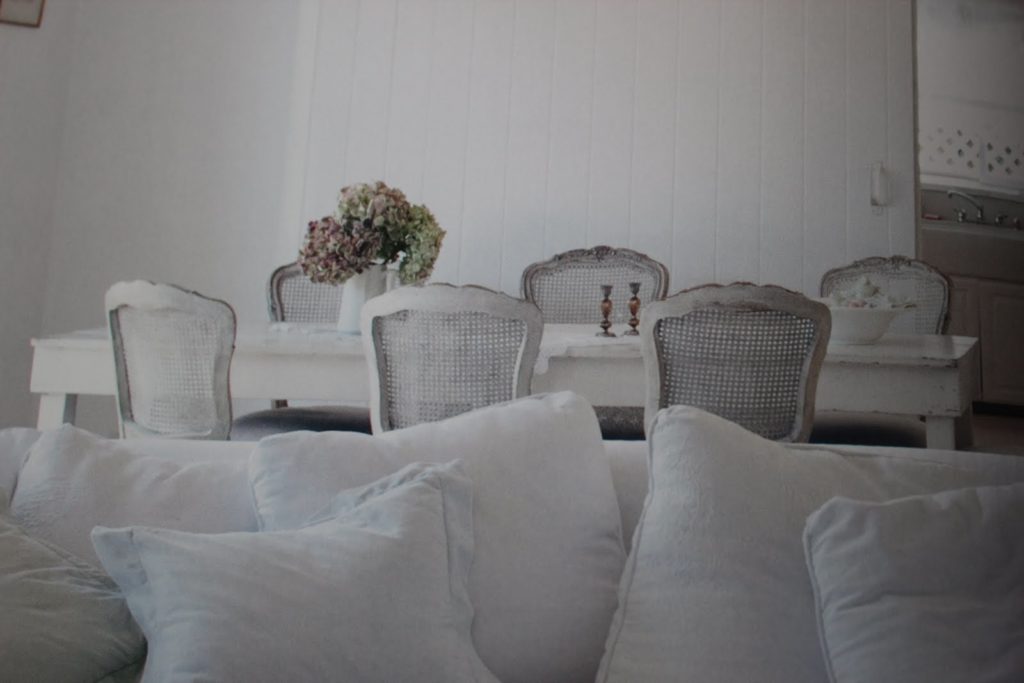
I have seen so many wonderful old tables in my design books.
and wanted something rustic, warm, charming and farmhouse sweet for the patio.
Here are a couple of my inspiration pics.
Rachel Ashwell
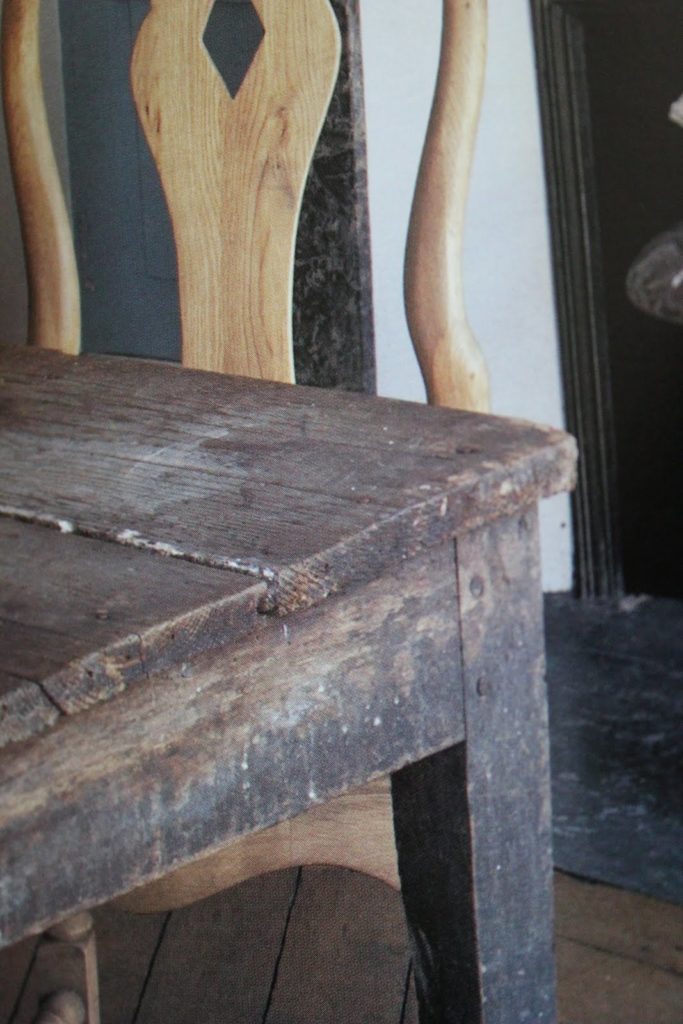
Josephine Ryan
I wanted something
Simple.
Charming.
& shabby sweet…
On Mothers day weekend, the boys decided to build the farmhouse table for me
as a Mothers day gift.
After a trip to the hardware store to gather up supplies~ we got started.
Here’s our material list:
1 12′ l 4×4 (legs)
4 8′ l 2×4’s ( frame sides and support)
5 1x8x10 or 2x8x10 pine plank boards for the top.
Metal corner brackets
Bag of small screws (2″) for attaching the top
Longer screws for securing the legs to the frame
We used standard height for the legs-
32″ tall
(remember the top board adds a bit too)
The overall table measurements are
3.5′ wide and 9 ‘ long.
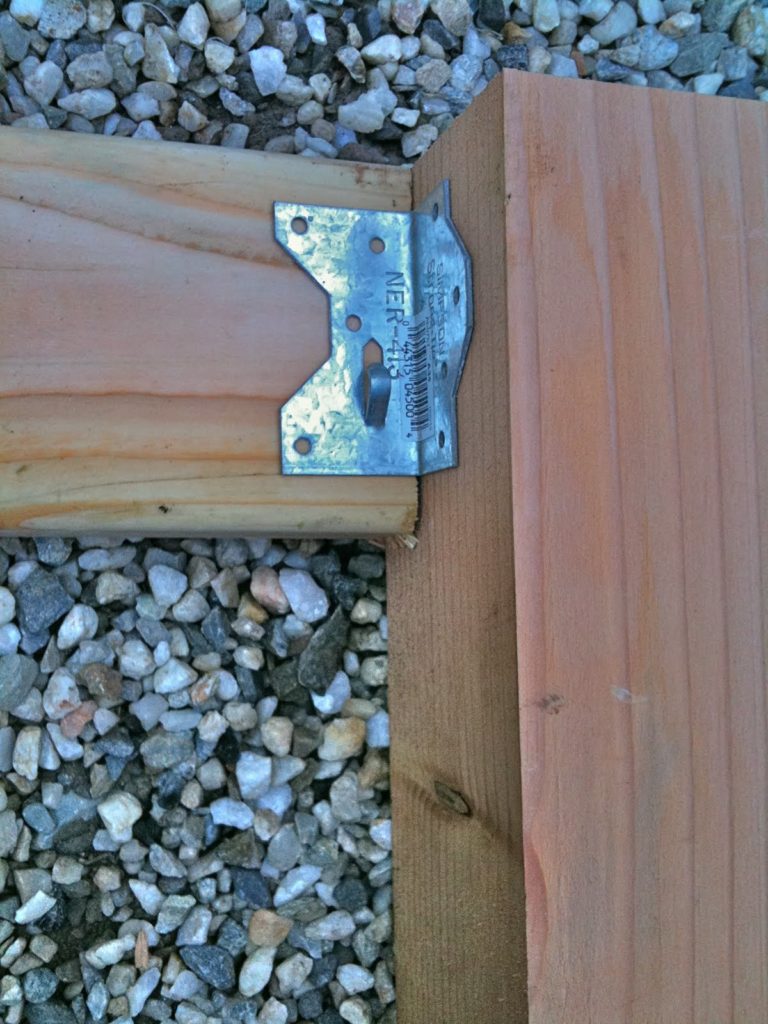
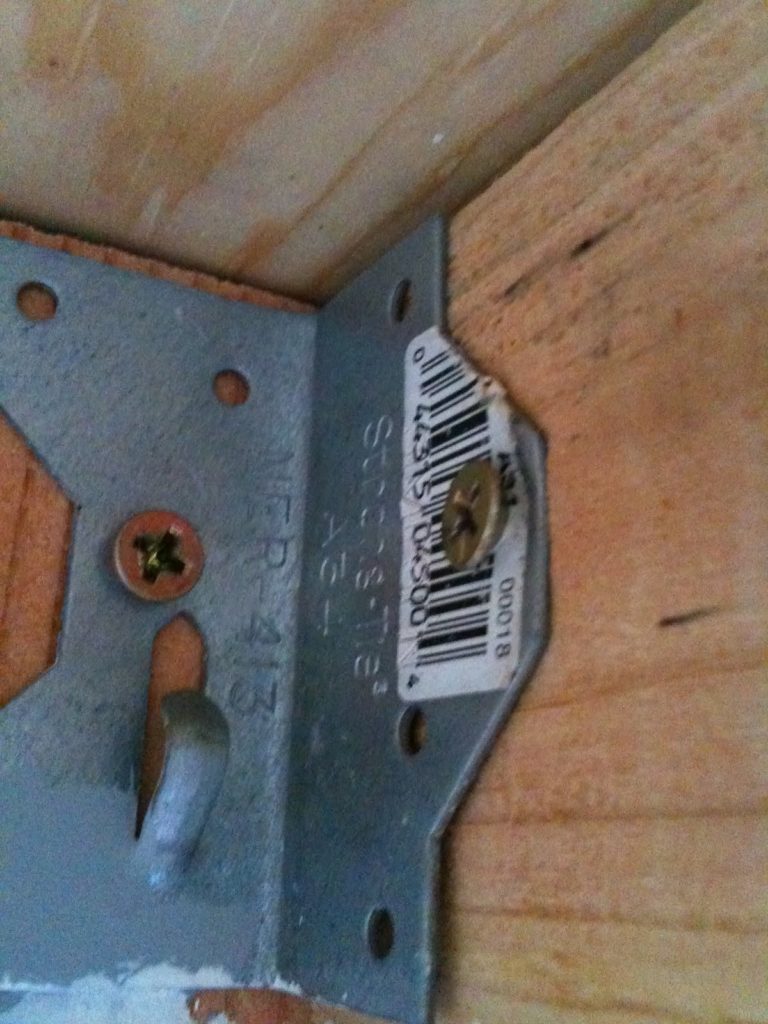
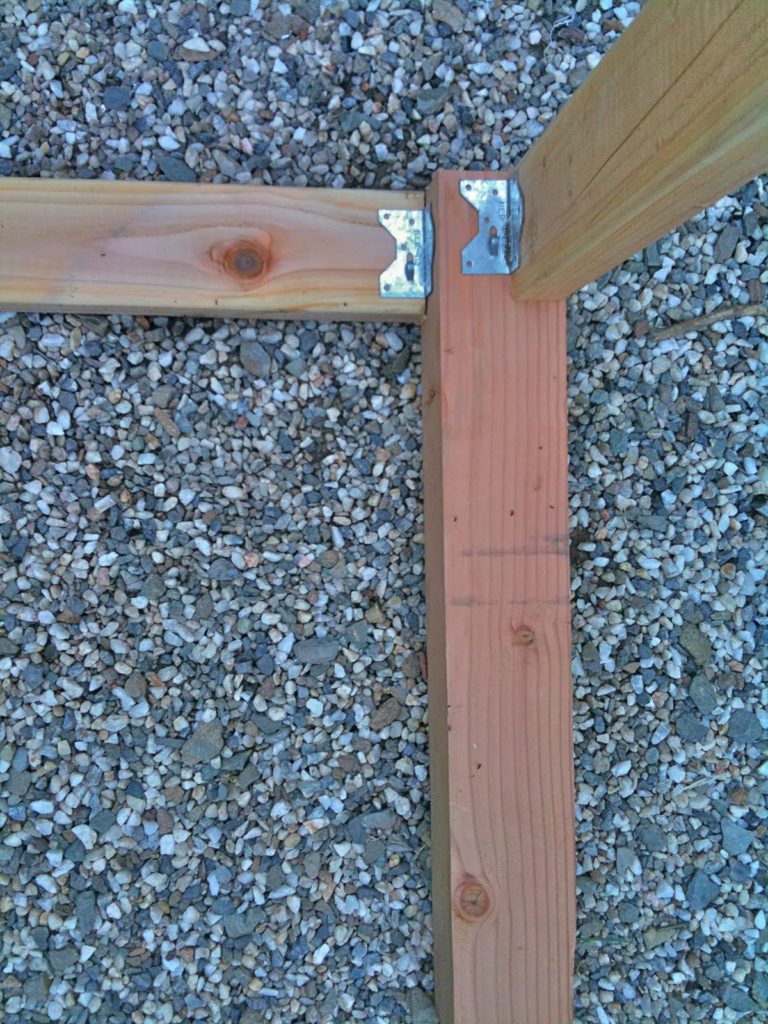
We also used corner brackets that were leftover from another project
but you can buy specific corner table brackets
that are made for making tables and helping with stability
or you can use a piece of wood with the ends angled and attached to each side board
for support as well.
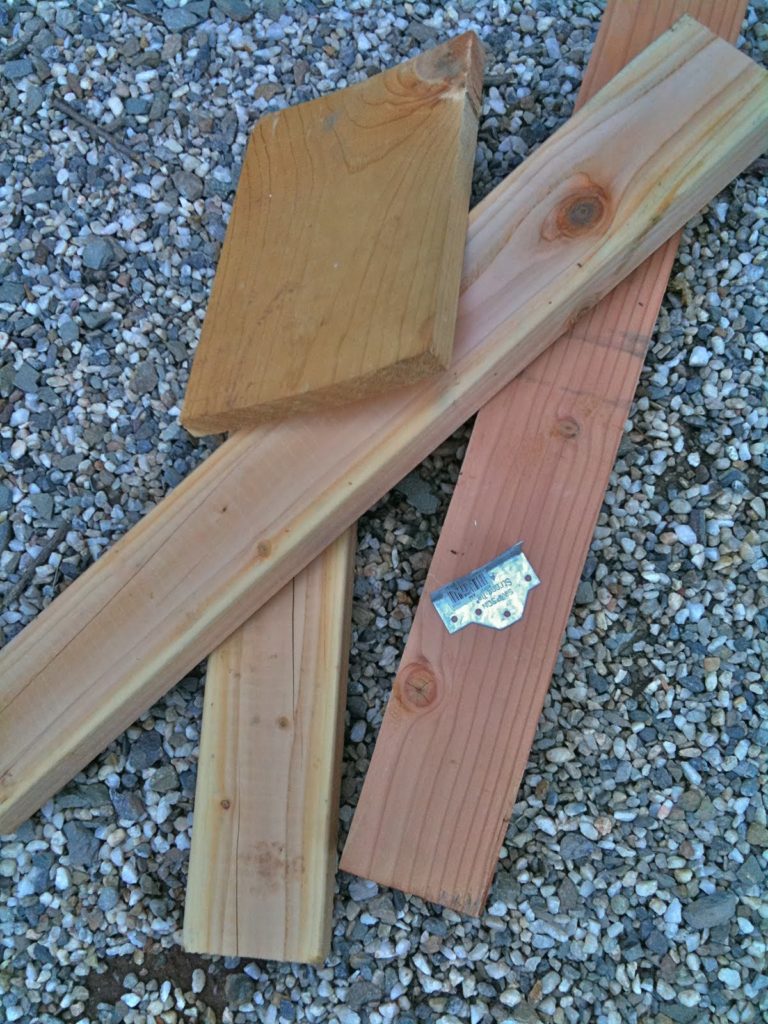
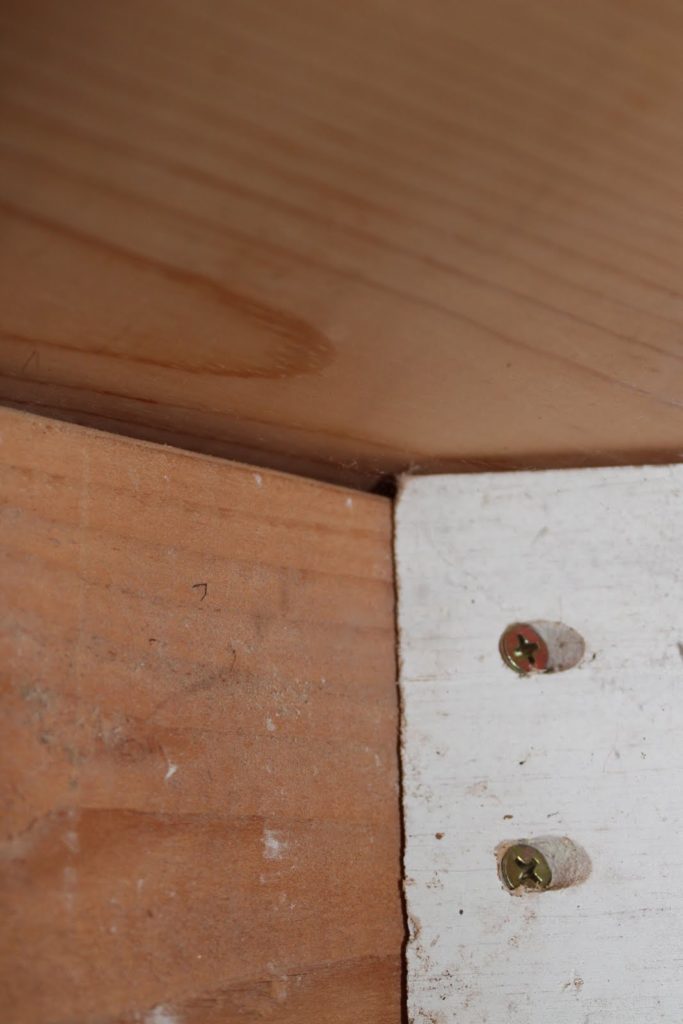
Since I didn’t take photos while doing the project-
(bad blogger)
I am showing scrap pieces of wood for the how-to.
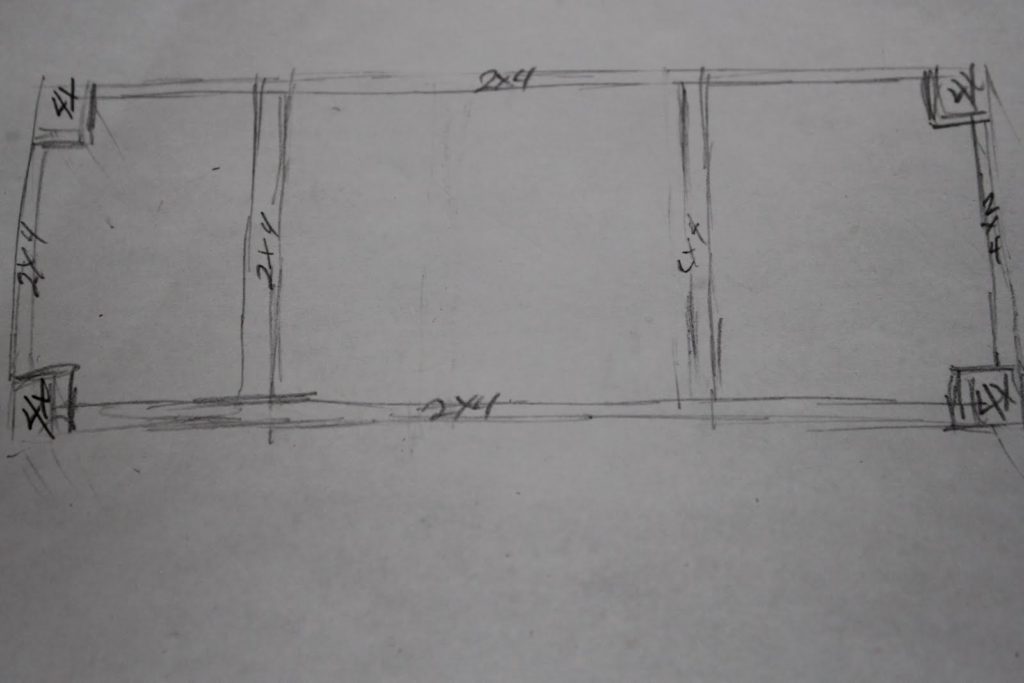
(Excuse my quick primitive drawing-
trying to show a top view plan)
We started by laying out the pieces of wood on the patio-
and measured the 4×4 into 4 ~ 32″ sections and used chop saw to cut them.
These 4×4 pieces became our legs.
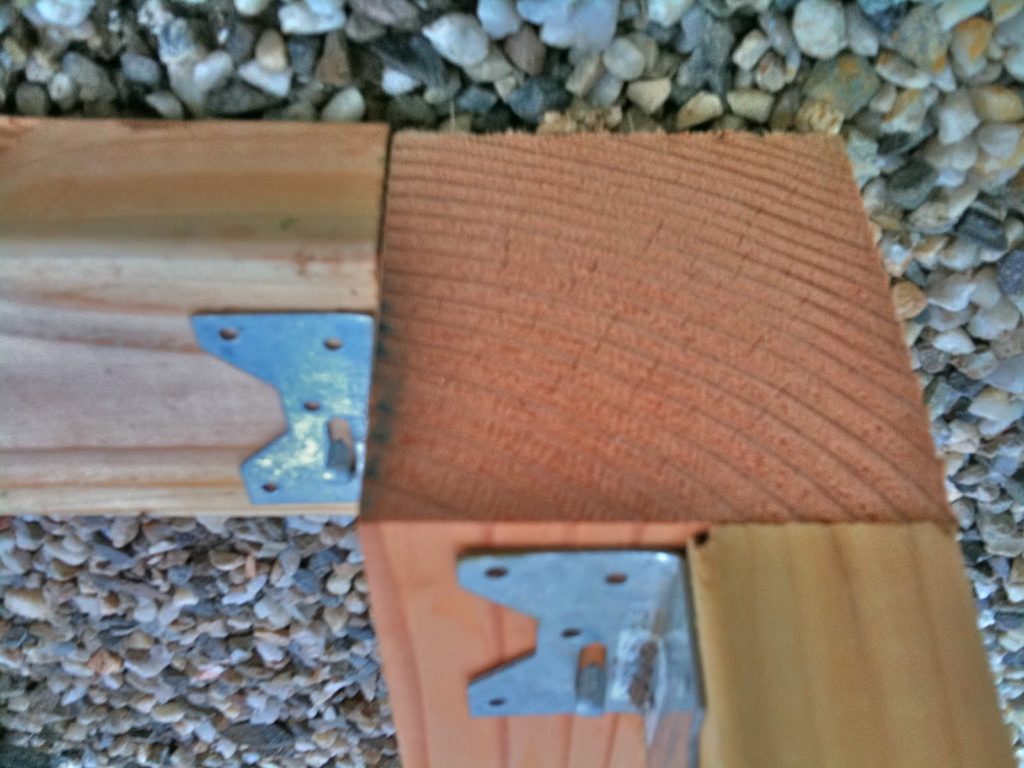
We then took 1 of the 8′ long 2×4’s for one of the long sides
and attached the corner brackets to the 2x and the 4x with screws.
With another 2x4x8~
cut to the width of your table and attach the corner brackets again.
(our table is aprox 44″ wide- but with the 4x’s on each end,
we cut the 2×4 frame end piece at about 36″ each )
(Showing just 1 screw on each side- I recommend 3 on each side)
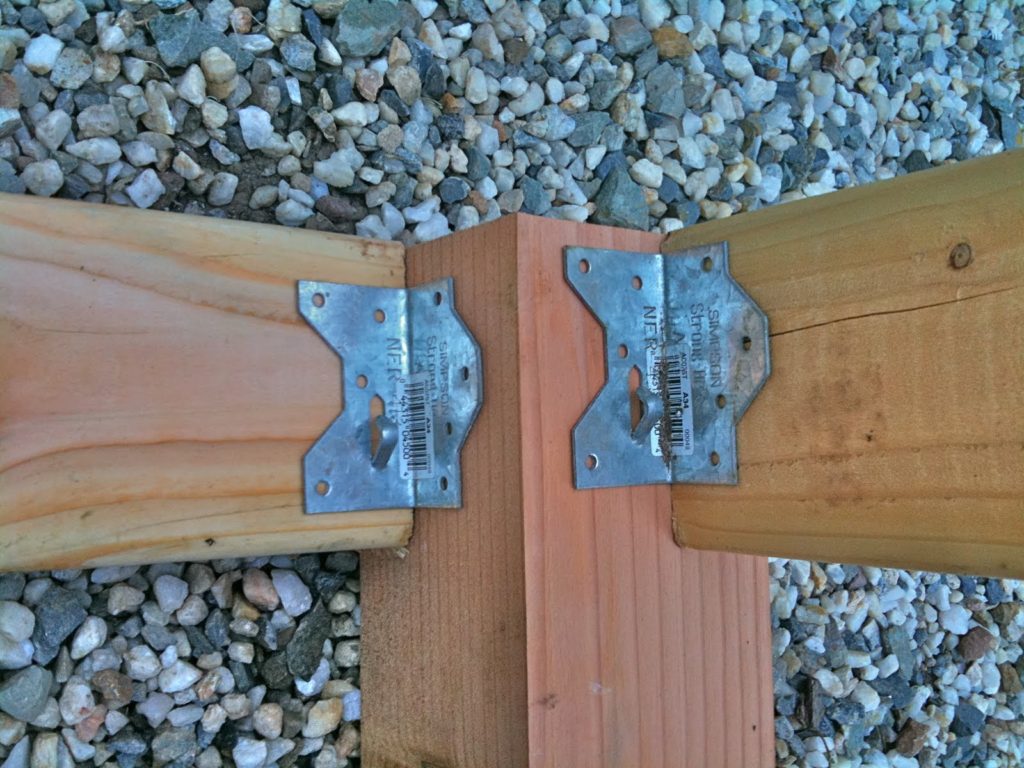
Repeat for each corner and
voila!
you have a frame!
The boys also added extra pieces of 2×4’s
across the center of the frame for support of the frame
and to help keep the table stable.
Flip your frame over and admire your work so far!
The next step was to place the top planks (1×8’s or 2×8’s) on the frame
*Make sure that the frame boards are all the same height before adding
the top planks or you will have an uneven table top*
I am showing 1×8’s here but you can use 2×8’s or 10’s or 12’s
or whatever wood you would like for your top.
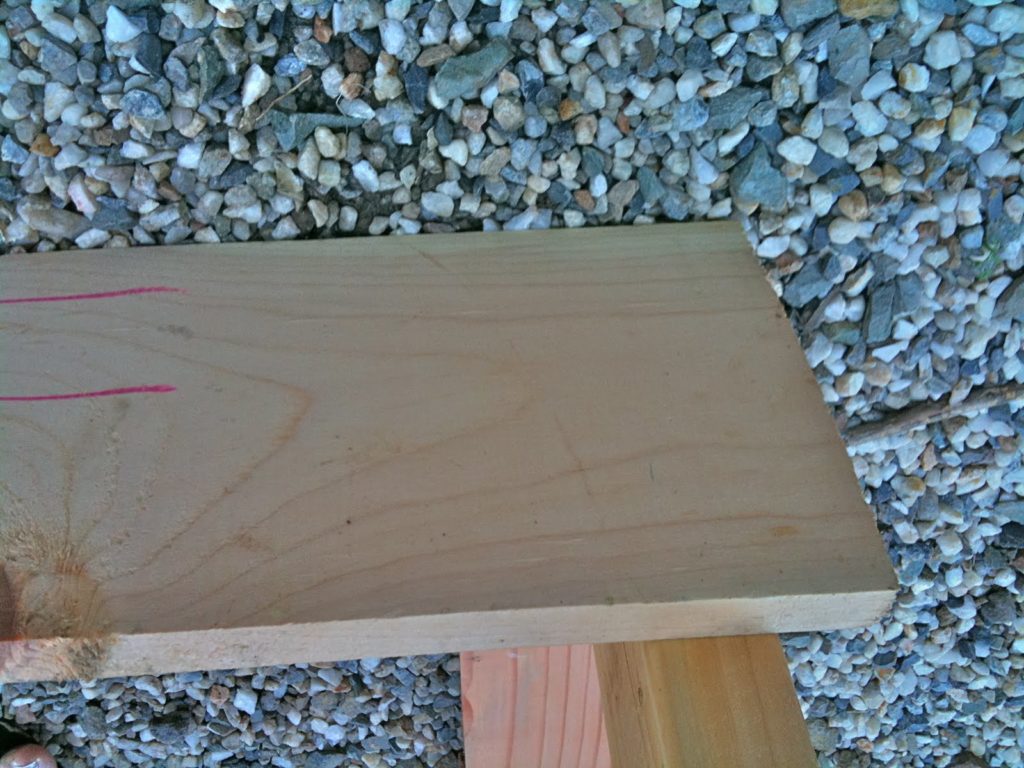
We marked the length on the planks and cut them- allowing for desired overhang.
(our top boards measured aprox. 108″ long)
Individual boards may not be completely straight
or may have a bit of an indent or knot hole on one side
so just set them as you are happy with them.
Since my table was rustic in design,
I didn’t worry too much about gaps or blemishes.
I wasn’t sure yet if I would stain the top or paint it
so we wanted to hide the screws that hold the top to the frame.
But if you don’t mind putting the screws down through the top boards
and into the frame – that is much easier.
(You can go back and fill the holes with wood fill before painting)
We put our screws in from underneath.
While under the table,
put the smaller 2″ screws into the frame on an angle and go up
through the frame and into the top boards
(just make sure you have the correct length screw so
as not to come through the top.)
You can pre-drill holes for the screws to sink into and you can also use brackets
at each top board/frame board if you would like
Also if you have a second person who can push down
on the top planks while doing this- it’s much easier.
*Again, just make sure the screw does not go too far and come out the top.**
You also want to secure the top on the center support bars
as well by doing the same thing.
Once the top is all secured… and your frame passes the wiggle test …
You have a table!
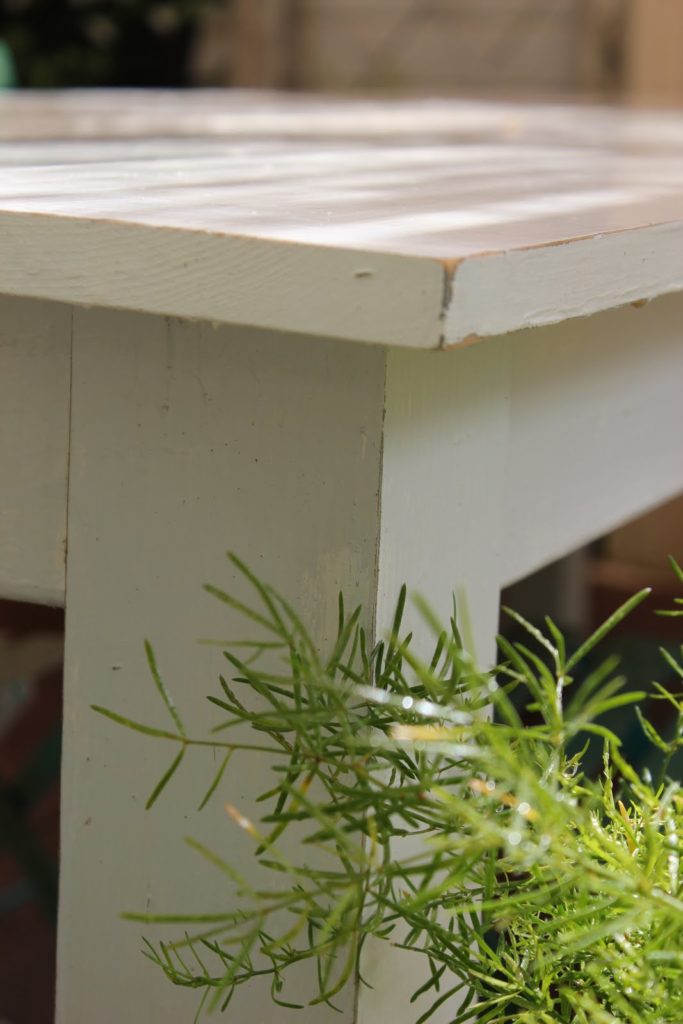
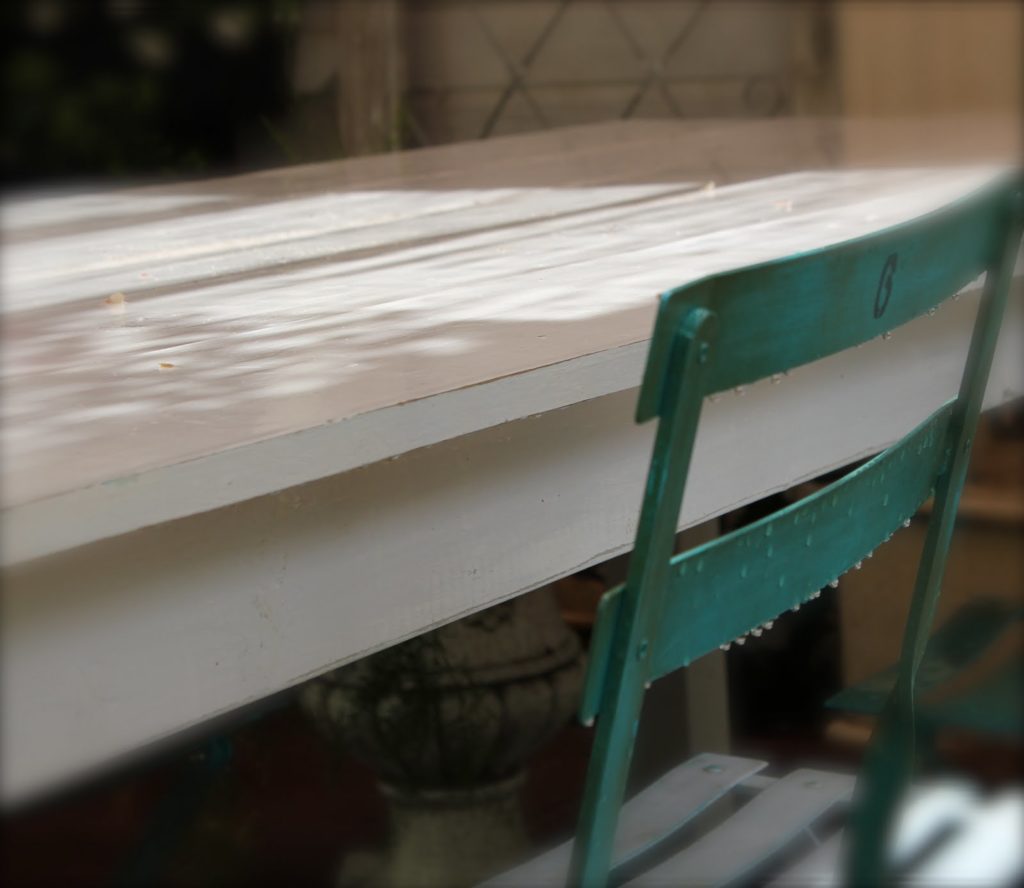
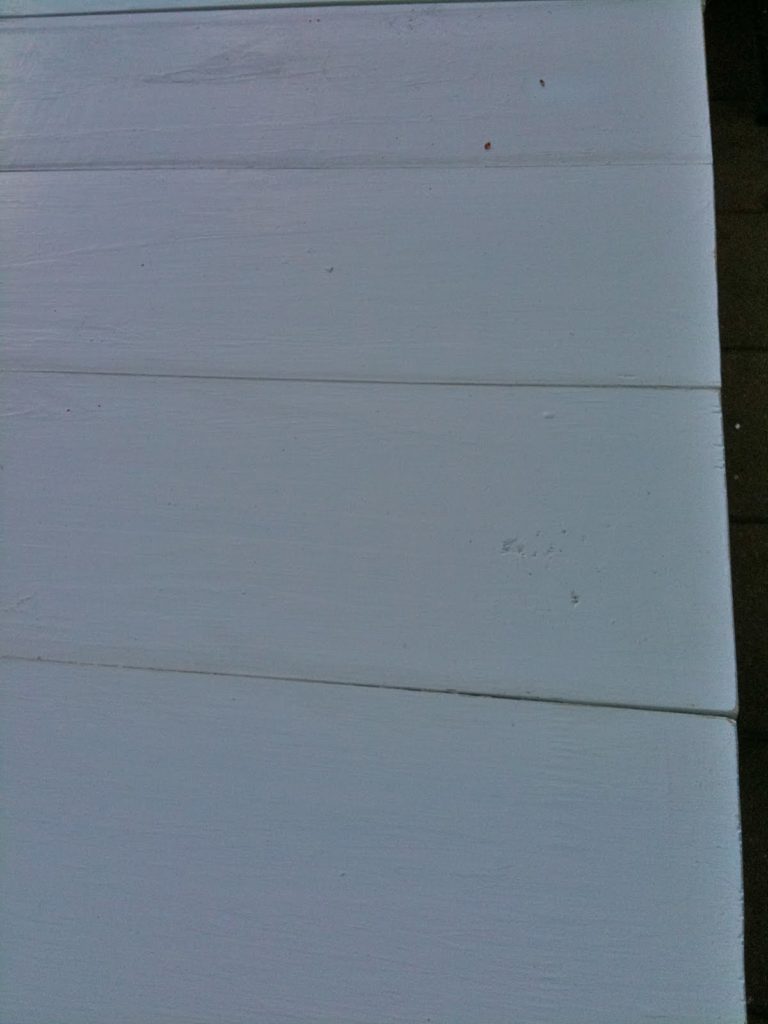
From there ~ it’s sanding to smooth the edges all around
priming, painting and sanding again for a bit of distressing.
I painted 3 coats of exterior semi-gloss
white paint since this table will be outdoors.
The cost was about $60 total in materials for everything.
Our table is rustic and probably not built to code~ lol!
but it is sturdy and fantastic and the boys did such a great job on it.
I had so much fun building it with them.
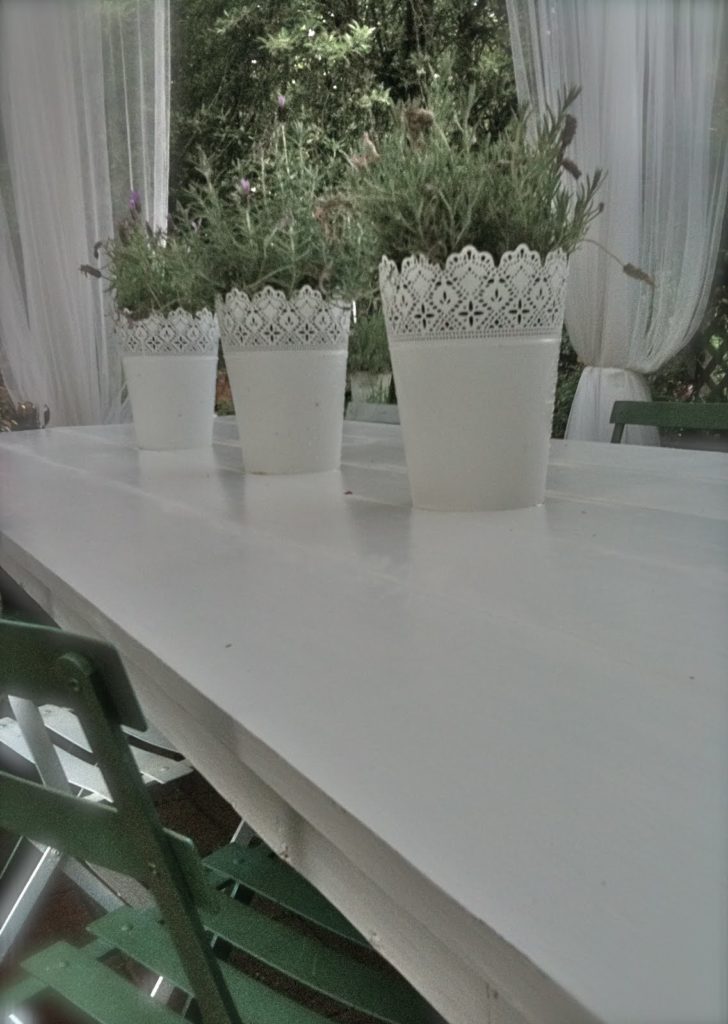
Loving it…
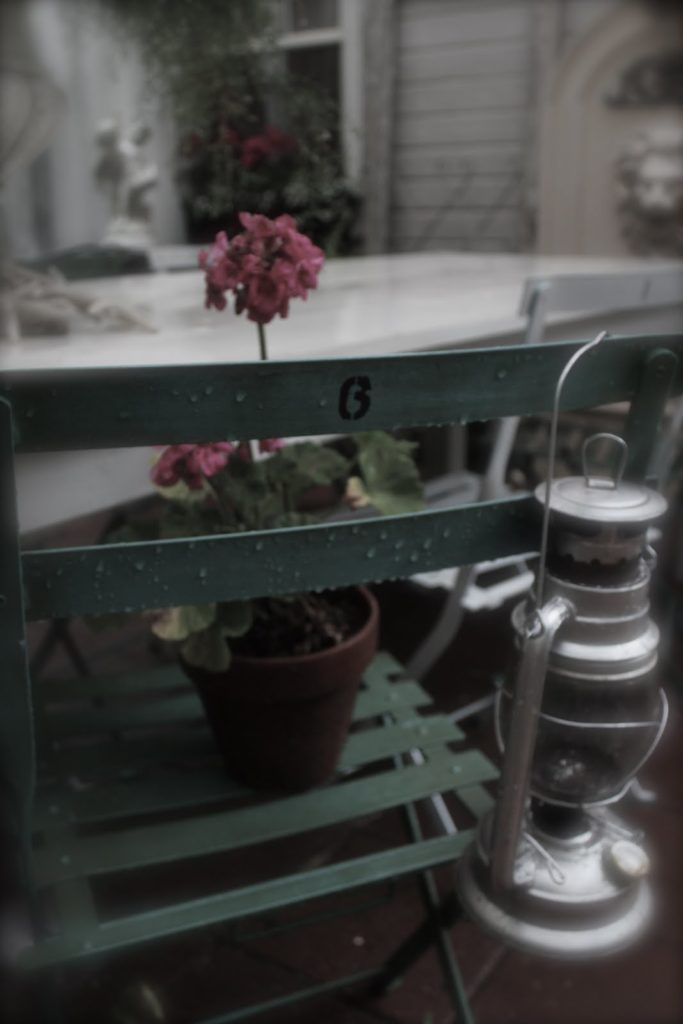
I’ll share the table all styled and pretty
once the rain decides to take a decent break.
Happy Monday Everyone!
sharing at
I love this Courtney! You make it look so easy – now I want to make a table and I don't even need one! 😉
What a wonderful Mother's Day gift! It's gorgeous and I love farmhouse tables!
Jeanine
Way to go! Farm tables are so popular today and yours turned out great. Can't wait to see more of it as the weather get better there for you.
Jan @ BellaCasa
I love it Courtney!! Martina
Wow! Your table looks amazing! Love the white finish! Terrific Tutorial! Thanks for sharing.
Court, Truly lovely!! It's been raining here for 3 days. Where is our Sunshine?? =) Happy Monday!
Wow! This is great and looks easy to make too! You've got a real winner!
Good for you guys! You did an awesome job, and have a darling farmhouse table to show for it!
Cindy
Courtney, I do love that table and was amazed that you and the boys built it yourselves. Sorry you are having cold wet weather. We are quite the opposite. Hot and dry. We need rain. Send it this way.
I love it, Courtney! You and your boys are so talented. I want one now!!
XO,
Jane
Hi Courtney! You are absolutely the smartest one! what a wonderful table and it looks gorgeous! You're going to enjoy it.
Be a sweetie,
Shelia 😉
Just gorgeous Courtney! I still think that that was the sweetest thing that your boys did for you. 🙂 I hope that it clears up so you can use your beautiful table.
XO
that is a great table and one with heart!
Can I borrow your boys??
This table is so pretty, I hope the weather gets better so you can enjoy it…
Pattie
Love it!
You did good, Courtney! It looks great! I think you ought to give those boys a job building and selling those tables! I'll bet you'd have all the orders you could handle. xo Diana
Thanks for the great tutorial, Courtney! I'm saving this for a future project down the road. 🙂 One never knows when one needs another farm table, you know?? lol!
Great Mom's Day Gift and great memories, too! ♥
xoxo laurie
Hi Courtney,
I Love your Farmhouse Table, you and your boys make a great team.
Just think of all meals and good times you will share at that table with your family. A gift that just keeps on giving.
All the Best,
Christine
What a wonderful gift! It looks great.
That looks amazing and how sweet that your boys made it for you! Makes it even lovelier:)
Love your table! My hubby made a table like this for our backyard. It's sized "just for two" and we call it our bistro table. It fits beautifully in a little alcove area that sorta grew up on its own from trees, irises, etc. Very nice! I tell him what I want, he builds it. Love him! 🙂
Well, I'll say it again. Looks Fabulous!
I love your table. If it is sturdy enough, then I bet it is made to code.
Your boys *rock*, Courtney!
I love this!!!! I have been looking for a farm table like this for quite a while, though I want mine to be 10ft long….. lots of wine drinking friends… LOL. The cost factor to buy one I was at a crafts show this past week end and they wanted $650 for a table that looks just like this one!!! and you made it for only $60??? wow. I am going to get out my saw and get to work. Thanks for the inspiratation!!!!
what a fun project to do with your boys!
I might try doing one of these myself!
love it, it turned out great Courtney!
: ) Cheryl
Love it! If the boys had time, I'm sure they could sell as many as they could build. You guys did a wonderful job on this…and I love farmhouse tables.
I'm a new follower and anxious to look around for awhile. Stop by and say hi when you can ~
Pat
Hi Courtney, Thanks so much for stopping by last week. It's so nice to meet you.
Your table turned out darling. Good job!
I hope to join in on some of the blog party. I'll be out of town part of the week, so I'll join when I can.
What an incredible gift!! Your boys (and girl too I'm sure) obviously inherited your talent and this was so sweet. It is truly fantastic in all of it's rustic beauty and I'm sure you are going to enjoy many an evening lingering over dinner there. 🙂
Vanessa
Thank you Courtney for sharing the tutorial! I adore your table and would love to have one for my deck. Hoping I can talk hubby into helping me build one. Sorry about all of your rain. bleh. Wish you could come out here and join my by the pool for a few days. Wouldn't that be fun?!
Heather
I think it's fantastic that you all did this together! I am going to show this post to my boys – maybe they will get inspired! Well done! x Sharon
Love it. Thanks for the tutorial. I want my husband to make me a nice sturdy potting table and I believe this design will work perfectly! How sweet of your boys…what a nice mothers day gift.
Lovely! This would make a great desk in a smaller version too! Thanks for the great tutorial.
Courtney!..love this table!…great job! And such an inspiration, I want to try this myself!
You make it seem easy!
~Jo
LazyonLoblolly
Courtney- You have a great blog … I think I'm going to have to become a follower!
Love the table … I'm sure it won't be as easy as it looked to make it but I'm putting it on my list to try.
I'm new to blogging and am having my first party called "Show Me the Bunny" with a month long giveaway… I'd be honored if you'd join in. I'll be back.
Blessings, L
Very well done Courtney. I was lucky to find a solid oak table at a yard sale that just needed some paint. Just think what you can do with this table. Please send the south your rain.
You lucky girl to have boys who build you lovely tables! 🙂 Thanks for the tutorial…I'll be sharing this with my husband!
wonderful pics~
What an inspiration. I love the table you built – so rustic, pretty, and useful all rolled into one. I'll have to show your table to my husband and see if he thinks we can do one too.
Hi Courtney-
Wow, my mind is in table building mode right now. I have a ton of scrap wood under my deck that will be perfect to make a table. This is a great project. I love your table – and great instructions – Thanks. I am going to go digging for the supplies.
My best- Diane
I love your table! what a fantastic job. I'm in awe of all of you ladies who can build things, I stink at it LOL.
Thanks for the tutorial girlfriend! You do make it sound easy *winks* How precious though that your boys made it for you!…..Priceless actually *winks* Vanna
So fresh and sweet…. LOVE it..
Warm blessings,
Spencer
Love your table – you and your boys did a fantastic job. I want to build a kitchen island, something very simple, and I think something like what you did, with a shelf added below and longer legs, would work. Thanks for sharing, you've helped me overcome my fear of starting 🙂
Hi Courtney! Your table turned out wonderful! I am sure you and your family will have many wonderful meals on it. I can't believe you just wore a winter coat..it was 104degrees here in Richmond yesterday! Talk about miserably hot. Thanks for joining my party.
Hugs,
Sherry
Wow, amazing work! This turned out absolutely beautifully! 🙂