I have had so many questions about the laundry room makeover and exactly how we got the look.
And so today- it is all about breaking it down how we took this laundry closet from basic to charming for under $500.
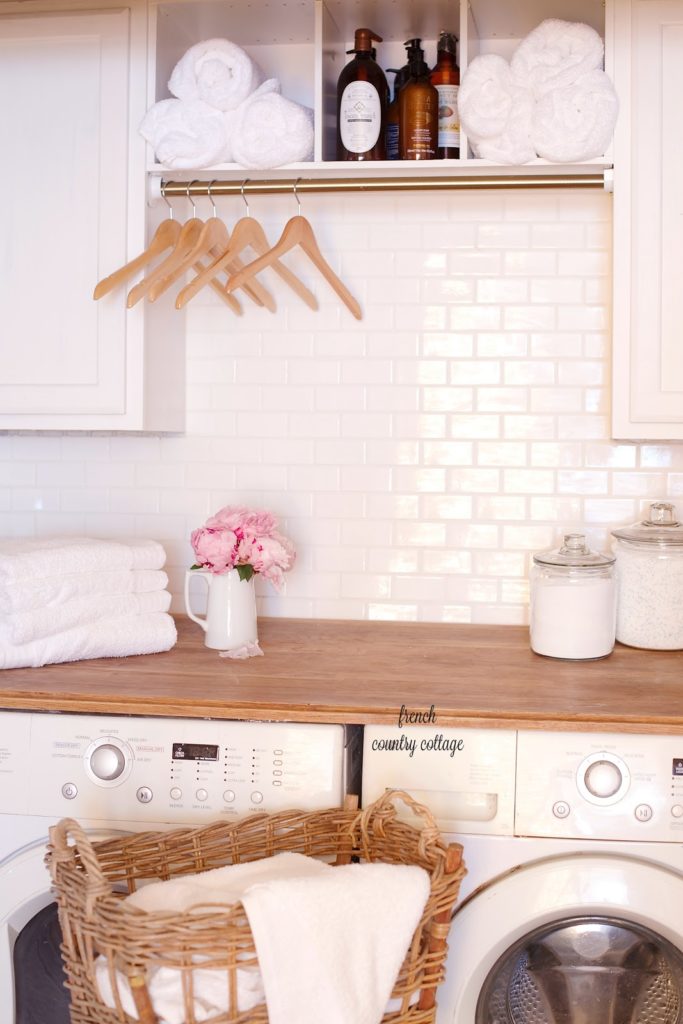
The best part- we didn’t even spend all of that budget.
Basically we came with a design plan abd of course I loved vintage inspired. French doors and a butcher block counter were on the list. And they could have easily eaten the entire budget.
Here is what we used:
2 Ready to Finish cupboards – Lowe’s (around $95 each)
Finished open shelf unit- Lowe’s ($20)
Gold clothes rod/ hardware- Lowe’s (20)
Subway tile- Lowe’s
Grout/mortar/etc. Lowe’s
Butcher block
French Doors
Most everything was right off the shelf at Lowe’s. The butcher block and french doors took a bit of searching to find – but check places like the ReStore or Craigslist for second hand pieces that will save you a chunk of change.
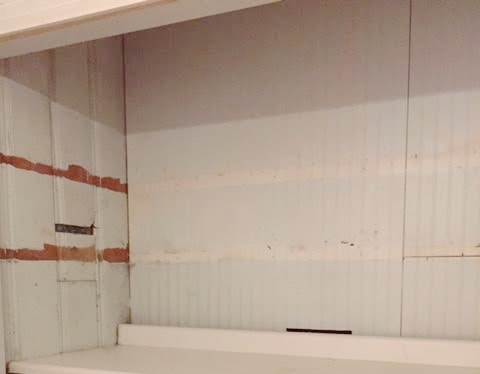
We started by removing the old shelves that were on the wall- which then left us with a bit of an uneven surface in areas- and not matched up knotty pine. The plan was to tile the back wall and then simply paint the side walls- but with the missing pieces of wood, etc we had to go to plan b and tile more area than originally anticipated.
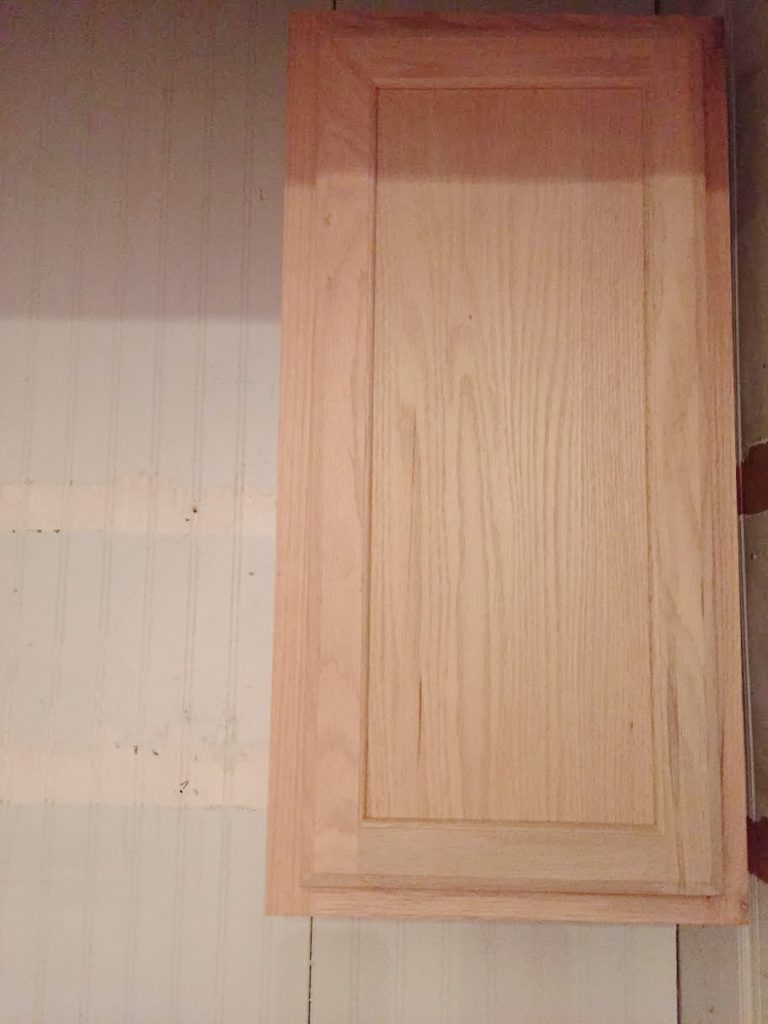
But before we tiled- we hung the ready to finish cupboards up- one on each side.
We used long wood screws and a brace at the back to hold them up-
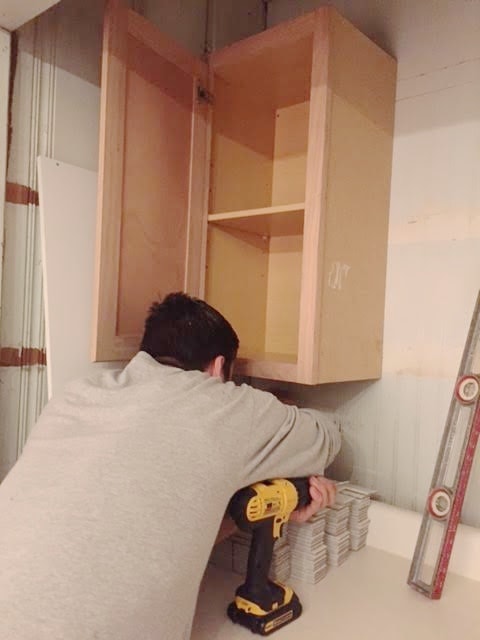
and then moved to the center section.
We used long wood screws and a brace at the back to hold them up-
and then moved to the center section.
The center proved to be a little hard to install due to the thin back it had which did not allow us to use that to secure it. Instead- we secured it from inside of the cupboards
and with a simple trim to hold it up.
and with a simple trim to hold it up.
After the cupboards were installed, leveled and ready to be finished- it was tiling time.
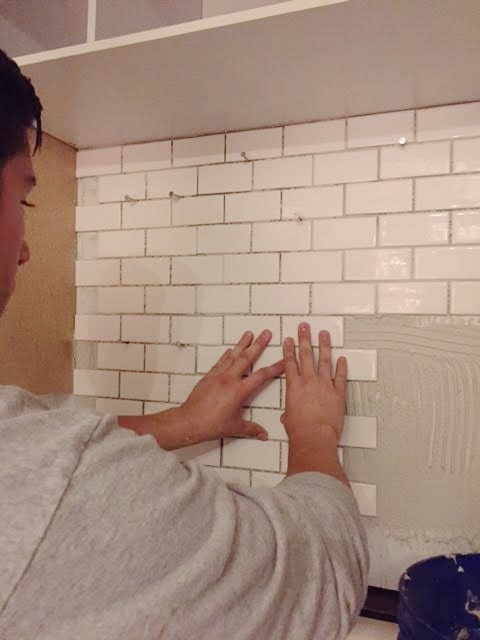
Cullan did most of the tiling himself- and he used my dad’s trick of using nails to keep the tile sheets from sliding. Anytime you have a tile that is supposed to line up and be level and you have a long distance to run it- there is a chance one will slip and go unnoticed until the whole wall is done. And then… that tile line running south is set and it is not a pretty thing.
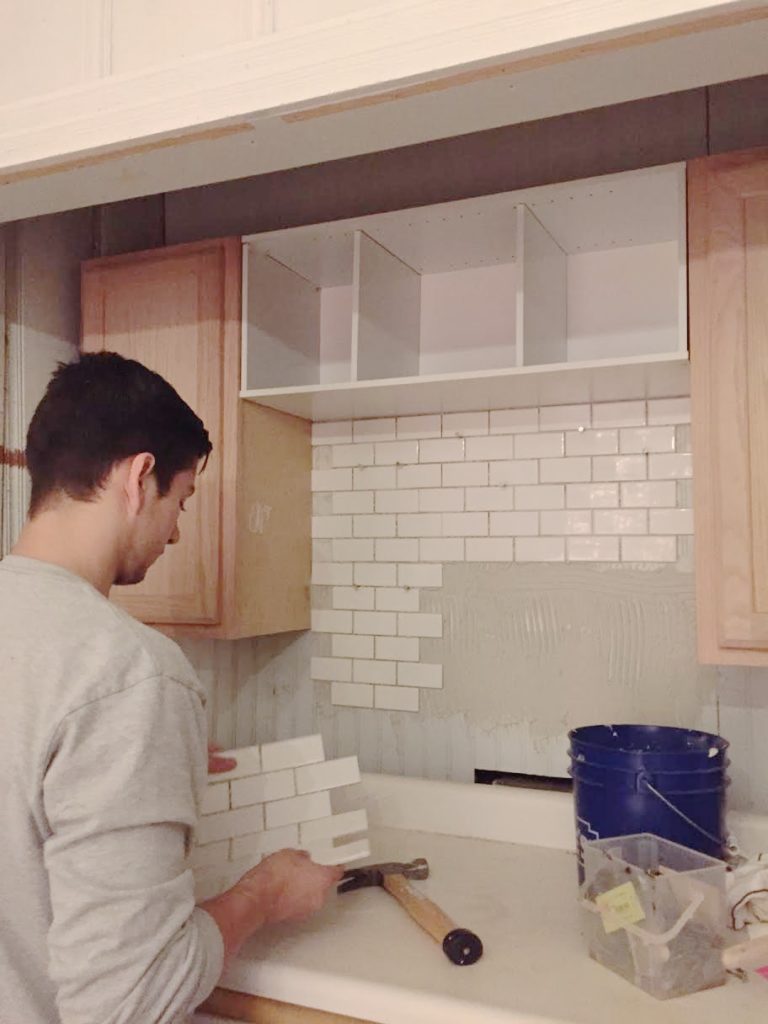
A tip is to use the sheets of tile.
The sheets go up in 12″x12″ sections rather than one subway tile at a time.
It makes the job quick and easy since they have a mesh backing that helps adhere the tile
and it is always nice to see progress with just a few steps since they go up so quickly.
The sheets go up in 12″x12″ sections rather than one subway tile at a time.
It makes the job quick and easy since they have a mesh backing that helps adhere the tile
and it is always nice to see progress with just a few steps since they go up so quickly.
Level, hold, tack and move along to the next.
In my original design plan wish list- french doors to close off the laundry closet- and a butcher block top. Either of those could have easily eaten up the entire $500 budget.
But by shopping used, the Restore and craigslist- we were able to notch those off inexpensively. They did require a bit of sanding and paint to clean up- but the savings was worth it.
But by shopping used, the Restore and craigslist- we were able to notch those off inexpensively. They did require a bit of sanding and paint to clean up- but the savings was worth it.
We also added lighting to the top of the closet- as well as an extra shelf
all along the top of the cupboards- which is basically just one of the original wide shelf boards.
It is a perfect spot for tucking extra toilet paper, tools and anything else we need often.
all along the top of the cupboards- which is basically just one of the original wide shelf boards.
It is a perfect spot for tucking extra toilet paper, tools and anything else we need often.
A fresh coat of paint on the rest of the room- Simply White from Benjamin Moore
and 3 coats of paint on the cupboards and it was a wrap.

This was a super easy, super inexpensive update that made a huge difference.
If you have any other questions that I didn’t answer, let me know and I will try to answer for you.
This is lovely. I especially like the subway tile. But I have a question. Where are your washer hookups? Is the washer set away from the wall so they can be behind it? Can you get to them without having to move anything?
They are just below the counter area on the back wall. There is a bit of space behind the washer but the wood countertop can pull towards front a bit to be able to reach them as well.
Love this, what a fabulous transformation.
I voted again! Huge fan of white, white subway tiles and butcher block. Nice job and love the price point!
Love it! When I renovate ours I will keep yours in mind! Did you tile the side walls too?
Bonjour chère amie,
Une buanderie fantastique… J'ai dans mes toilettes le même carrelage métro…
Gros bisous ????
It's all gorgeous! Just wondering why the doors to the appliances aren't placed more conveniently? I'm pretty sure they are adjustable.
You are so right… there was some reason why we didn't switch the door originally… not sure what it was. I will have to check into it again. 🙂
Love those ideas on closet organizing! Thanks.
Are the cabinets above the washer and dryer hard to reach because of the depth of the washer and dryer?
Hi there! They are not that deep so it works okay – the top shelves are harder to reach things in- but mostly just need a step stool.
How did you do the rod for the hangers?
Live it , it looks so bright and calming.
love it. it looks so bright and calming