Showers and celebrations are such fun things to attend- and to host.

Of course, those celebrations have looked more like virtual celebrations this past year with our no gathering world- and finding unique ways to celebrate those special moments has been a bit of a challenge. But as the world opens up just a bit more- those distant, outdoor gatherings are starting to pop up just a bit. And hopefully in the next few months- gatherings and celebrations will look a lot more like they used to.
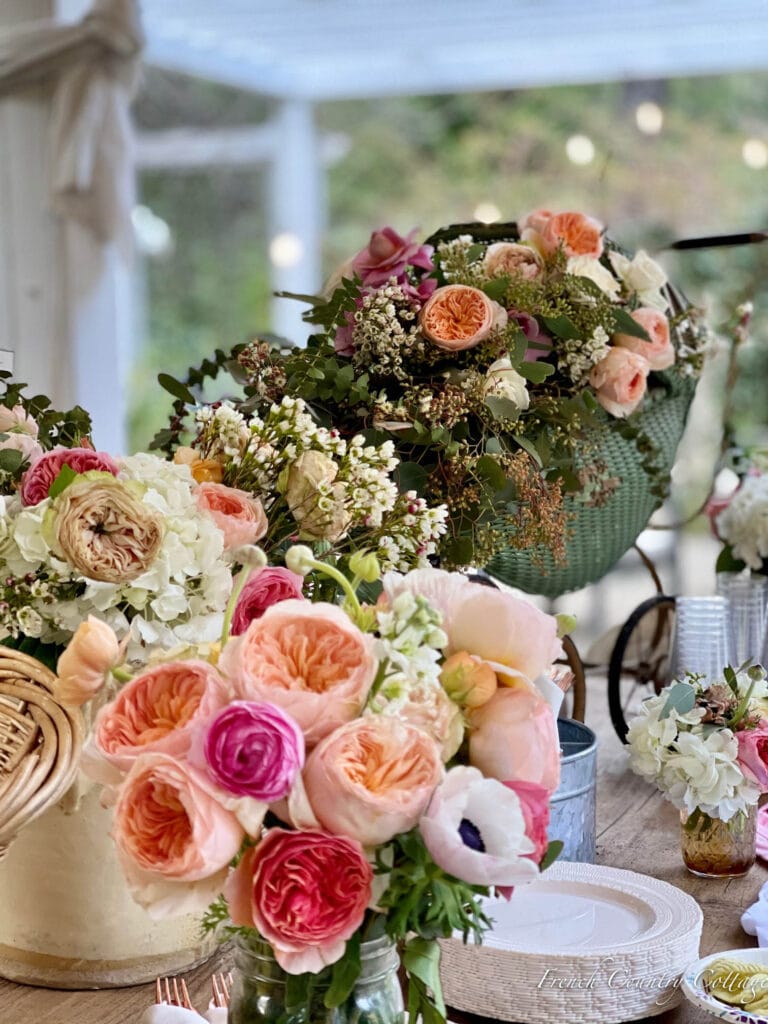
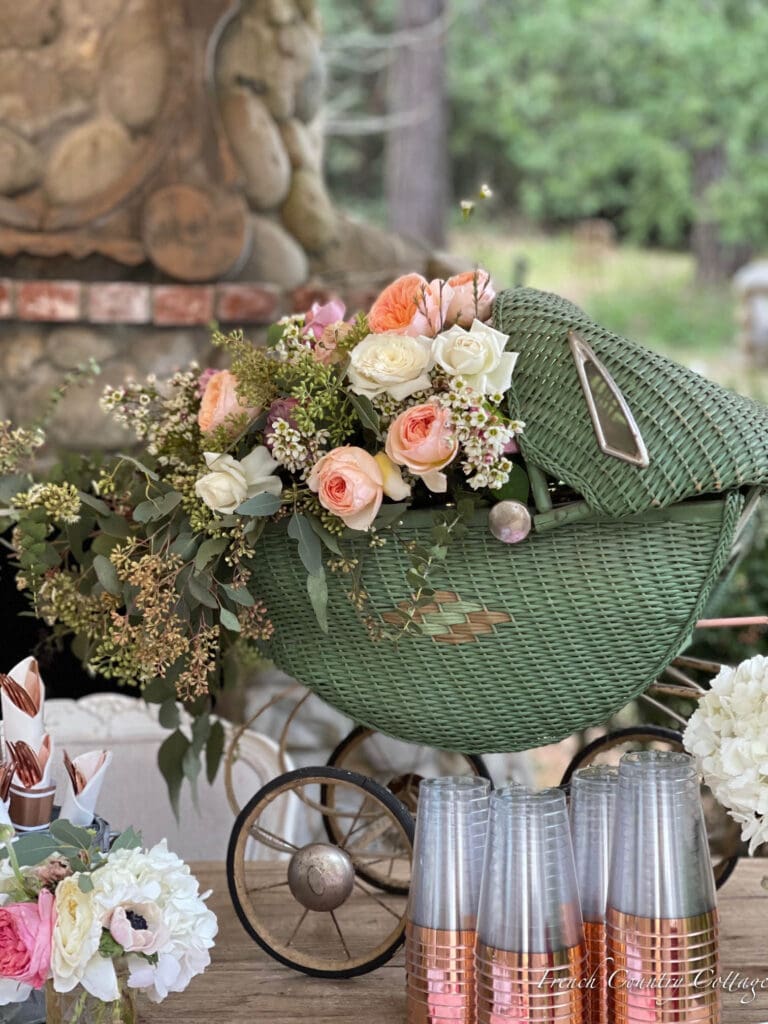
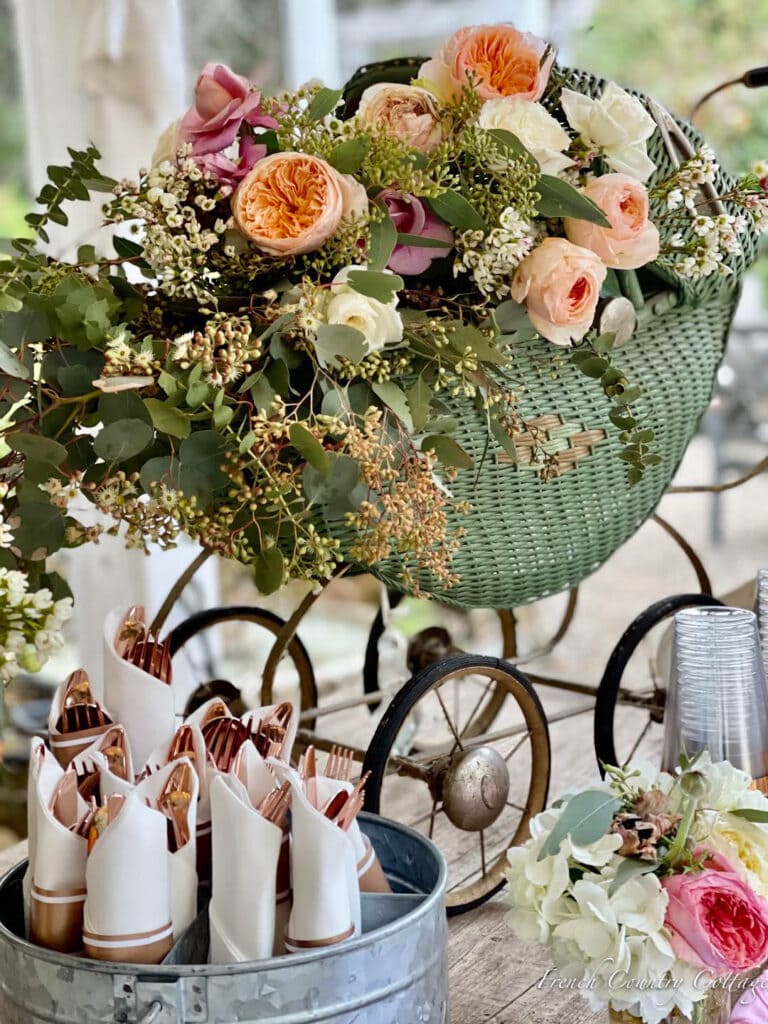
And with that in mind- today- it is all about the decor for that very small family only, outdoors baby shower celebration – and more about this beautiful flower idea for the table- and how to create it.
Antique Doll Buggy
While planning decorations and details to celebrate a new baby girl in the family- first and foremost in my mind was flowers on repeat. Everywhere. Since this shower didn’t look like a usual shower just yet- we didn’t set the long tables for everyone side by side- we created 8 different seating areas so that everyone could sit with their own family without being too close to others. Even with most people who came already vaccinated because of their job or eligibility – there were still concerns and it was safety first.

Since we didn’t do the big table for everyone to eat together- we created a ‘station’ with the decor and flowers. Everything was single grab- the disposable plates and flatware, glasses and nibbles. Bite sized cupcakes instead of a big sliced cake. Grab and go veggie chips in bags and individually wrapped sandwiches. Easy and simple and take it with you style.

But of course, I still wanted the new parents to be to feel like they had a beautiful celebration for their baby girl- one full of florals and pretty, balloons and lots of beauty. I set up a bike with balloons and a banner for a photo station and I wanted to include something whimsical. Something you might not know is that over the years, I have collected French & German antique dolls -as well as some fun little bits I have bumped into- such as a doll buggy.
Simple How To Create
To be honest, since this is a doll buggy and is quite small- I wasn’t sure how deep of a vessel I would be able to use and tuck inside for the flowers to sit in. So, I started with a casserole dish. haha.

Yep. You read that right. A several inch deep casserole dish filled with water. This was perfect for the eucalyptus greens to sit in and be able to soak up some water – but also to allow some of those upright flowers to soak up water as well. The easiest way to do this is to place a chunk of florist foam in the dish for ease of placing and setting flowers- or simply make sure the stems are in water and arrange that way.
Small vase or glass
Up next was something to allow all those garden roses and other flowers to hydrate fully. The hydrangeas would not last as well in florist foam – so I wanted them to be able to soak up water easily. I placed a small glass (just one right from the cupboard) with water into the buggy as well.
Flowers
Once you have the water/florist foam/ casserole dish (haha) situation figured out- it is time for adding flowers. Here is a list of what I used for this:

Garden Roses
Eucalyptus – spiral and seeded
Ranunculus
Wax flower

Create a Base & Add Layers
Start with the eucalyptus to create the base for the flowers. I left the branches long so they could ‘fall out’ the end of the buggy. Then I started tucking flowers.

The key to this look is to have flowers of different lengths and heights. Some longer that can lay nestled into the eucalyptus and some shorter that can create a ‘poof’ above. Once the garden roses were tucked- I added some longer more upright bits with the wax flower. Once you start placing flowers- you will see where you might have a ‘hole’ or an area where you need a bit more. Simply tuck a few more in- or grab something that has bulk like a hydrangea to fill it in.

I did all of the flower arranging right on this table- because, I did not want to move that buggy full of blooms after it was put together. But between you and me- I did move it for another styling after this and it traveled just fine.
Alternative Idea
Fill a wicker baby carriage with a potted hanging basket. Find a basket with lots of drape and length to the blooms and set it inside the carriage for an instant amount of pretty without all the fuss.

Shop the Look
Shop the look on the table below- (affiliates)
Stay tuned for more about this centerpiece for a different setting coming up soon- because you know I had to style a long table even if we weren’t sitting at it. 🙂

What do you think of how this turned out?
Happy Tuesday everyone.
So creative, and Beautiful aS always🌷💞
So beautiful and creative too!
This is just splendid. I love the doll carriage and the floral arrangement is spectacular. I have a much smaller antique doll carriage in cream. You’ve inspired me to attempt a similar arrangement in it.
This is beautiful. What a great idea. The flowers in the doll pram make such a lovely setting for the flowers. Thank you for always providing such wonderful inspriation.
xo,
Karen
OH COURTNEY AS ALWAYS YOU AMAZE ME. EVERYTHING YOU TOUCH TURNS INTO A GIFT AND A FEAST FOR THE EYE. THANK YOU FOR WHAT YOU DO.
I Own this exact doll carriage – it was my mother’s when she was a littke girl. Wonderful to see vintage pieces used in such a delightful way! ❤️
This is so gorgeous! It is perfect for the event but would look amazing at any time. I’d love to share a link to your blog post on my Sunday, Dirt Road Adventures. I will give you full credit. I hope that’s ok.
love! i have a small carriage….thanks for a great idea!
SO VERY ENCHANTING!! U, too, used a vintage baby carriage (found years ago in antique boutique in TN)filled to overflowing w/periwinkle hydrangea from my garden & greenery…our first grandson…franki