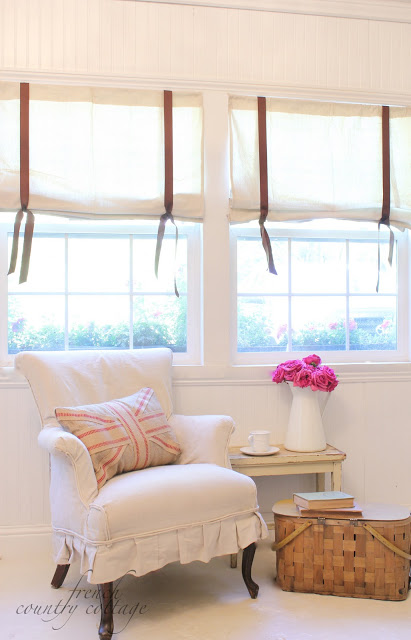
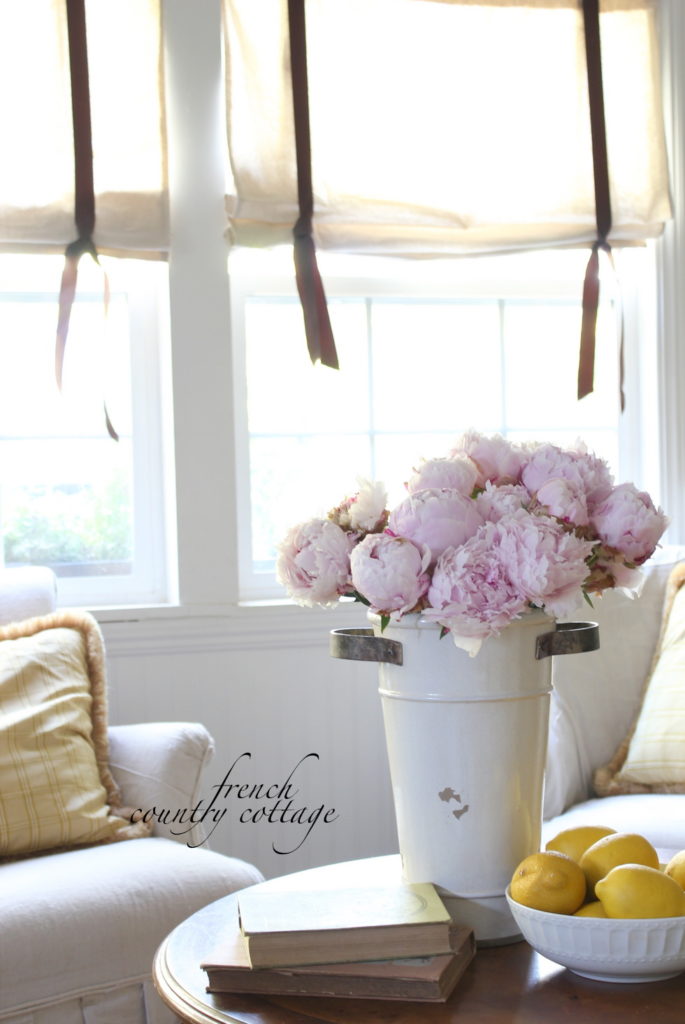
Earlier this week I shared these simple drop cloth shades
and promised a little more info on how to make them yourself.
These have a simple, basic construction and are fairly easy to make.
Here’s what you need
Drop cloth
Ready made ring tape (for shades)
Ribbon in your choice of color and size
Tension rods
(as well as scissors, sewing machine or no sew iron tape, safety pins and a tape measure)
These are fixed shades
meaning there are no cords or mechanisms for pulling them up and down.
They are just made to stay at the height that you set them and if you want to adjust them-
you do it manually adjusting the rings on the back.
To get started-
I recommend you wash your drop cloth simply to make it a little less structured
and get some of those folded wrinkles out- then it’s time to start measuring.
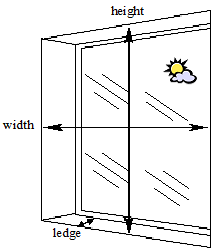
You want to make sure you get a good measurement of your window area.
I chose to hang my shades on the inside of the frame so I measured the inside of my window frame for the width and the length to get the correct size. (Remember to allow a little extra for sewing the edges)
Too big they will be squished inside- not good.
Too small- they will allow too much light on the sides and look short- not good either.
So measure twice- cut once. 😉
(courtesy of bedroom blackout)
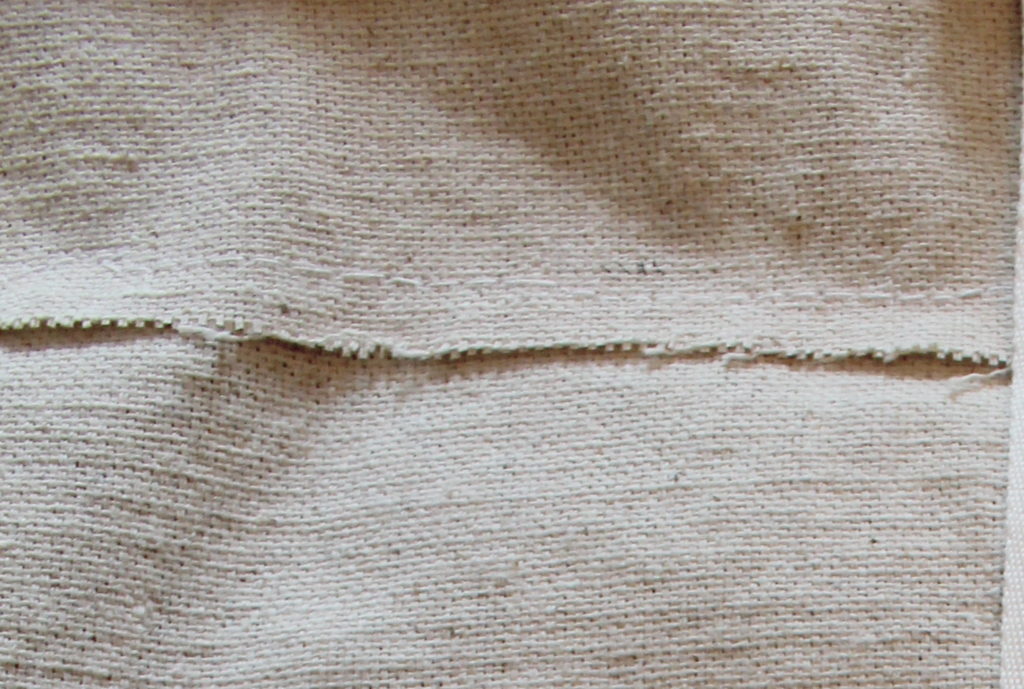
Finish each side edge
After you have cut the drop cloth to the correct size you will want to finish
the side edges (lengths)
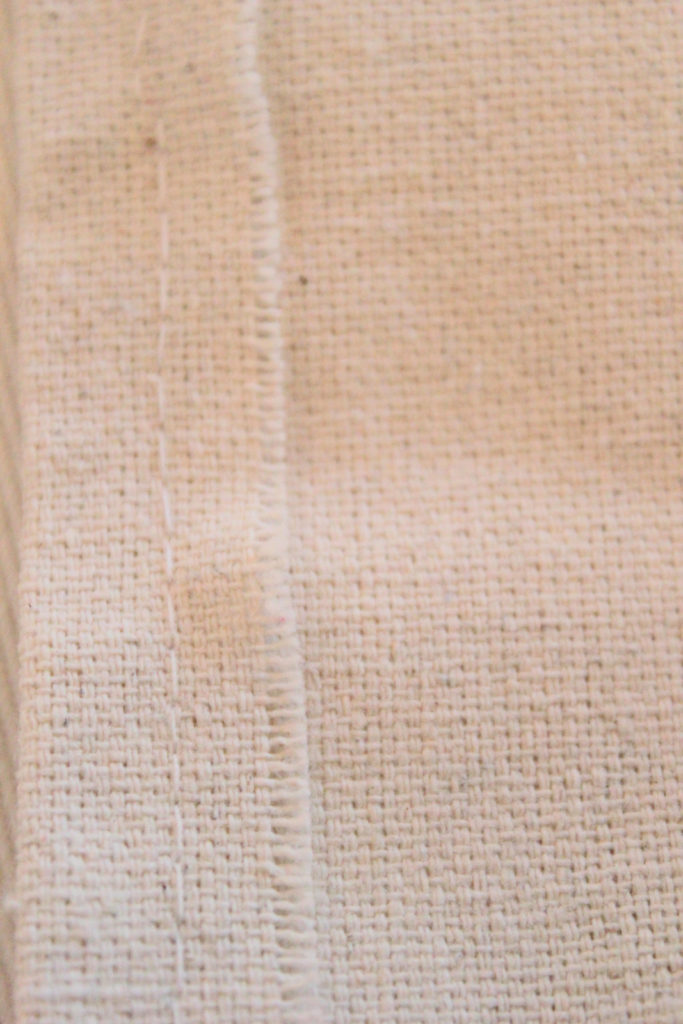
of the shade by folding them over and sewing a simple straight line
(or use no sew iron tape if you prefer)
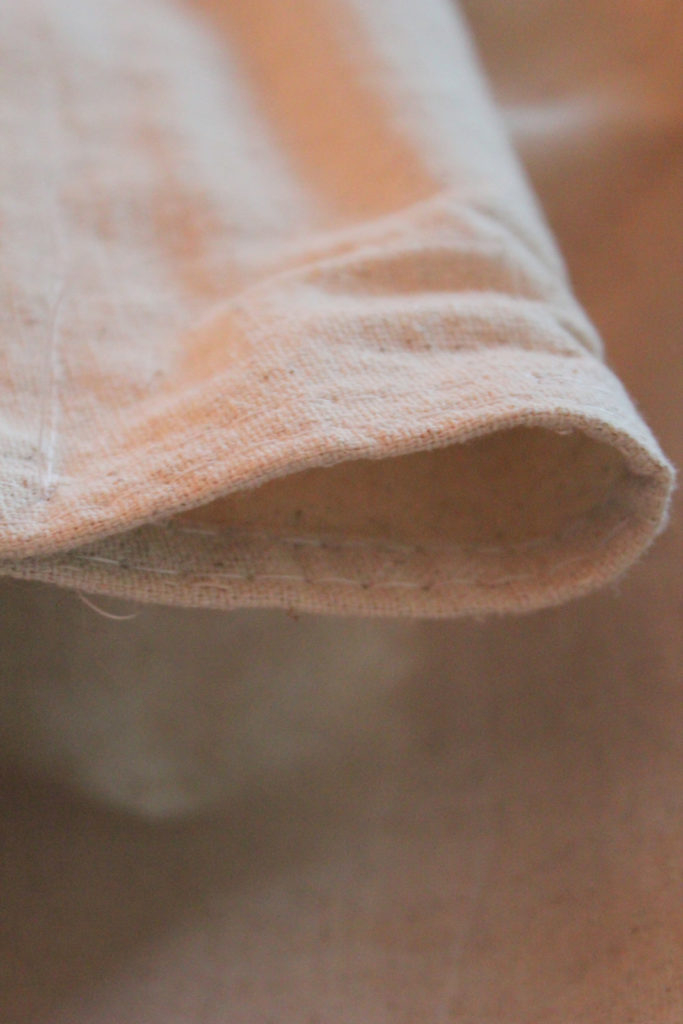
For finishing the top and bottom of the shade-
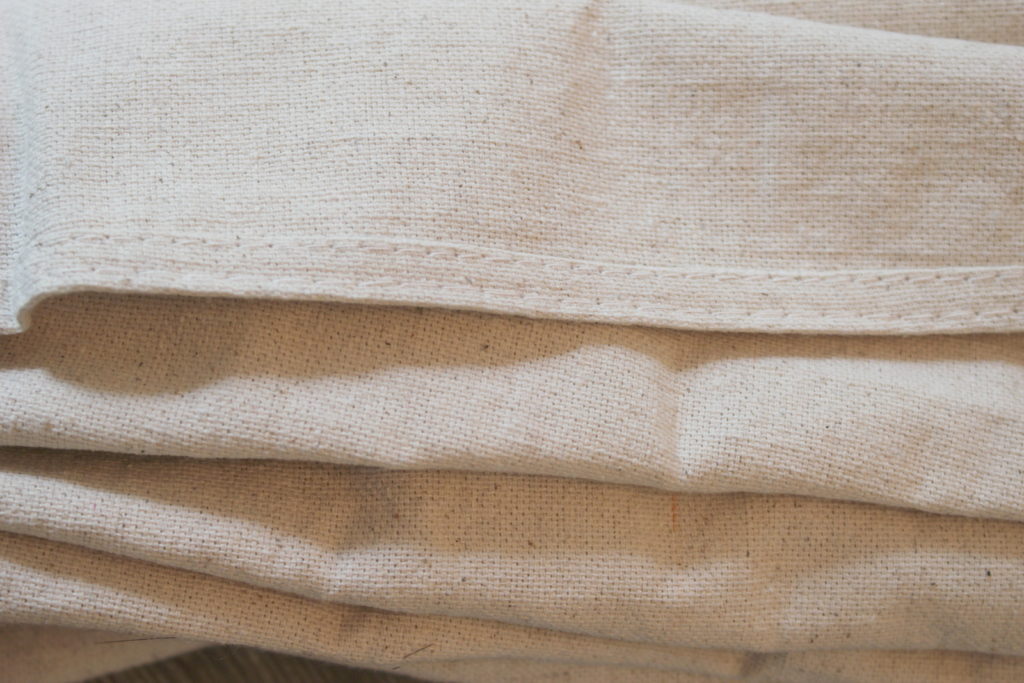
I used the already hemmed edge of the dropcloth for the bottom of the shade
but needed a small rod pocket on the top for hanging them
so I folded the top fabric over sewed a straight line with a 2″ opening
for the tension rod in the top.
Add the ring tape for adjusting height
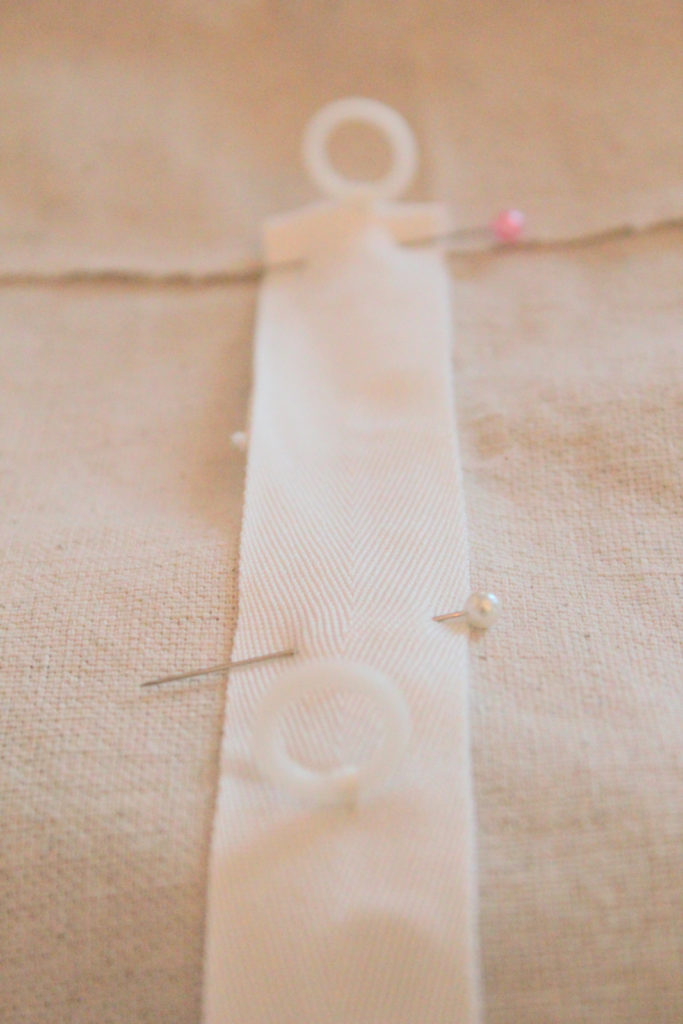
Then it was time for the ring tape.
This is something I found at the craft store-
It comes in a roll with rings pre-attached-
all you have to do is cut it to length and sew it onto your shade.
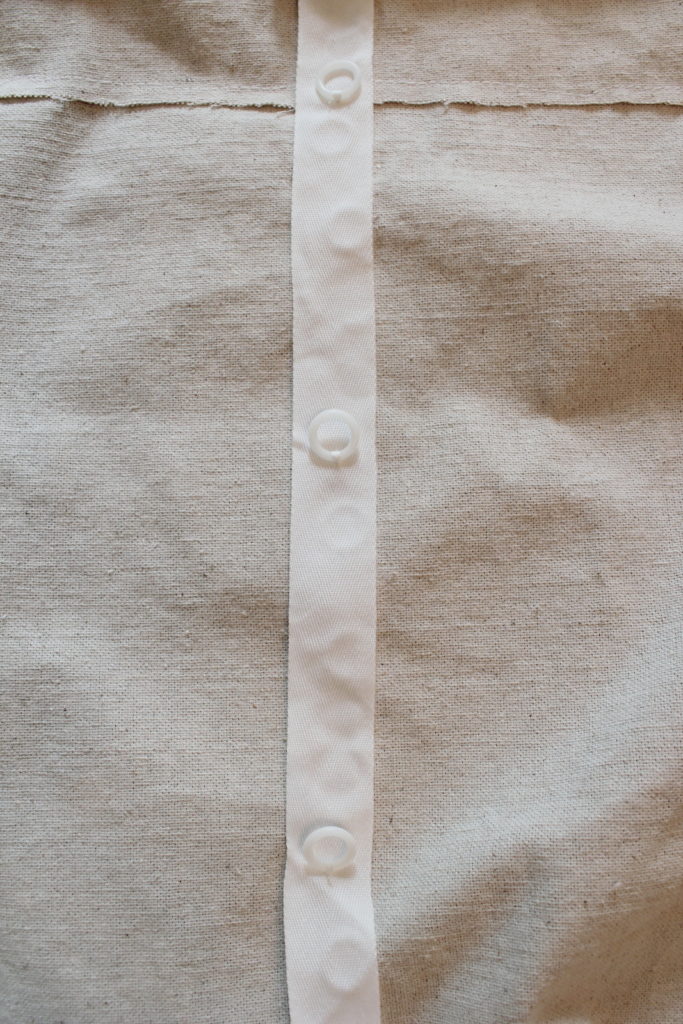
Note: You will need 2 lengths of ring tape for each shade.
Start at the top- about 5-6″ inside from the edge of your shade
and just under the rod pocket
and sew the tape on all the way to the bottom of the shade
Repeat on the other side so that you have 2 pieces of ring tape attached to your shade.
Adjust the drop of the shades
You can place the tension rod in the top of the shade and set it up on the window
to be able to adjust the length properly or simply adjust while it’s laying down
whatever is easiest for you.
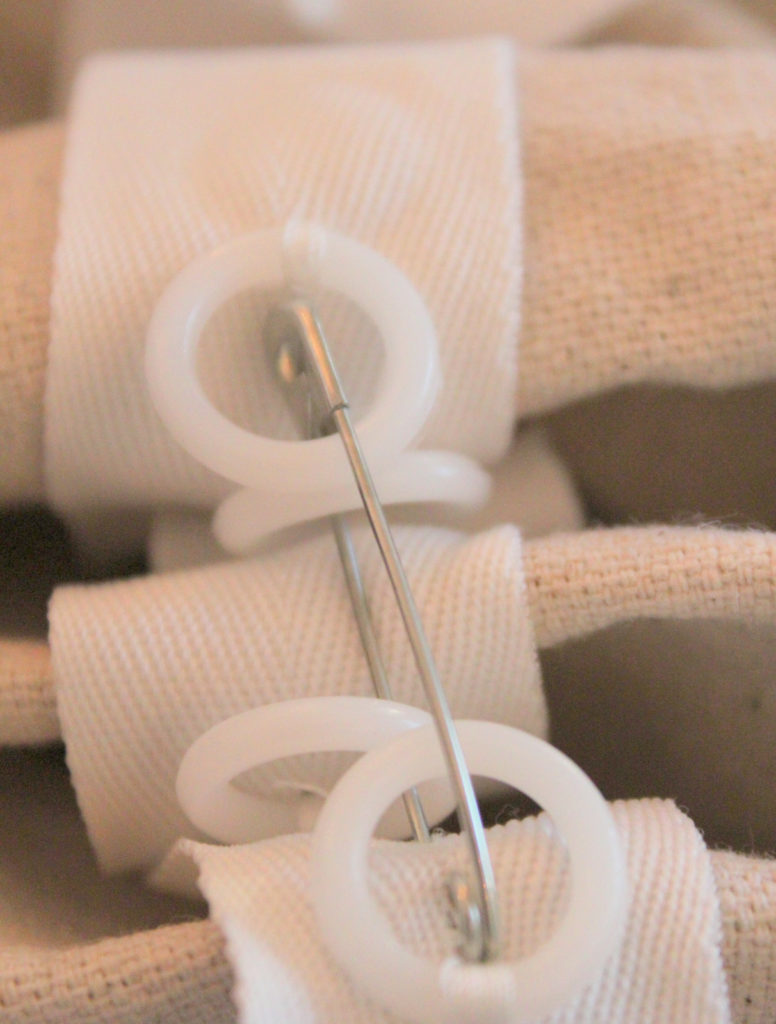
Using an open plastic ring (some come with the tape) or a piece of wire to loop through each hole
you can adjust the length of the shade and how much it drops down and covers the window.
Honestly, I like to use something simple like a safety pin- since it closes and stays closed because
I have had problems with the open plastic rings popping open when they get too many together to hold.
Create the folds at the bottom of the shade while gathering the rings in the back
Starting at the bottom of the shade
fold the shade neatly as you gather each loop together on both sides
until you get the length you desire for the shade.
If you don’t like how the folds come out or you need to make changes
simply release the rings on the back and start over.
It took me a couple of times adjusting them to get just the look I wanted
and since drop cloth is a canvas material – it does not drape in a relaxed way-
It will be a bit more structured to work with- just take your time.
For the finishing touch~
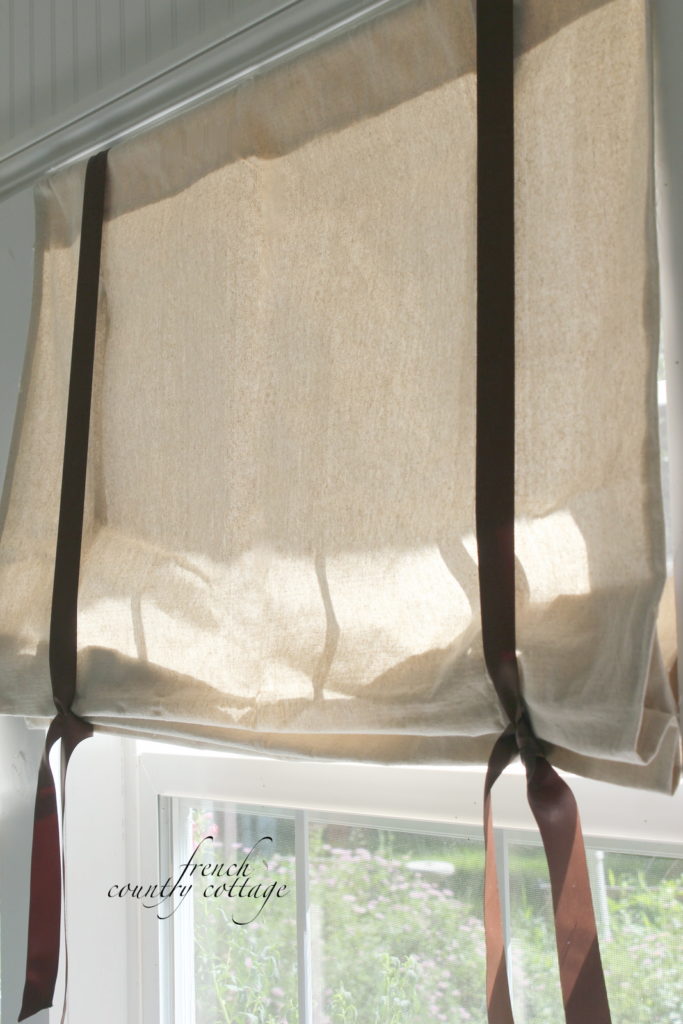
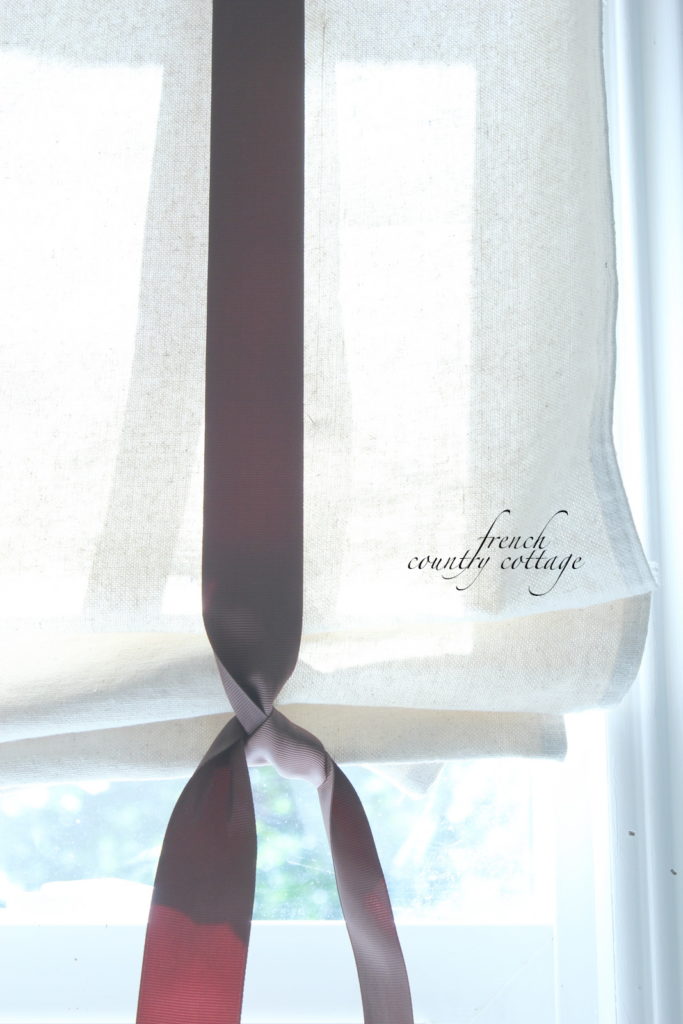
I chose to use a wide brown grosgrain ribbon to accent the shades but you can use whatever you like
Take the ribbon and simply loop it over the top of the shade
and line it up pretty much right over where the loop ring tape is attached on the back side
Finish the ribbon with a bow or simple knot underneath
and you are done!
It really is so easy to make these
with minimal sewing or none at all if using the no sew tape.
Happy weekend everyone!
sharing at
wow
wow

Your shades give a clean and simple look to the window. The texture of the drop cloth combined with the splash of ribbon are just lovely.
Thanks for the inspiration,
Suzanne
Pieced Pastimes
Looking so great with the brown ribbon. Thanks for the tutorial, Ginger
Fabulous tutorial Courtney!! I'm tempted now to drag out my sewing machine! 🙂
Vanessa
I love them!! I had bought drop clothes because I was thinking of recovering my couch and loveseat. I love this idea even better! Thank you so much for the tutorial!
Very nice!
I love the pale pink colour and the chair I want it.
Rosezeeta
you have made this look so easy I think even I might be able to sew it. thanks for putting all the work into making this tutorial.
Love this!! My mil made my panels for my living room, but this would be perfect for the bathroom!! Thanks for the tutorial!!
Courtney….I would like your advice on what type of material to use when making slipcovers for my couch and loveseat. I have 2 small dogs and 2 grandsons that visit often, my furniture is dark green and the material is very harsh feeling. I prefer a lighter color and do not have the money at this point to purchase new furniture.
I love your blog and your style…
You can email me @[email protected], if you have time to advise me.
Thank you
Patty
Drop cloth is a great material to use – but it is a bit more stiff than regular canvas material.
Where do you get drop cloth from I really like the look of the shades!
Thanks June
The drop cloths are from Lowes
Did you sew these at all? Love them. Your house is beautiful! Do you have an Etsy shop or sell these? Everything you do looks wonderful. I love your whole house and the table and tablecloth you did outside. You are so talented.
You can sew them with a machine or you can use the no-sew iron tape if you prefer. I do not have an etsy shop~ thank you for your compliments!
Someone told me recently you could get drop cloths at Home Depot or Lowes and wash them. Is that where you got these?
Yes- these drop cloths are from Lowes and your can wash them ahead of time to make them a bit softer.
Great
I am so excited to see this. I realize this post was several years ago, however YAY! I have Been in the process of making these exact shades with some difficulty. I actually had just about given up.why I hadn’t thought of ring tape is beyond me. Thank you so much.