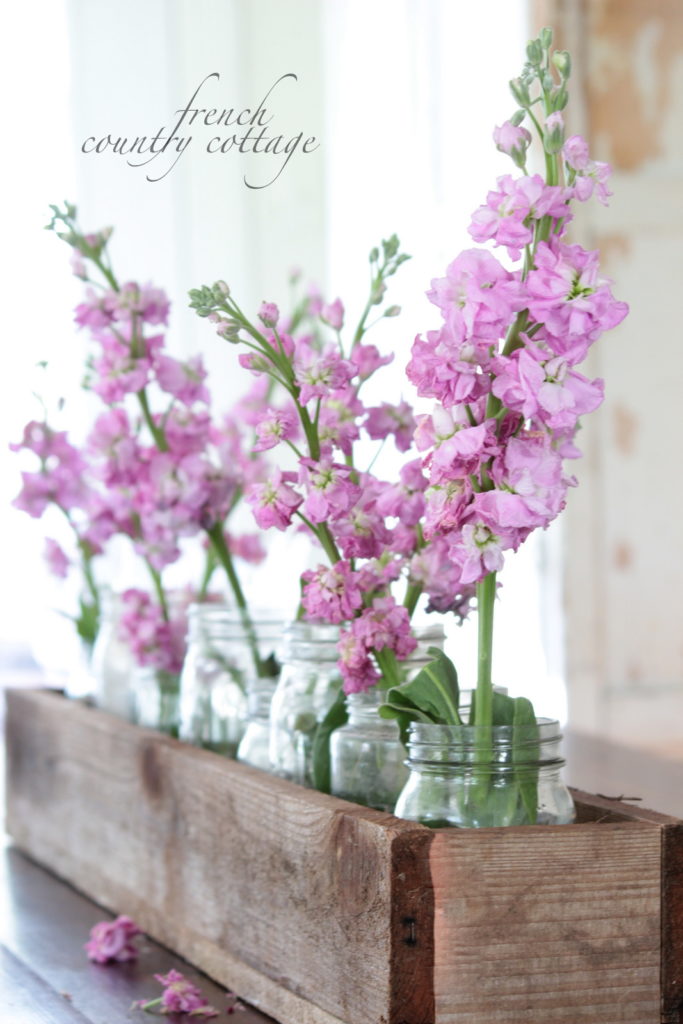
The other day I shared that little rustic crate I made and promised a how-to.
Such a simple project and since it was made with leftover wood- it was free as well.
Here’s the how to on making one of your own.
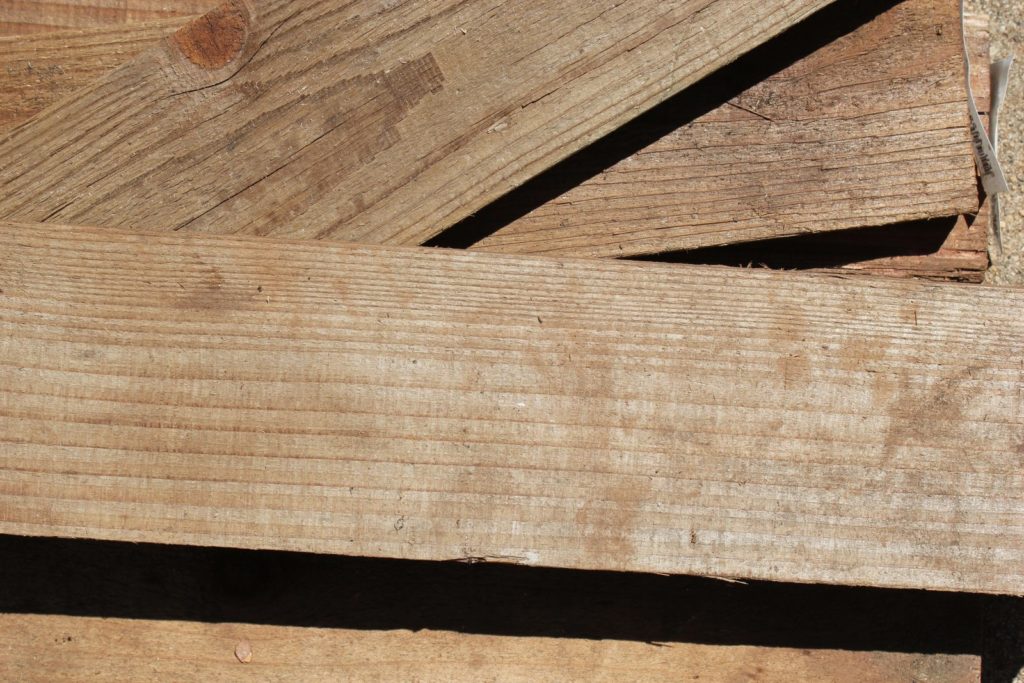
Start with your lumber- or in my case- random leftover pieces of wood.
I used cedar- but you can use what ever you like.
These are 4″ wide fence boards- as well as a 6″ wide fence board.
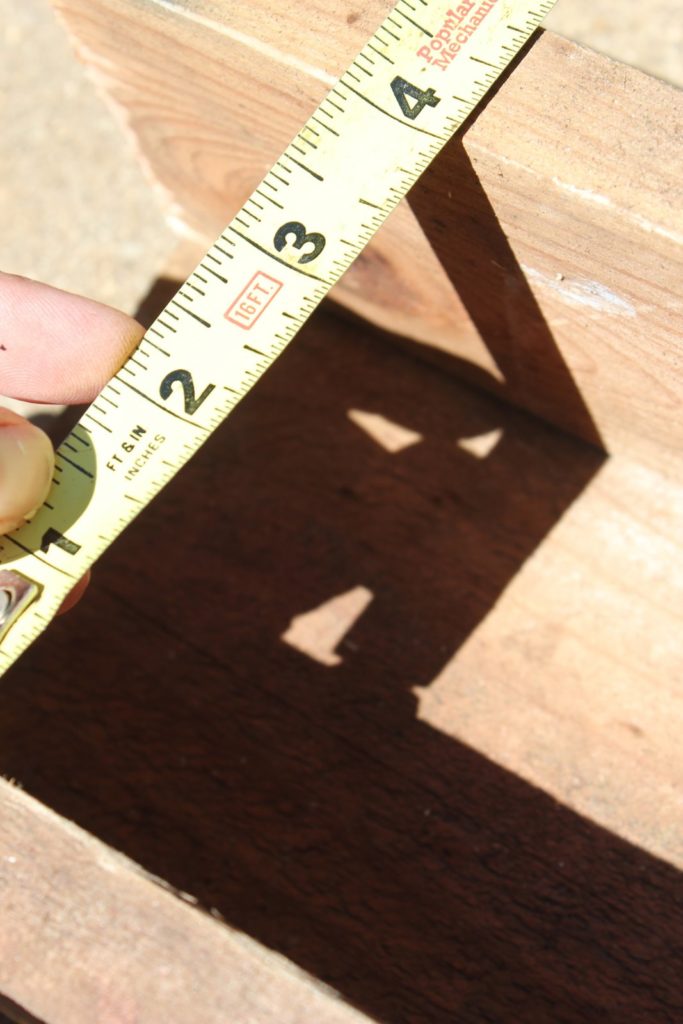
I decided I wanted the box to be about 40″ long
so I measured and cut the bottom board ( the 6″ ) at 40″
I used our mitre saw- so protective glasses are recommended but you can also cut by hand with a hand saw.
The next step was to cut each of the side boards I used the 4″ boards) at the same length.
You will then have the bottom, and 2 sides for your box.
I decided to stack the sides on top of the bottom- it creates a little bit narrower box- but that was sort of what I was thinking. But you can also simply set the side boards against the bottom if you prefer.
To assemble the box- lay the 2 side boards on the ground and place the bottom board on top of them
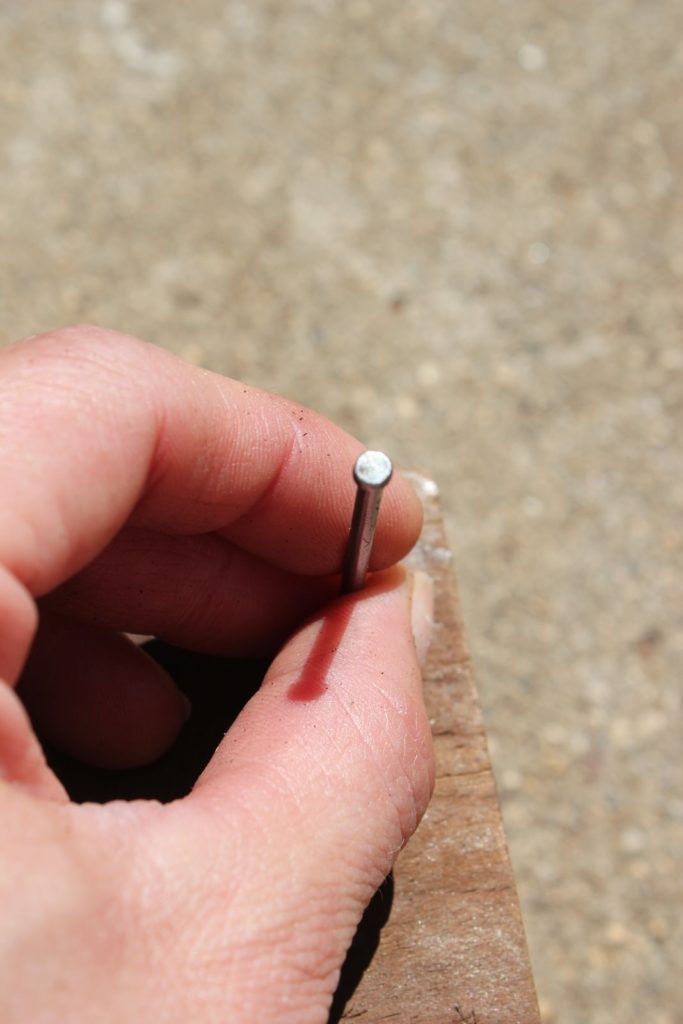
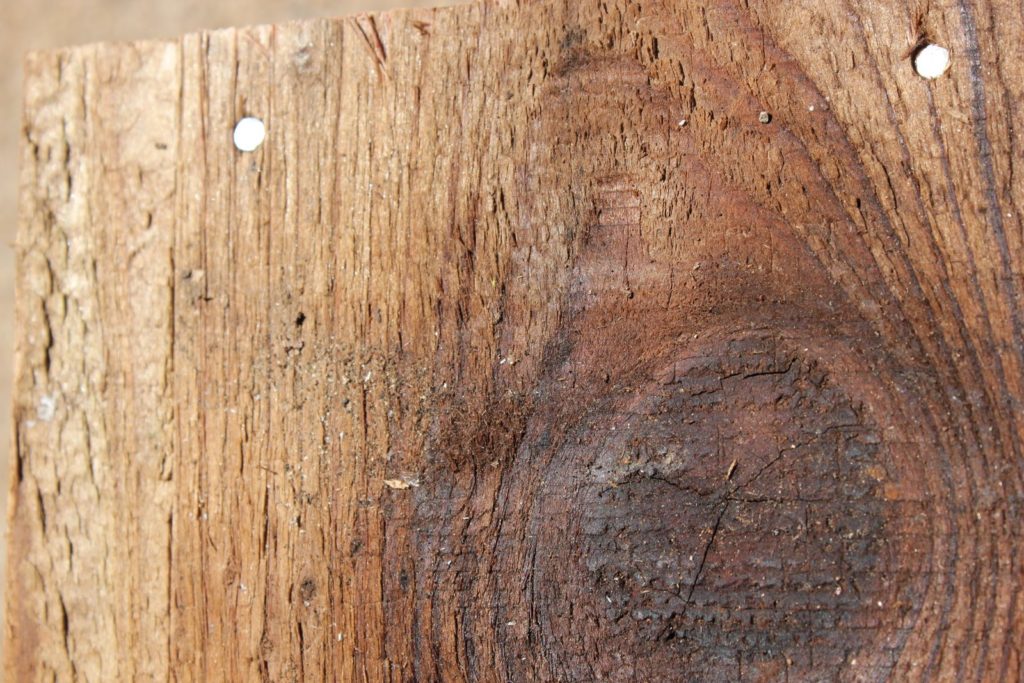
Nail at each corner- being careful to make sure you don’t miss the board underneath- you want them to stay together. Then nail in the center on each side- a couple times if your box is a longer one.
You will then have a 3 sided creation. Now it’s time to measure in between the 2 side boards for your ends.
Cut two end boards and nail from each side of your box to secure them.

Step back. Set your hammer down. Wipe your brow and smile.
Your little rustic box is done.

I filled mine with various sized mason jars for the blooms- but you can use any type of jar or bottle or even small plants if you like.
Sand the edges of the box to blur the splinters if you would like
and then
and then
Enjoy!!
You're just fearless, Courtney. You make everything seem like just a piece of cake. But it's all fab for you when your done!
Absolutely adorable. Why is old wood so good?! It is so charming the way you mixed the rustic with the soft flowers, and i love the length too…
Cindy
Beautiful spring vignette, Courtney!
Beautiful Courtney! Love those wood totes especially with flowers! I love using mine like that too.
xx
Anne
So adorable!
I appreciate your clear instructions. We have a lot of old wood lying around just crying out for a project like this.
Merci de partager avec nous cette publication et vos bons conseils.
Très joli résultat.
gros bisous
Love love love it!
Lovely! Nothing like the wonderful tone and texture of aged wood.
OH yea! This is the best tutorial!!! I've been wanting to make a garden box from boards… so pretty Courtney!
Courtney…thanks for the tutorial….definitely something that this "wood project challenged" person can do!!…Love it!!
Fabulous!! I want one…or two. 🙂
Love this idea! So simple but so cute! Thanks, Courtney!
great idea!
great idea, thank you very much!
Great job on your little rustic box, Courtney!
I love the old wood with softness of nature added to it. Thank you for sharing how you put it together.
Blessings to you,
Tamara