The post Cottage Private Courtyard Plans Mood Board appeared first on French Country Cottage.
]]>
While we are updating things- we aren’t changing or removing the original character. The old 1940 quirks and charm that our house have- do provide quite a few challenges when it comes to things like modern day appliances and plumbing -but they also provide so much charm and detail that we love. So far, we have been focused on getting the bathroom and kitchen done- one of my sons and his girlfriend might be living in the cottage for a bit while in the midst of a move- so we want to make sure everything is updated and ready before they would move in- in the next 6 weeks or so.
The bathroom… well, one step forward two steps back out there. We ran into a plumbing issue installing the ‘new’ sink and being a contractors daughter- I face-timed my dad and he basically stared at it and poked all kinds of holes in what we were trying to accomplish- and then told us the way he would do it. SO, back to the drawing board on that one. Of course, if everything was usual- he would be jumping in and helping in person and we would be laughing at the crazy ideas that we think might work if we just move this wall here or that pipe there.
I will give you an update on the sink hopefully next week ( I say hopefully because I thought I would have one this week) so for now- let’s talk landscaping and a private courtyard.
Private Courtyard
My mom and step dad came to visit one time and walked through the cottage to the backyard and were shocked. They could not believe that there was a whole other space behind the cottage that they didn’t realize was there. They live in a subdivision and just assumed that the fence was the property line- but it was just in between where we have tools, garbage cans and the shed with the bikes and winter storage.
So, that area behind the cottage has been slated to become a private courtyard oasis for the cottage. For guests staying there or for if we rent it to a caretaker or have family stay with us while we are traveling.
The Goal
The dream private courtyard would be full of old growth charm, storybook buildings and a cozy spot for enjoying dinner and evenings al fresco. Since we are working with a lot of natural foliage and trees in this area- and we don’t want to thin that too much since we do have a proper line border probably 100 feet away- we will be incorporating a lot of that natural growth and look in the design. Much of the same feeling over in the greenhouse garden area.
When putting together a mood board for any space- I always start with ‘goals’ and then work towards those goals. The goals here are:
Ambiance
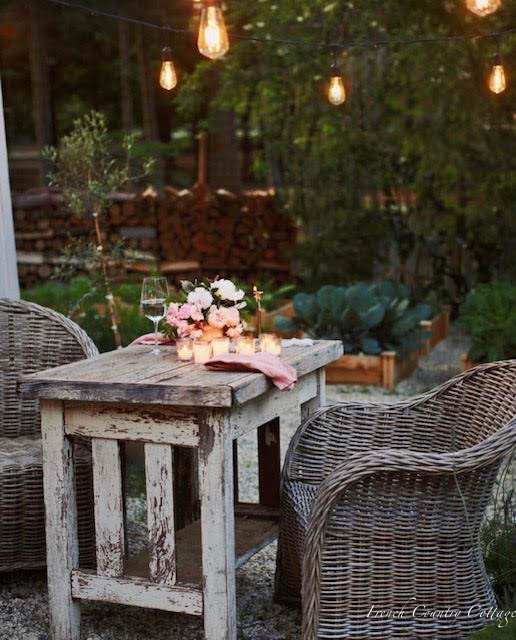
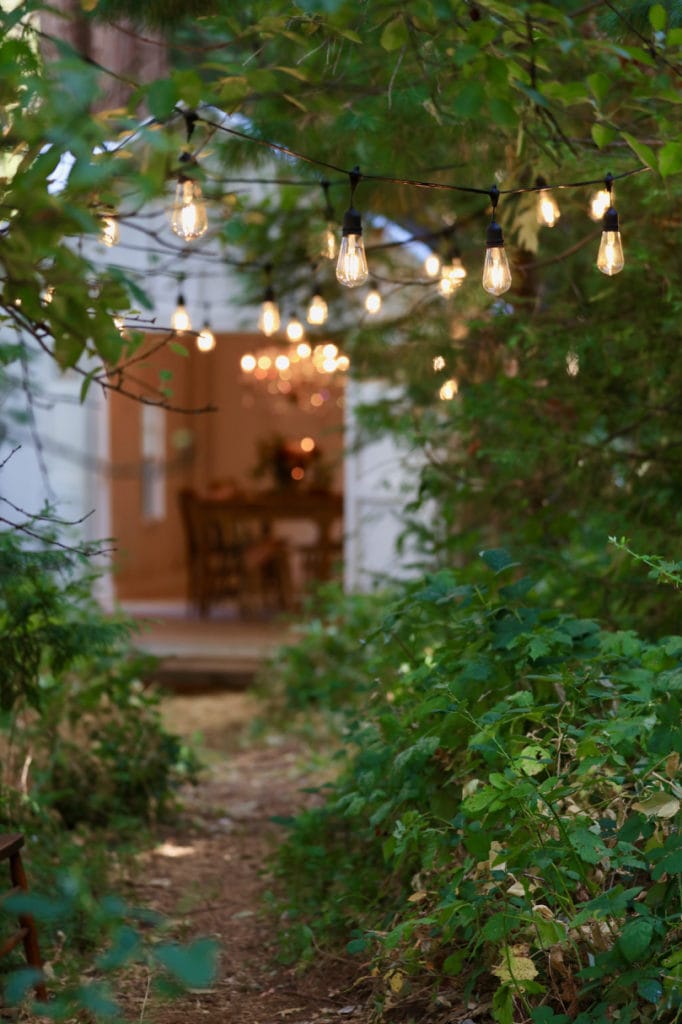
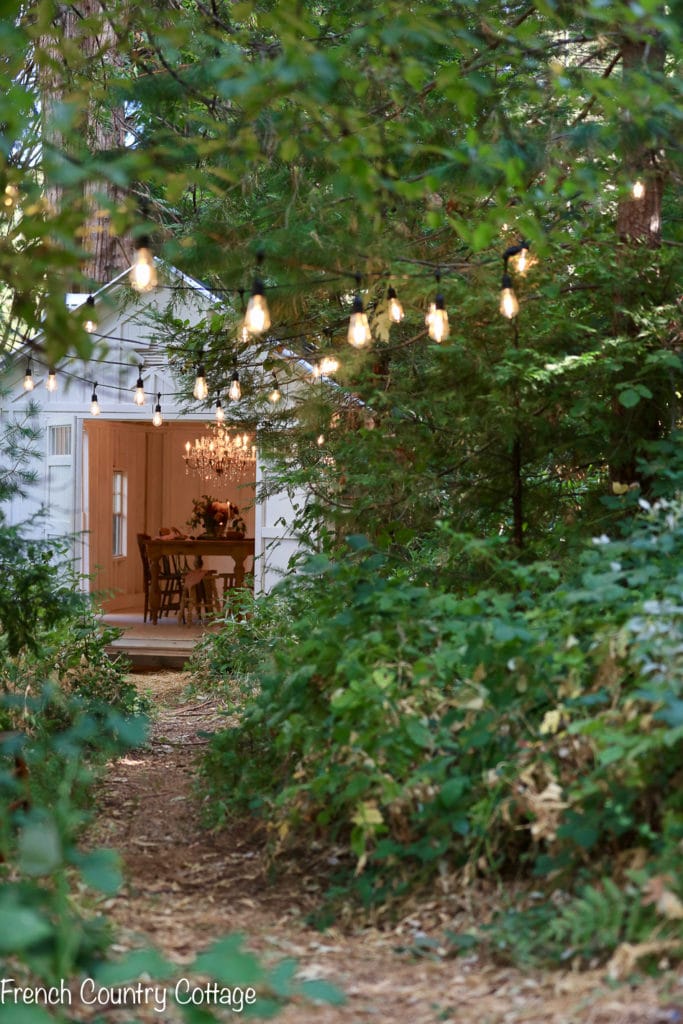
We want this space to feel like a getaway. With twinkle lights, a fire pit and fountain to create a soft background music. ‘Magic’ being the keyword here.

Charm
English cottage. Old world garden. French Country. All of those settings that have an abundance of charm when you see them- that is the goal. From plantings to veggie gardens to an old potting shed and pea gravel paths.
Function
Of course, even though magic and charm are the top of my must lists when I work on any project- it also has to function the way it needs to. This courtyard is big enough for several areas- and we will be adding several in. Most important are the dining and seating areas so that whoever stays here can entertain if they want to or simply enjoy retreating out to their private yard as they would like.
The Mood Boards
I created a couple basic mood boards based off photos I found on Pinterest recently and these should help give you an idea of what I have in mind. Now keep in mind- much of this is only ‘mood’ inspiration – not the actual design. There are elements of each photo or setting that speak to me- and some of these apply to the cutting garden we are putting in as well- more on that mood board coming soon.
Secret garden feeling- lots of plants and lush greenery with pea gravel areas and simple vintage style furniture.
Pea gravel pathways and patio area, shingle covered greenhouse/potting shed and the fencing for the garden, wood benches, table with vine covered pergola, soft blue door color and all.those.twinkle.lights.
I love the tall greenery and garden walls in this board. This is an area of the yard that has a lot of pines and cedar trees along with some wild lilac and a huge towering old oak tree. In spring and summer when the lilac is leafed it out it is a beautiful overhead cover- in winter- more ‘piney’ and woodland feeling than anything else. So while I would love to play up some English cottage garden style- I think I will need to balance that with California wine country style which brings in those pines and woodsy areas next to the lush vines and oaks.
Find the inspiration photos at Pinterest.
What we are working on first
First will be to tackle the rest of the pea gravel. Bringing in pea gravel is a job. I am hoping I can get those big boys to come help unload and spread it all over the courtyard area- and then we will tackle the plantings, garden beds and creating the cozy.
What do you think of the cottage courtyard patio plans? If you were renting this little house from us- what would you like to have included in your private yard?
The post Cottage Private Courtyard Plans Mood Board appeared first on French Country Cottage.
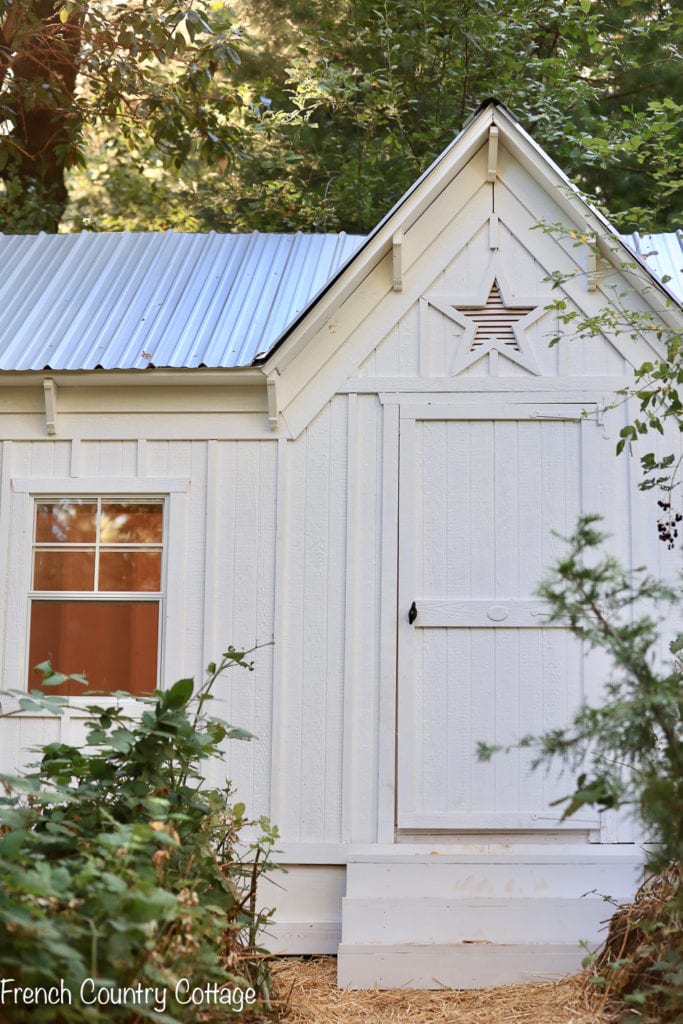
]]>The post A charming vintage inspired barn appeared first on French Country Cottage.
]]>


You supply the build site and manpower.

which you might remember is the same company that builds the greenhouse we have.
the best part about this company is who they are.
Little Cottage Company is a family owned company in Ohio and Dan started his business with designing and building playhouses.
I loved hearing his story about how he was inspired to create a kit for a playhouse that was easy to put together – that parents would be able to build themselves –
and give their kids a wonderful place to dream and create memories.
It felt very kindred to me- and in my book, I actually talked about the playhouse my dad built for me when I was a little girl and how much I feel it played a part in my love of decorating and all things home.
I am going to break the barn posts up into several so that you don’t have to grab an entire pot of coffee to read through it all at one time.
But to get to that point- involved a twist of it’s own- literally.
when he jumped out of the back of his truck while loading up all that furniture I had brought along with us and he landed wrong and literally rolled into the instagram story I was doing that morning.
He was fine – thankfully- it could have been really bad- but he was moving a bit slowly after that so, manpower was in short supply for a bit
which meant the project was on hold.

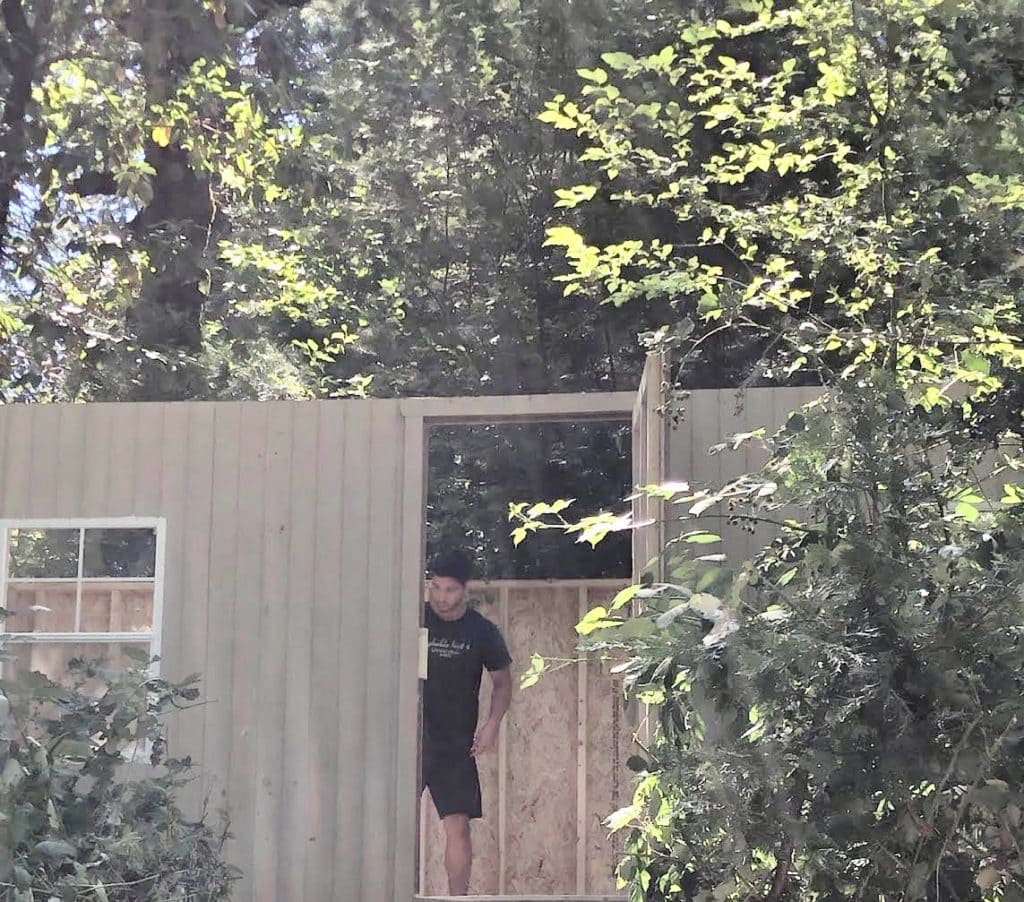
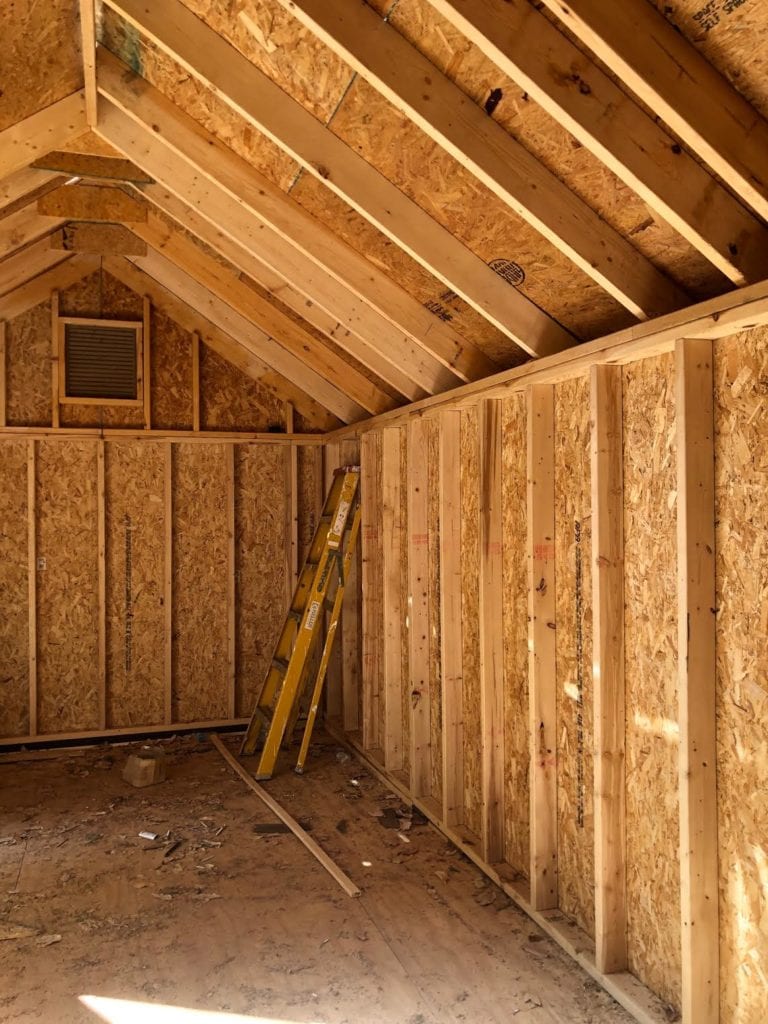
to be put on in just about a day.
just one piece after the other and before you know it- you have something
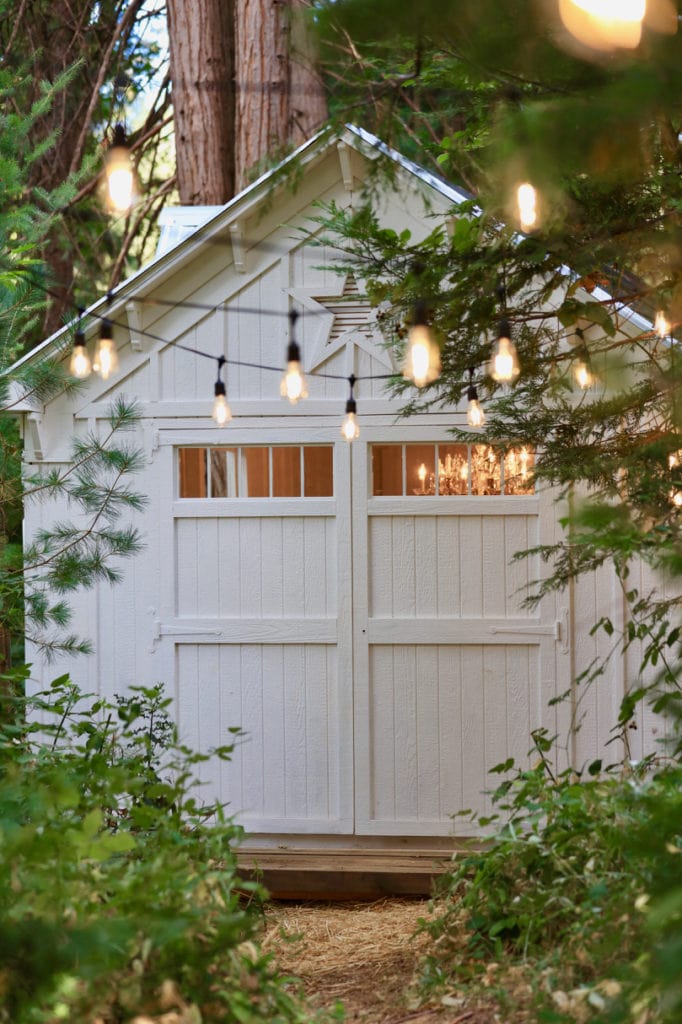
that is starting to look like a little house.
Which if you are impatient like I am- will make you very happy seeing so much happen so quickly.
We did customize a couple things- and I will delve further into those in the next post- but
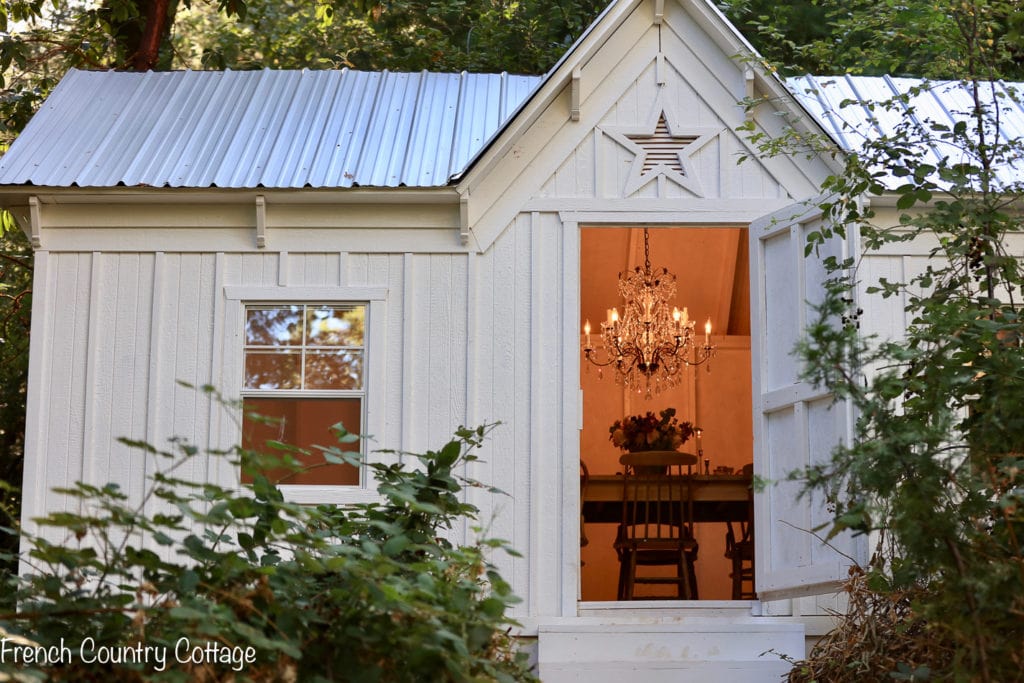
and I felt this barn was perfect for that.

note: the building does not require a full foundation- because of our rolling hill location and code – we needed to add one.

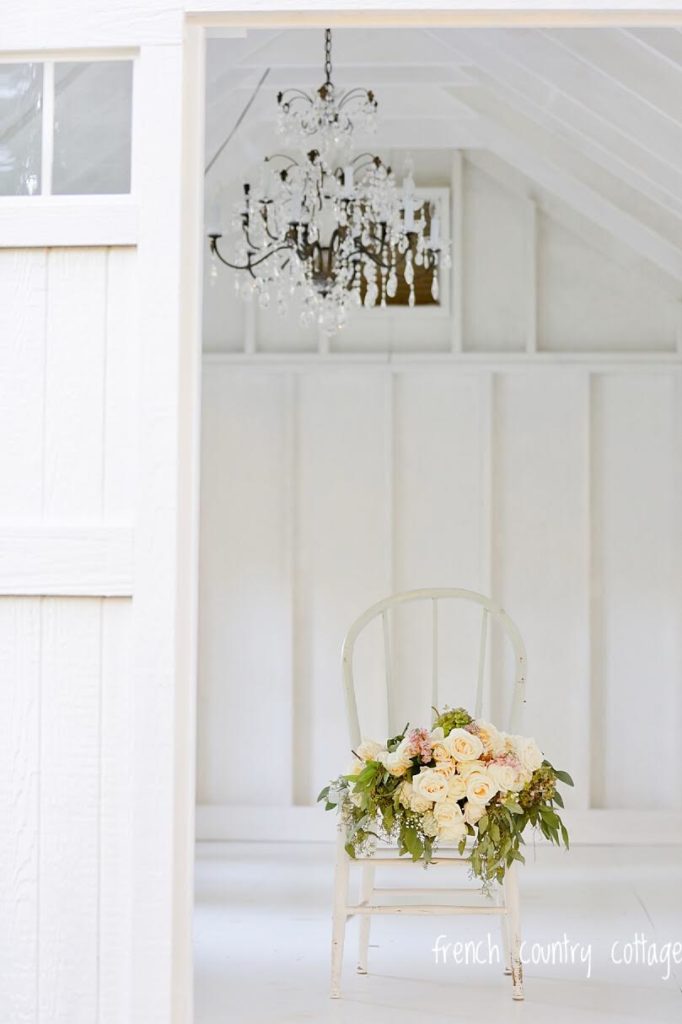
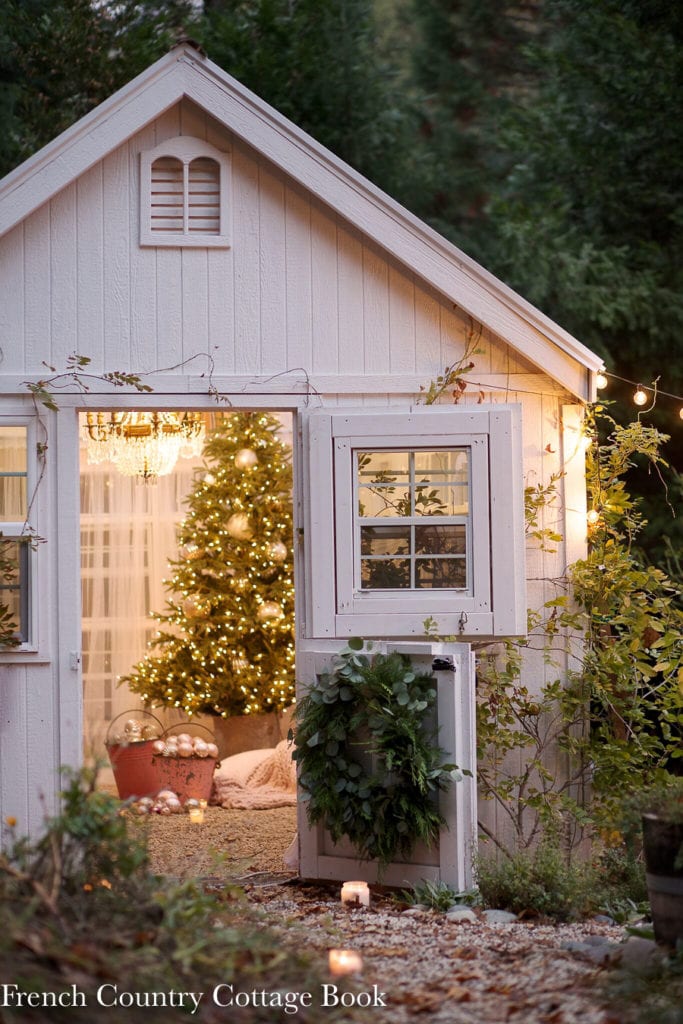
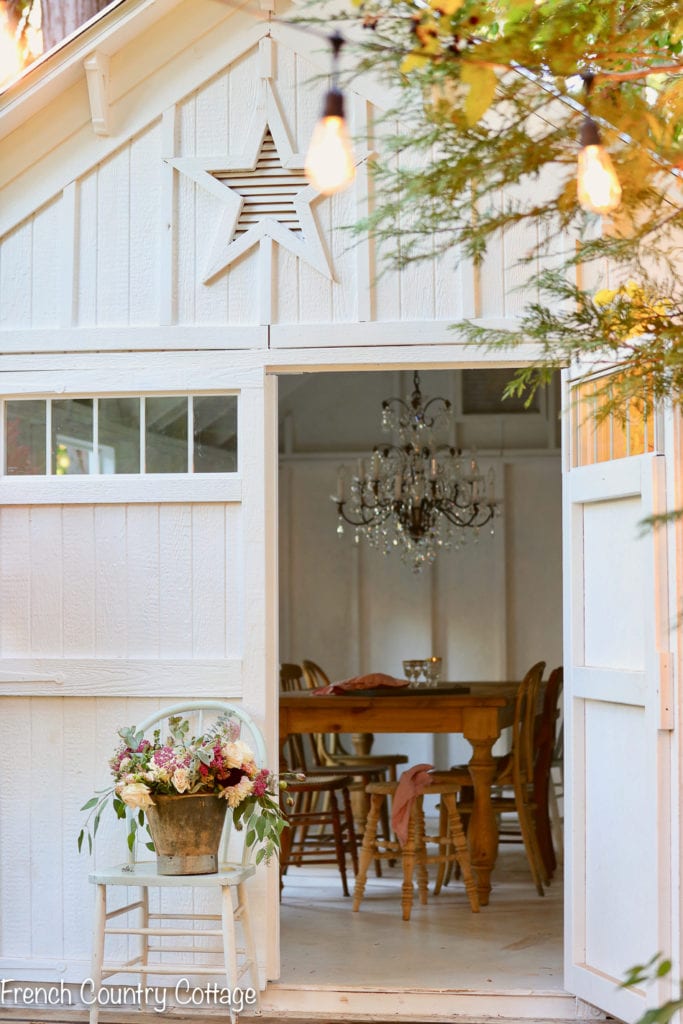
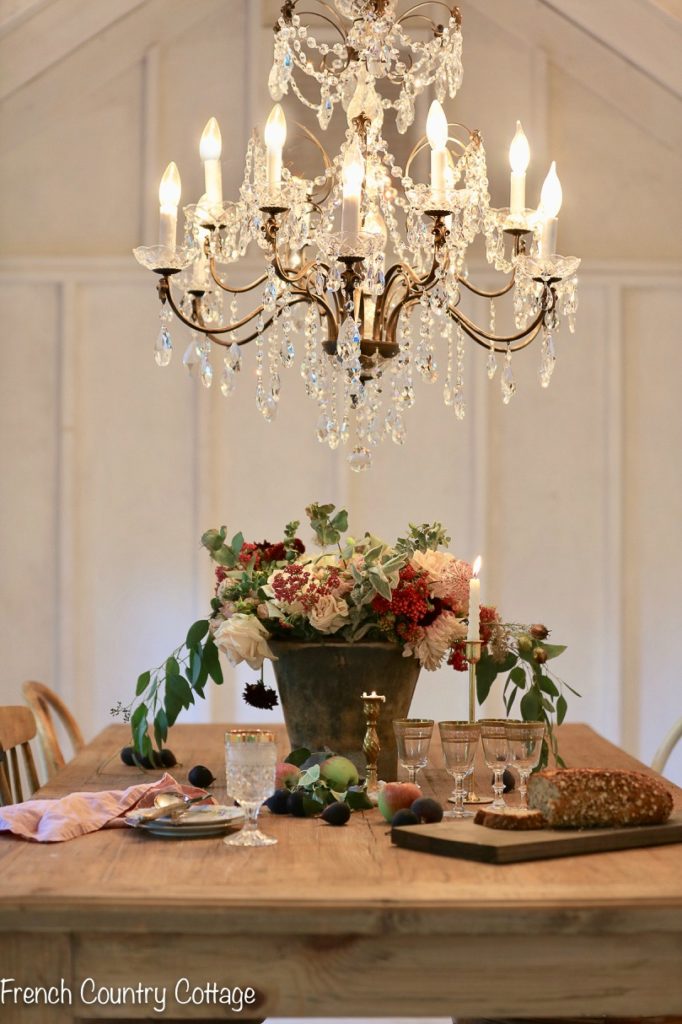
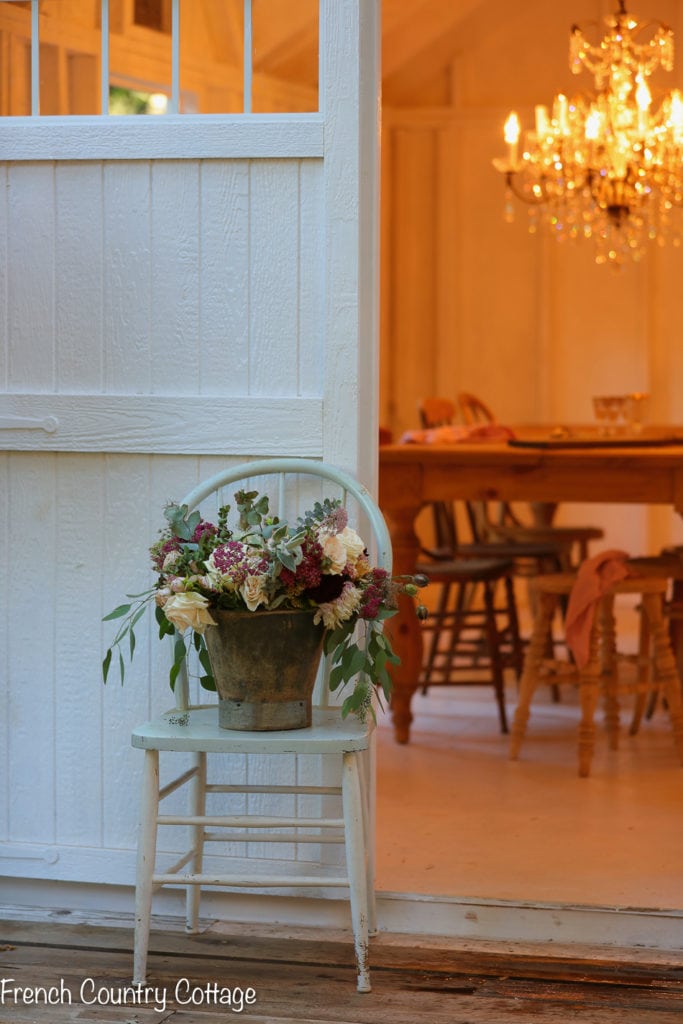
because… it just wouldn’t be French Country Cottage without a bit of sparkle.
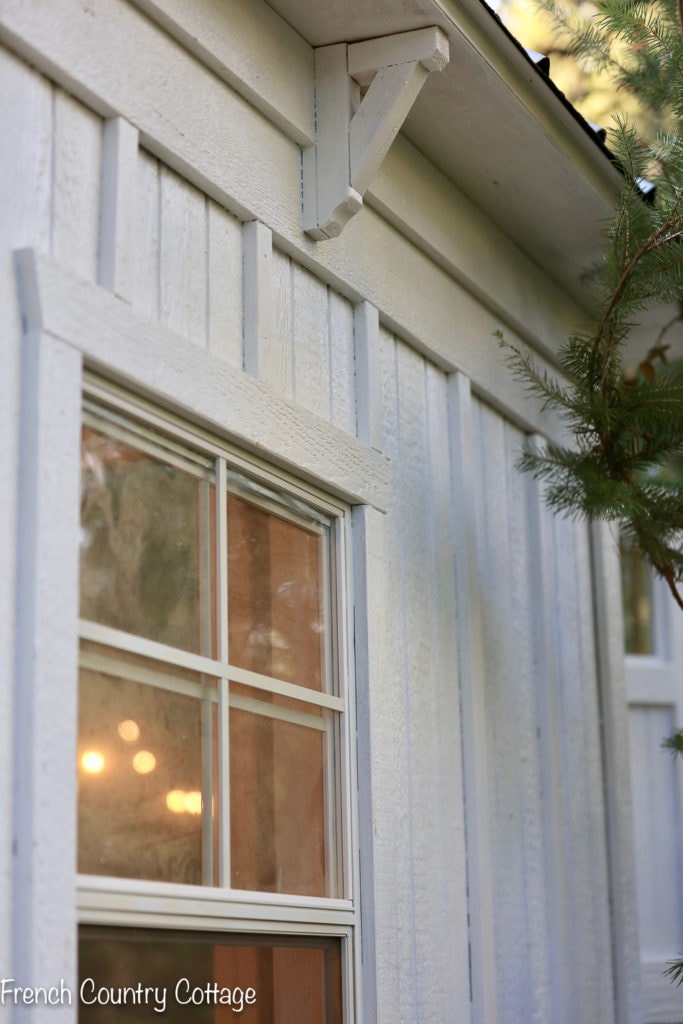
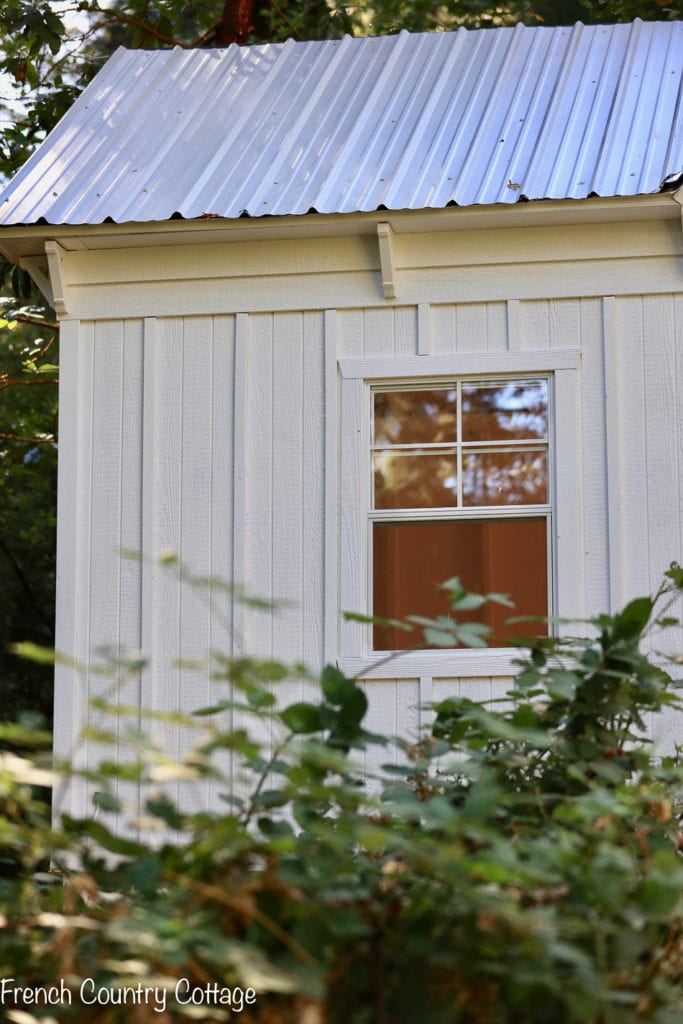
We are still working on the roof to get that done and to finish quite a few tidbits and things –
As well- we will be adding some boards to the doors as well to create that charming ‘x’ that barn doors have. I will share each of those projects and how -to steps as we do them.
As well, if you have any questions- leave them in the comments or drop me an email and I will try to answer or find the answer for you.

The post A charming vintage inspired barn appeared first on French Country Cottage.
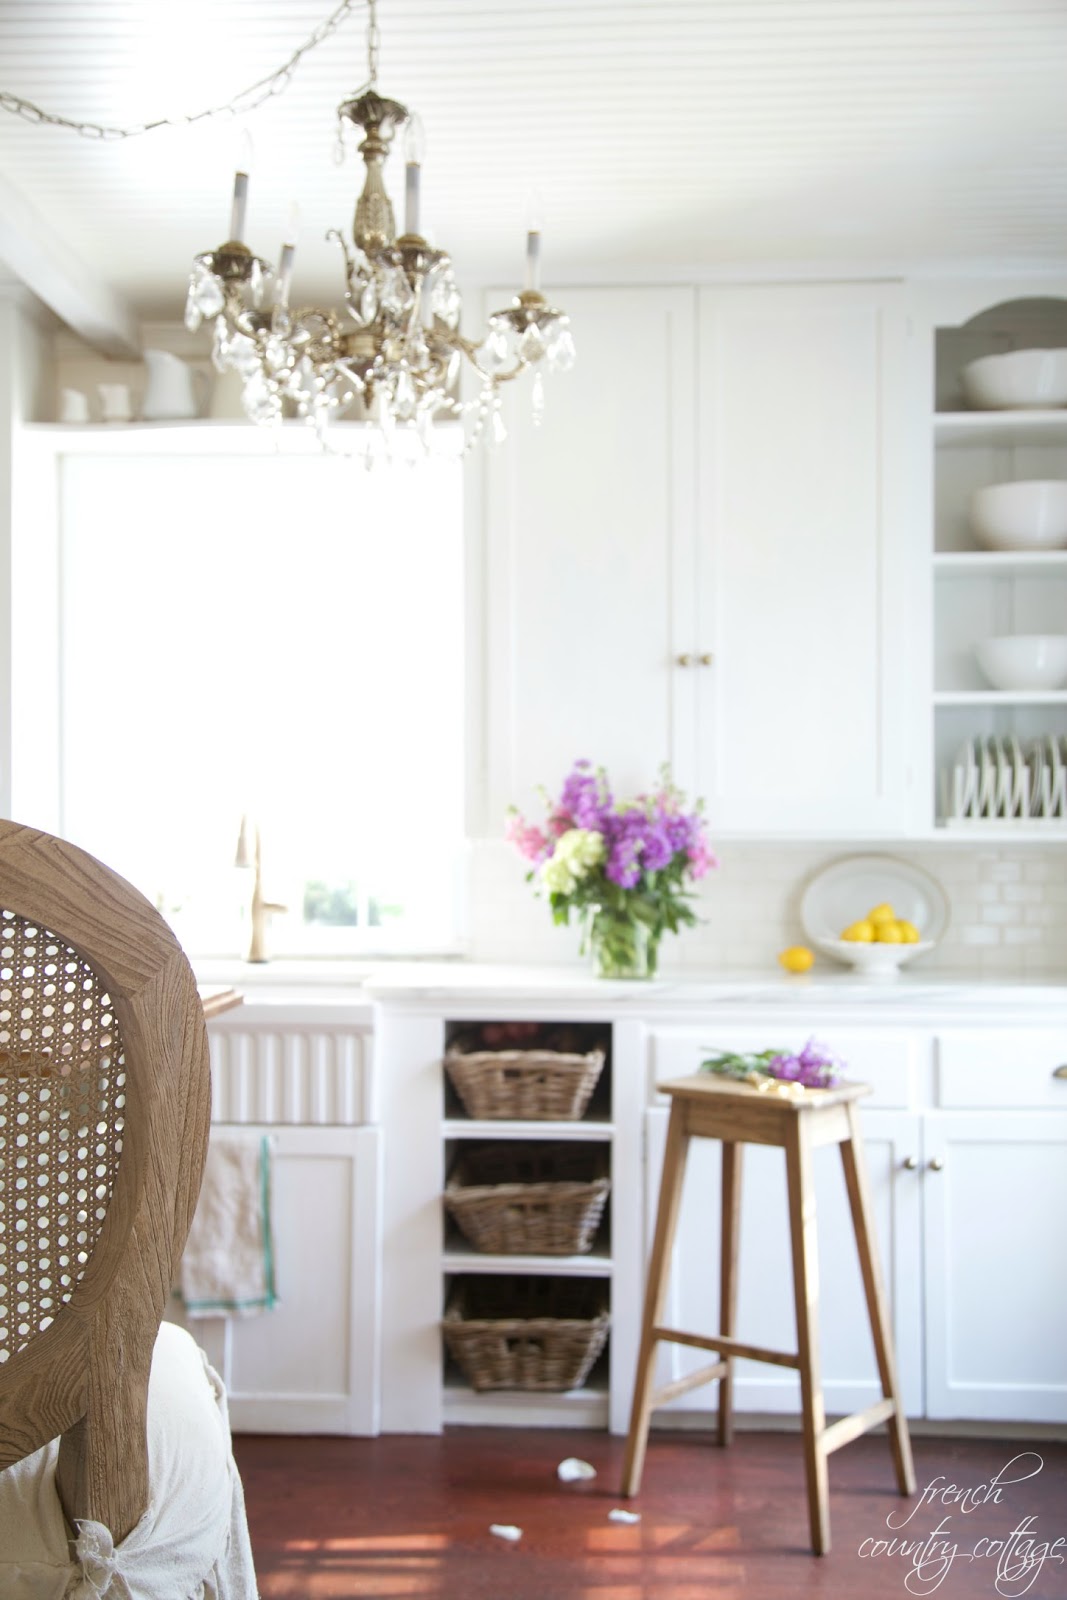
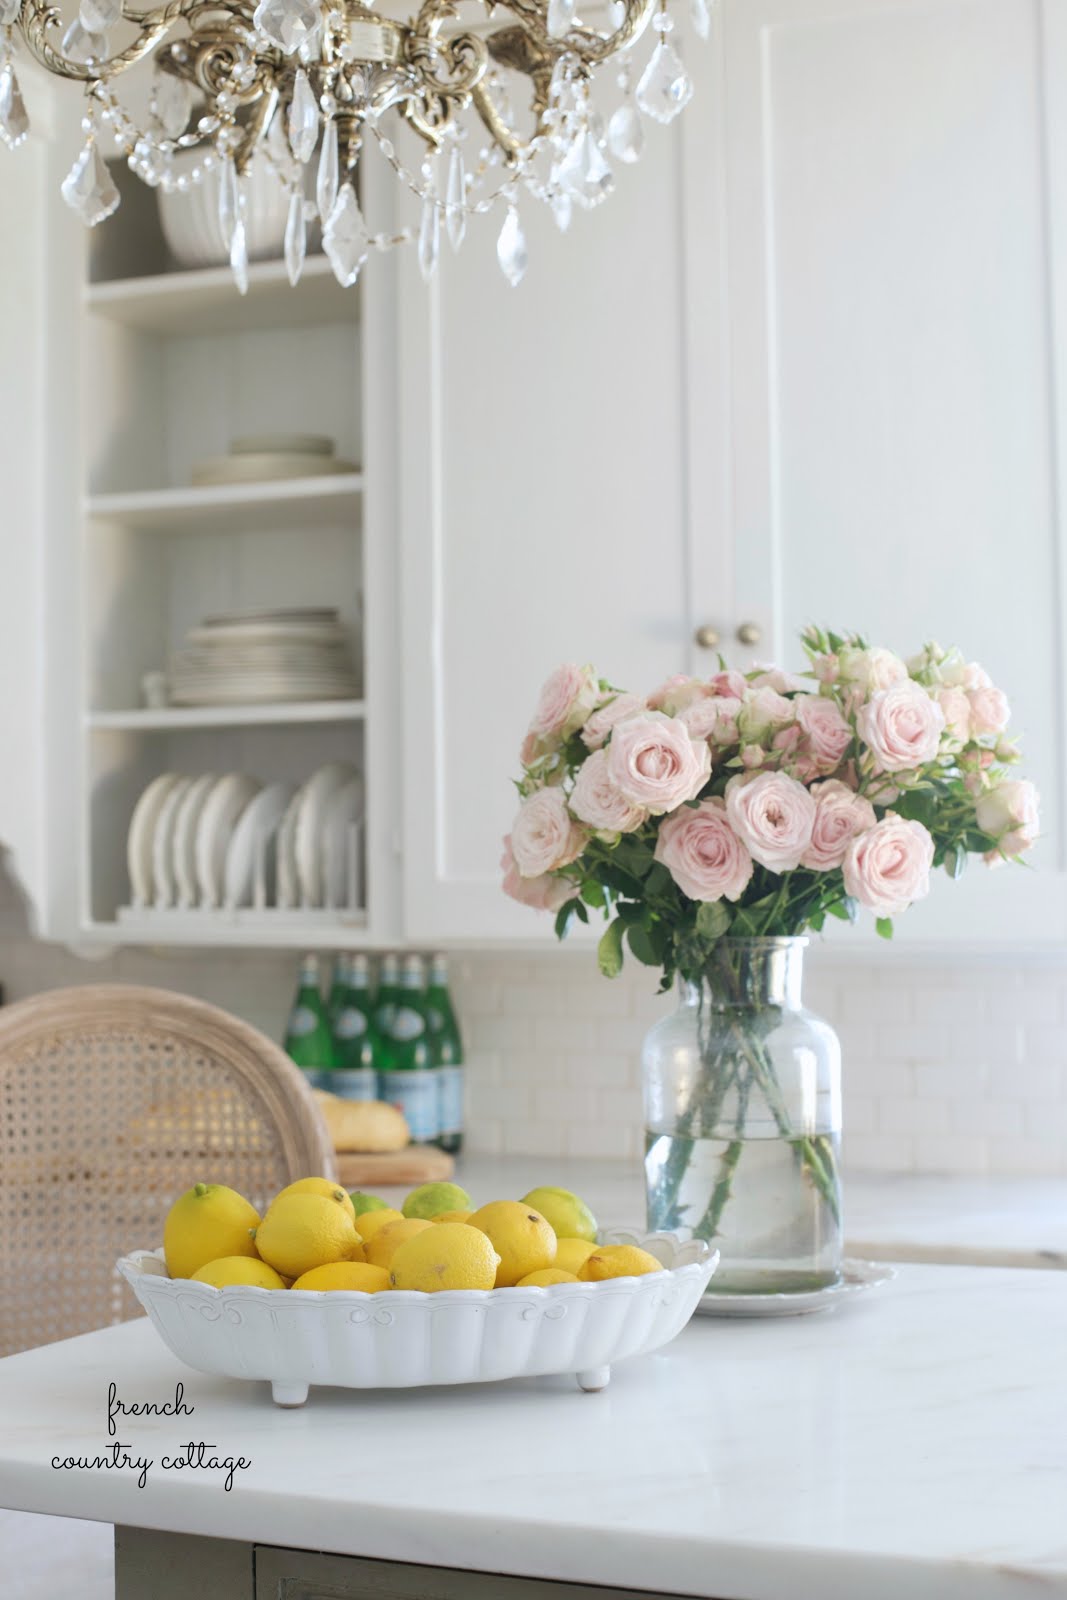
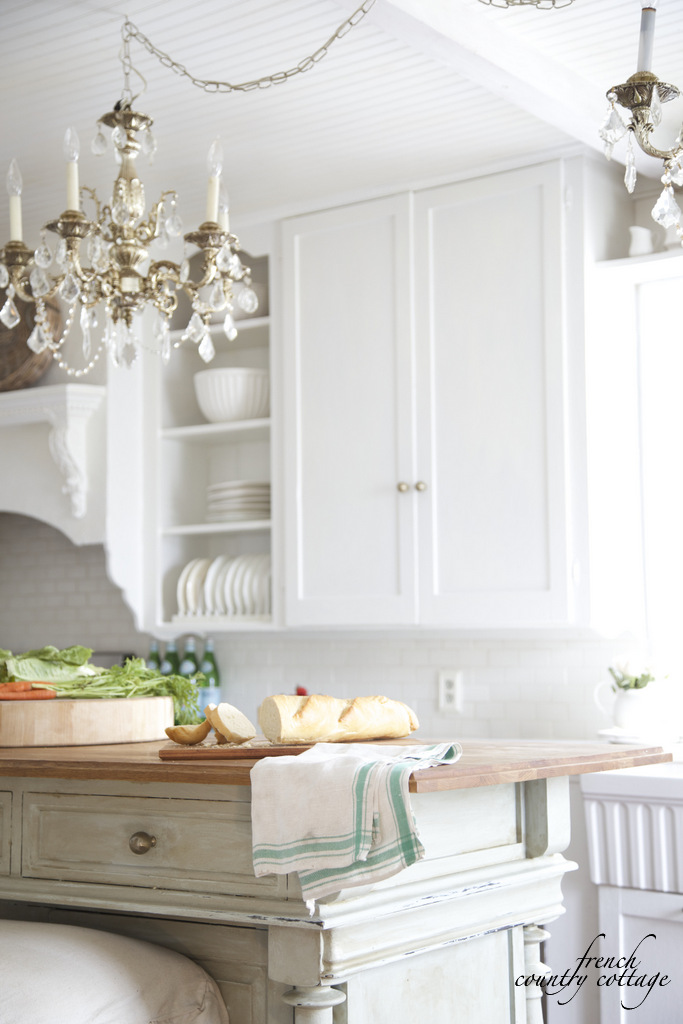
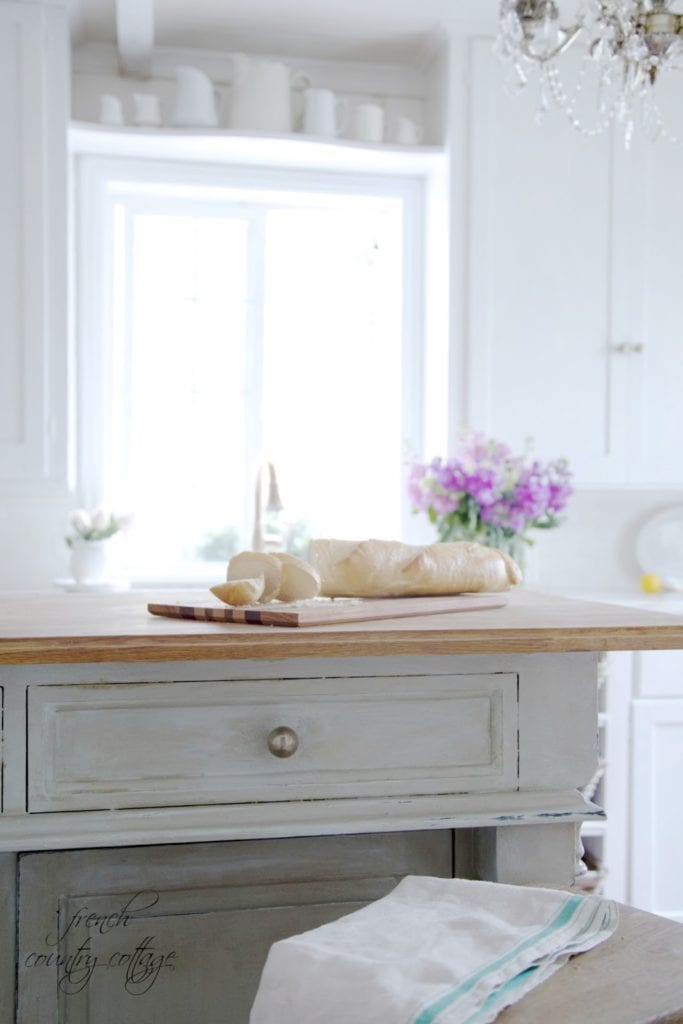
]]>The post The little kitchen that could appeared first on French Country Cottage.
]]>


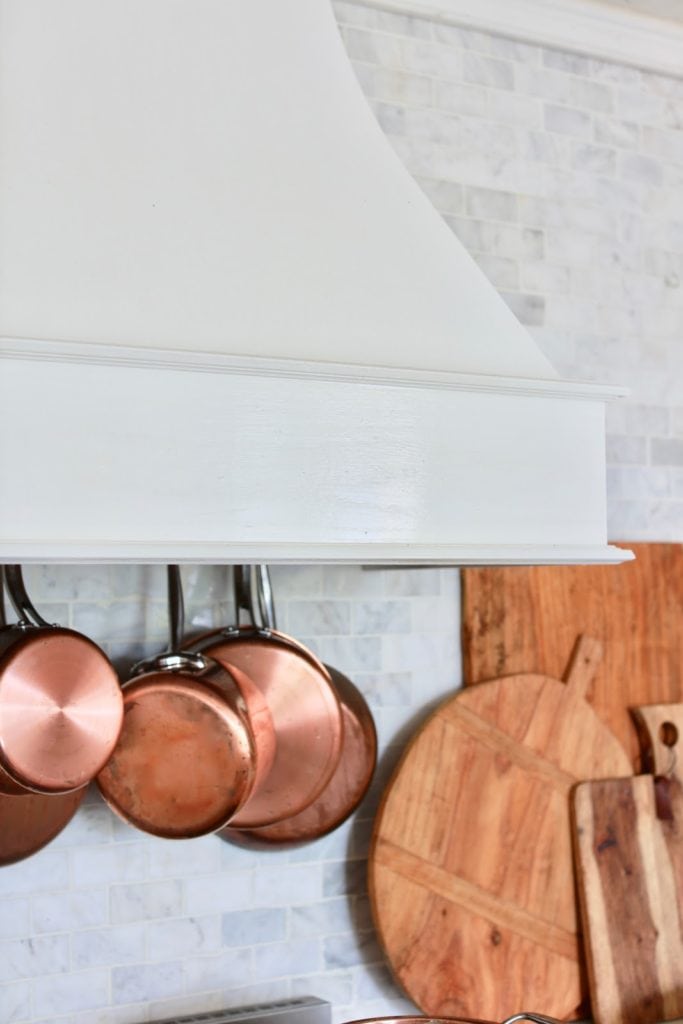
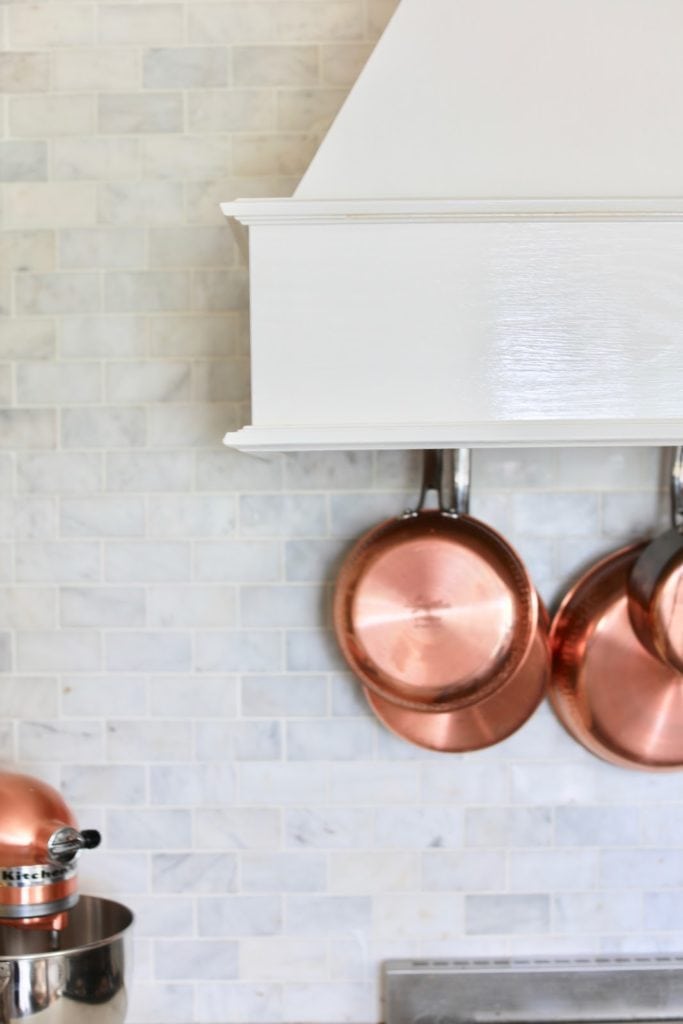
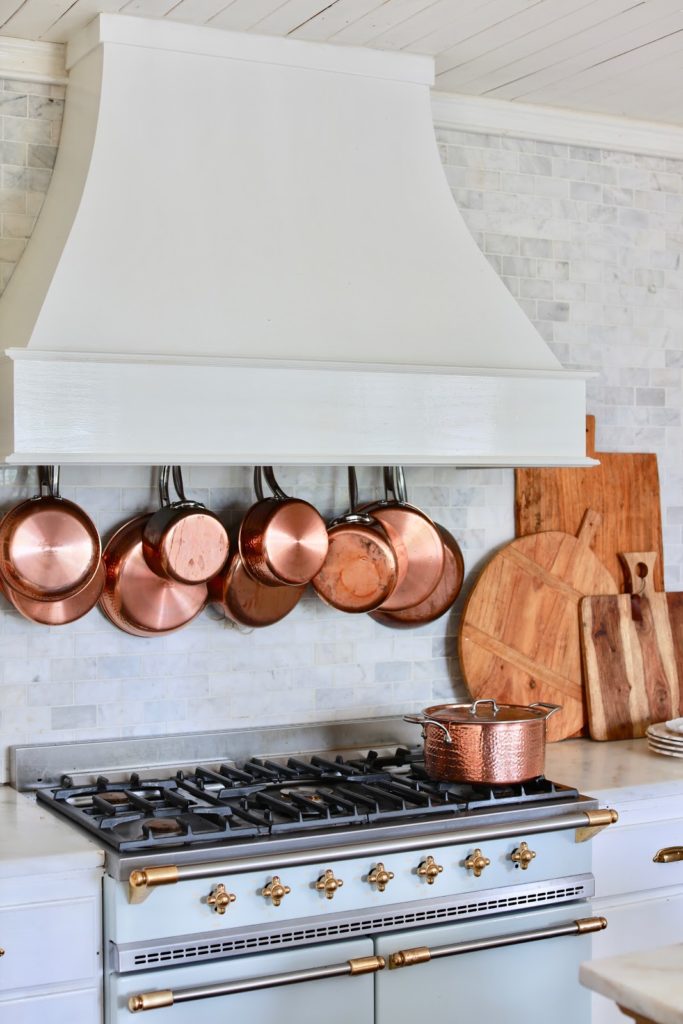
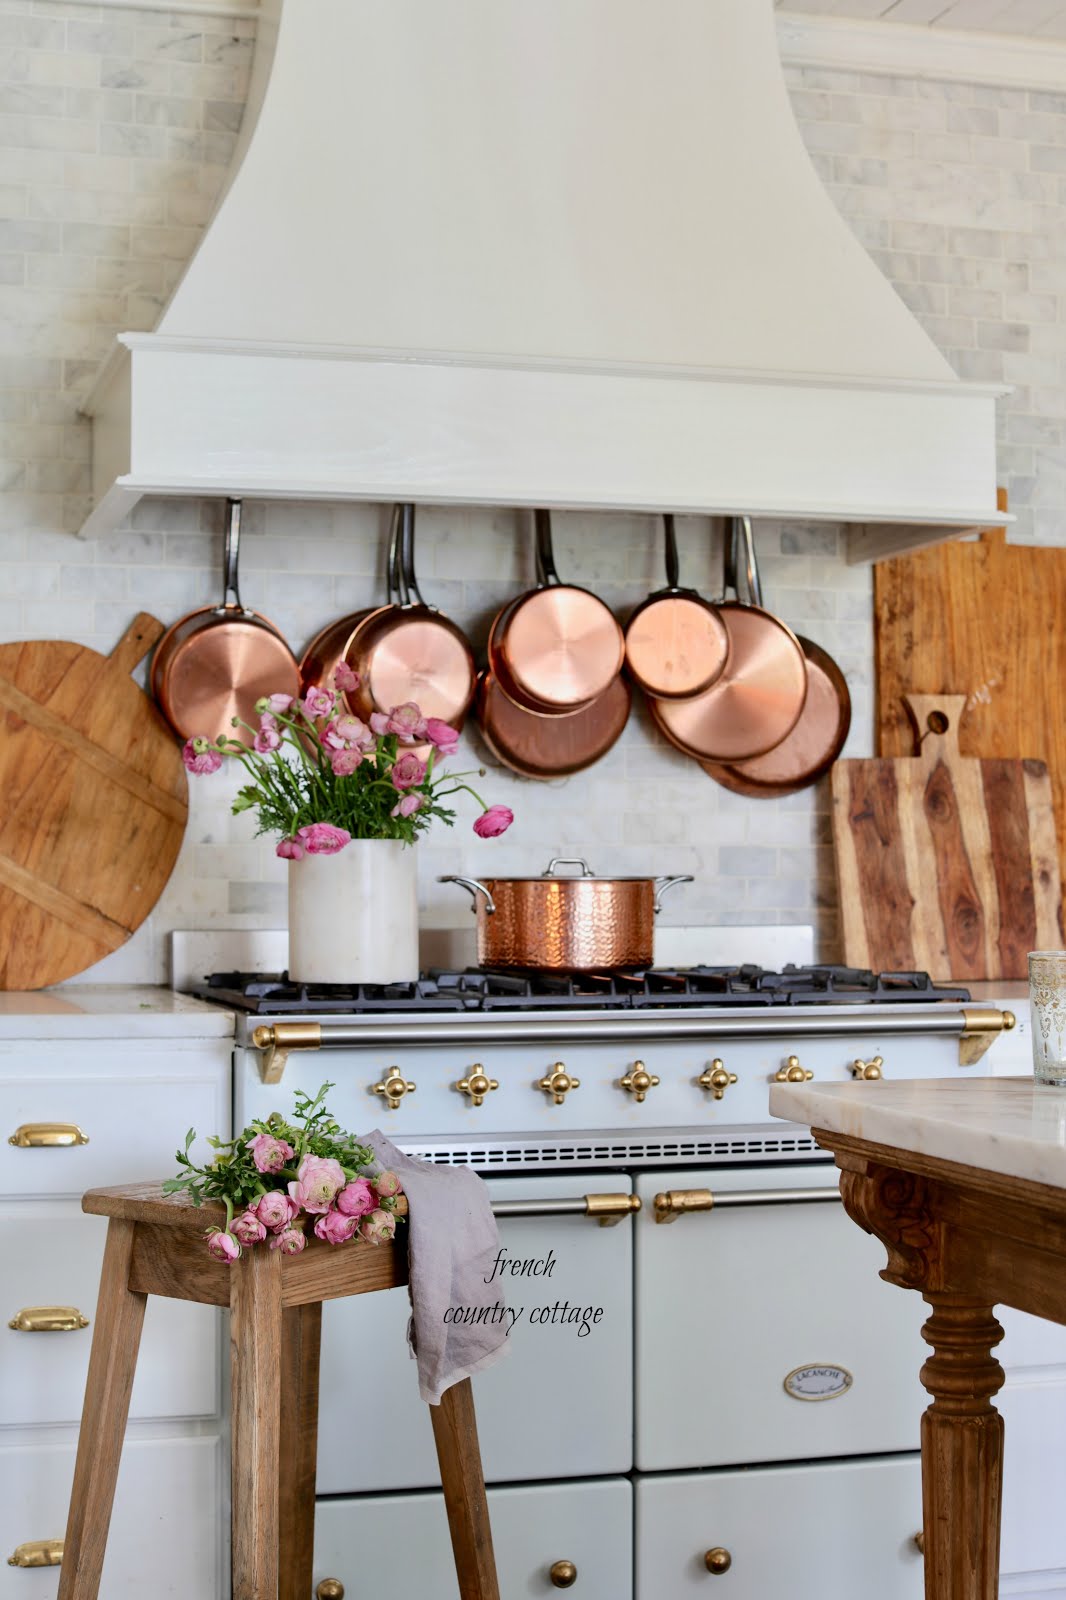
The post The little kitchen that could appeared first on French Country Cottage.
]]>The post French Cottage Bathroom – Favorites in 2017 appeared first on French Country Cottage.
]]>


The post French Cottage Bathroom – Favorites in 2017 appeared first on French Country Cottage.
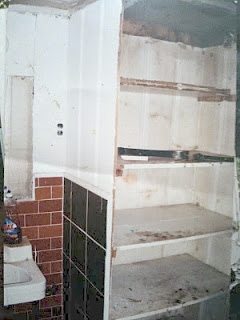
]]>The post Laundry Room BEFORE appeared first on French Country Cottage.
]]>
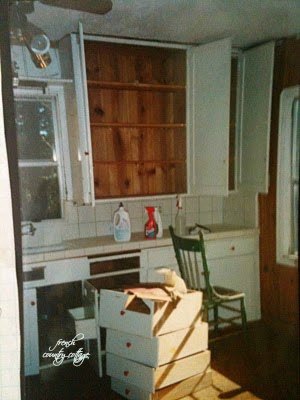
When we toured it the first time- my husband almost walked away.
With good reason.
It was a literal disaster.
Remember the Dining Room Before?
It was fabulous.

Not exactly charming.

No.
That there was no sink or plumbing in one bathroom
the broken windows and lovely furniture & junk left behind everywhere?
Oh yeah.
GOOD TIMES.
It was just a diamond… that was disguised as coal.

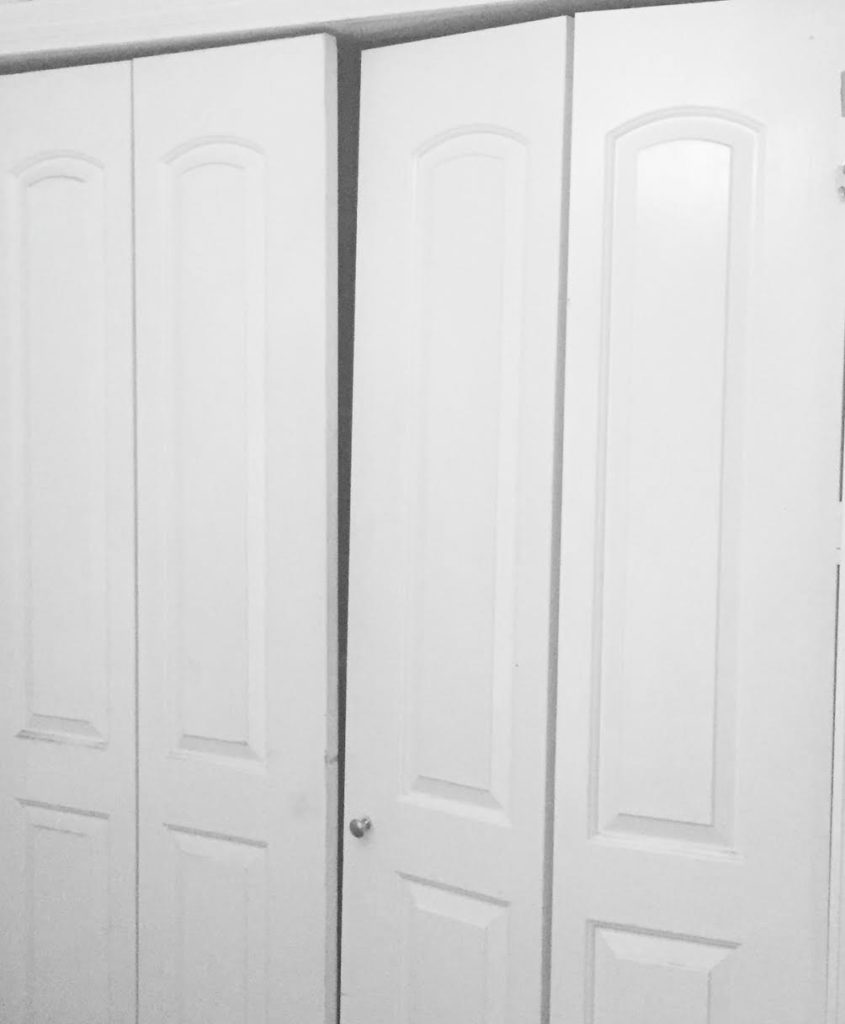
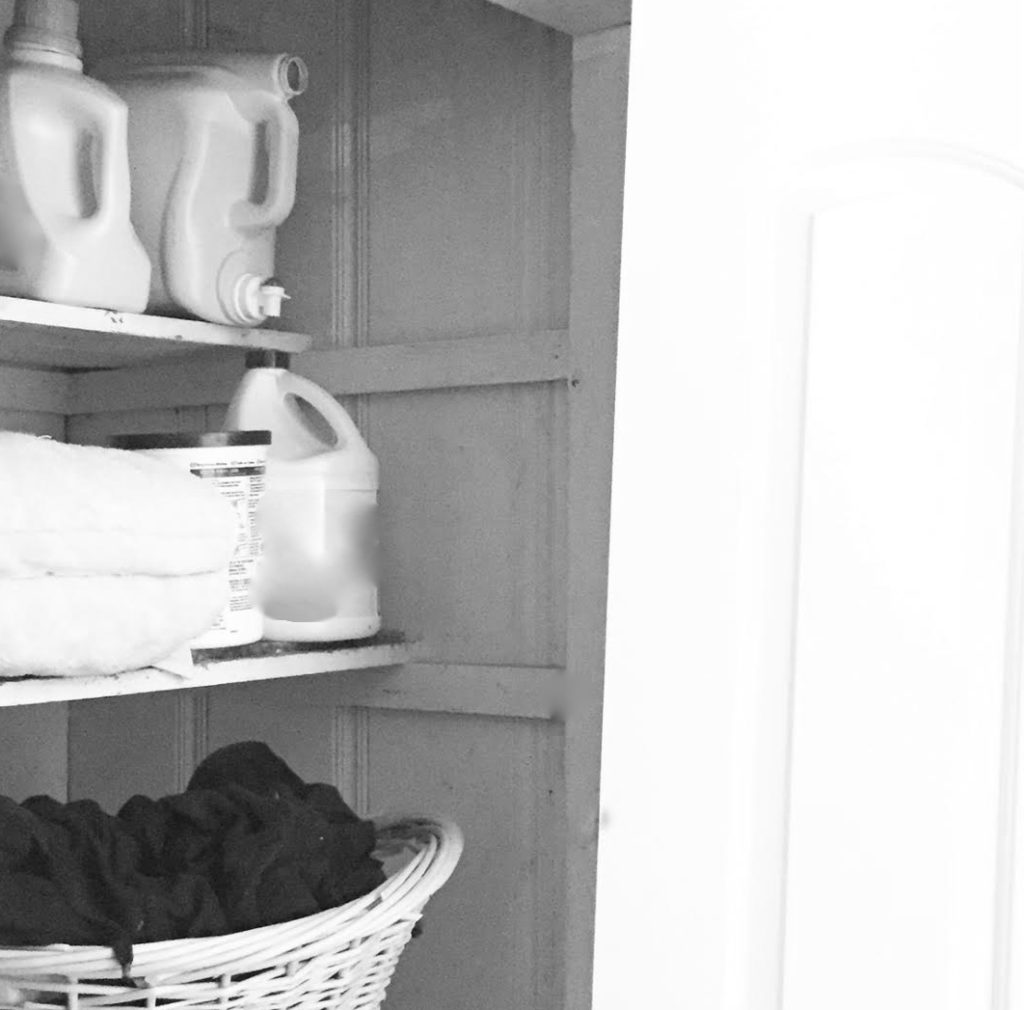
And that included the laundry room.
that was retrofitted to hold a washer and dryer.
All those laundry rooms that you see-
no sink
nada.
Yes.

The post Laundry Room BEFORE appeared first on French Country Cottage.
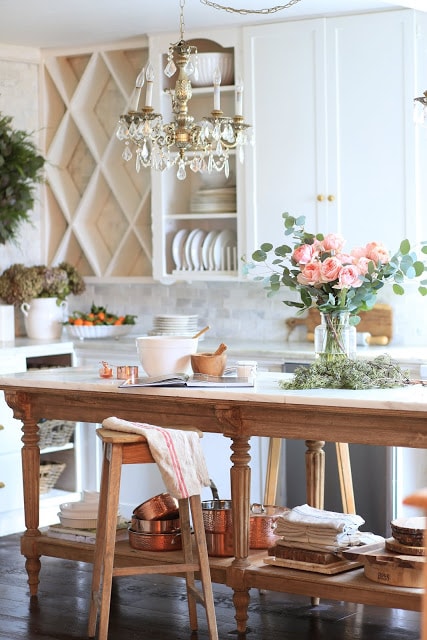
]]>The post One Change for Elegant Old World Cottage Charm in the Kitchen appeared first on French Country Cottage.
]]>


sharing at wow

The post One Change for Elegant Old World Cottage Charm in the Kitchen appeared first on French Country Cottage.
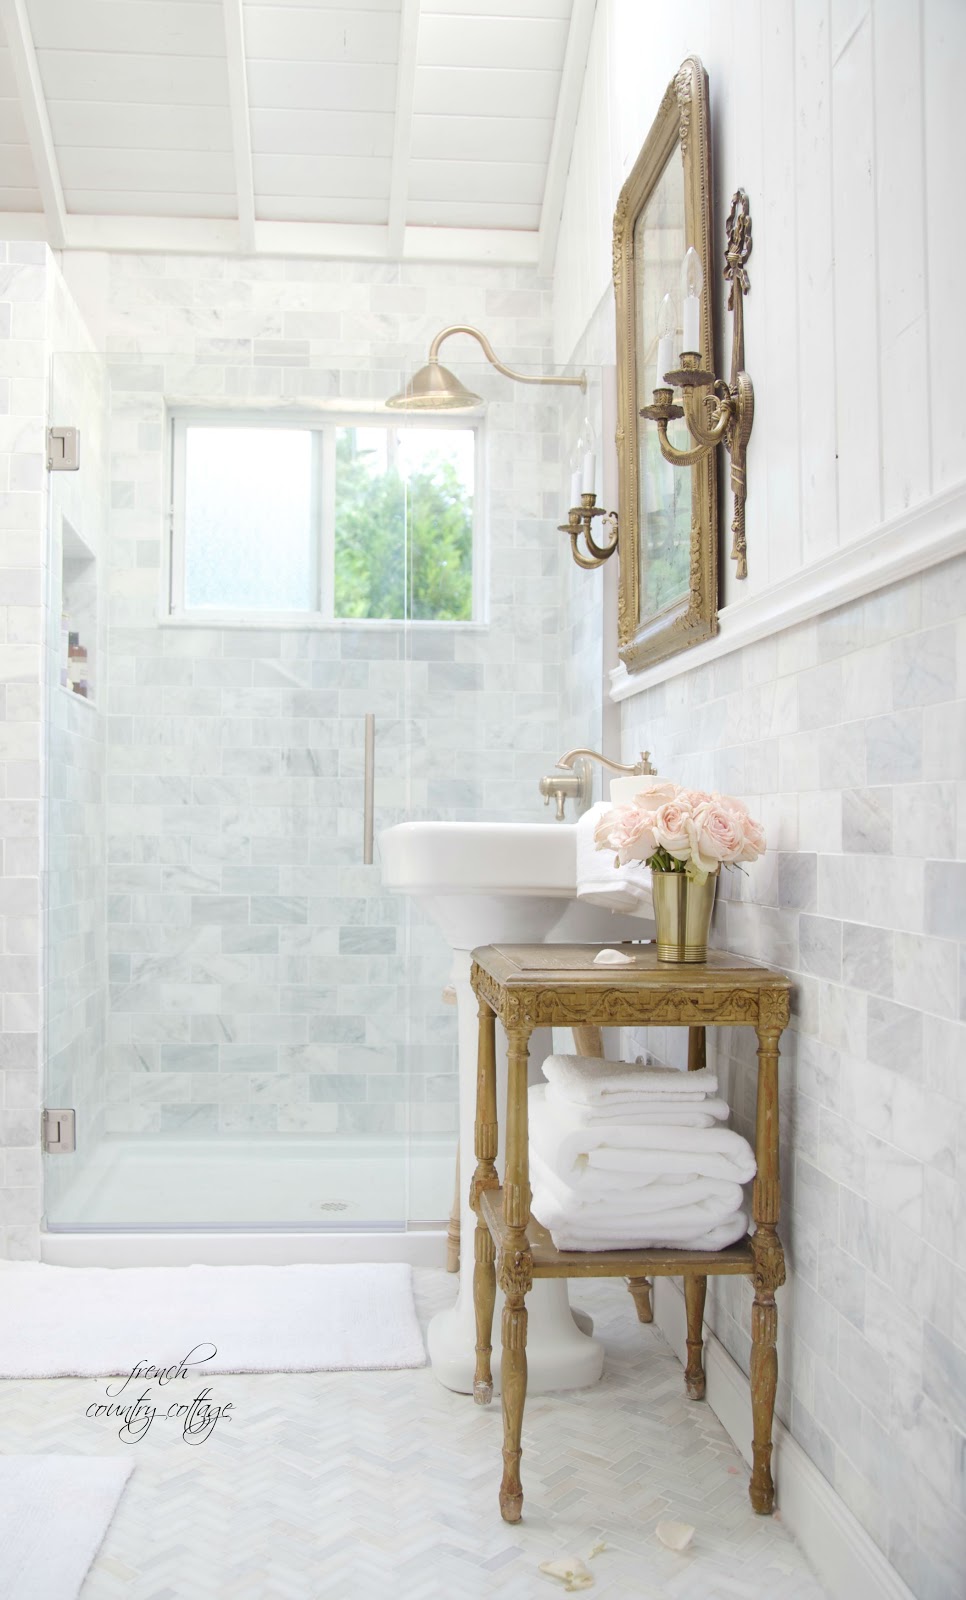
]]>The post The Secret That Makes This Beautiful Marble Mosaic Tile the Best appeared first on French Country Cottage.
]]>If I told you that I had fallen in love with a floor tile- you might think I was a little crazy.
But this marble mosaic? Well, it had me at hello.

And with so many color and style options- I can’t get enough of them.
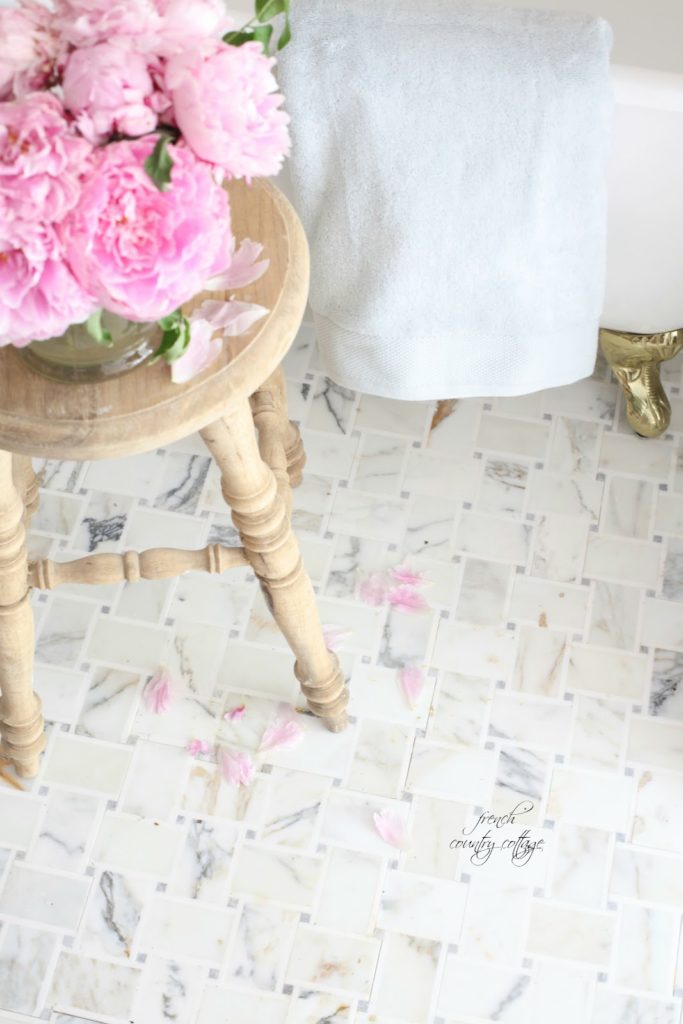
First, can we pause and talk about that gorgeous pattern?
I am in love with it.
that meant new floors.
This tile.
is like the superman of tile.

it is a beautiful mosaic tile.

I have worked with- and I think that is because they are ‘built’ so close together.


The post The Secret That Makes This Beautiful Marble Mosaic Tile the Best appeared first on French Country Cottage.
]]>The post The Great Blackberry & Marble Countertop Debacle appeared first on French Country Cottage.
]]>which to them = fun.

and on that lazy Saturday morning,
that we used for shakes and baking stored in the freezer.

that was next to the yet warm griddle that was waiting for round #2 of pancakes to be made…
I had applied 6 months ago worked…

but there it was.

well, we had a moment.
and promised to never bring leaky bags of frozen berries near them again.

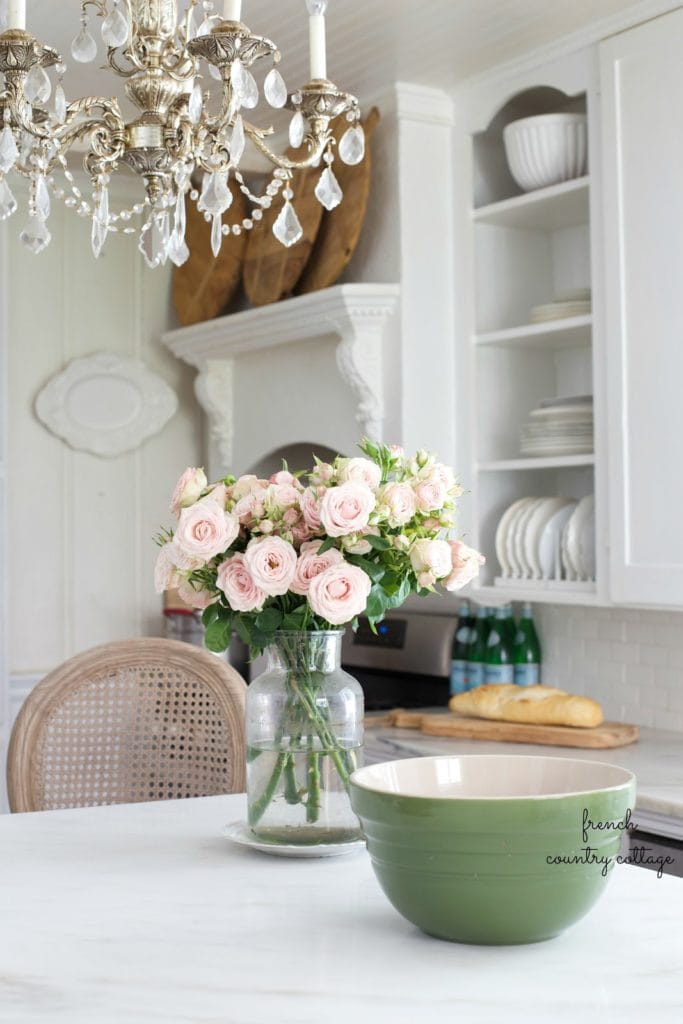
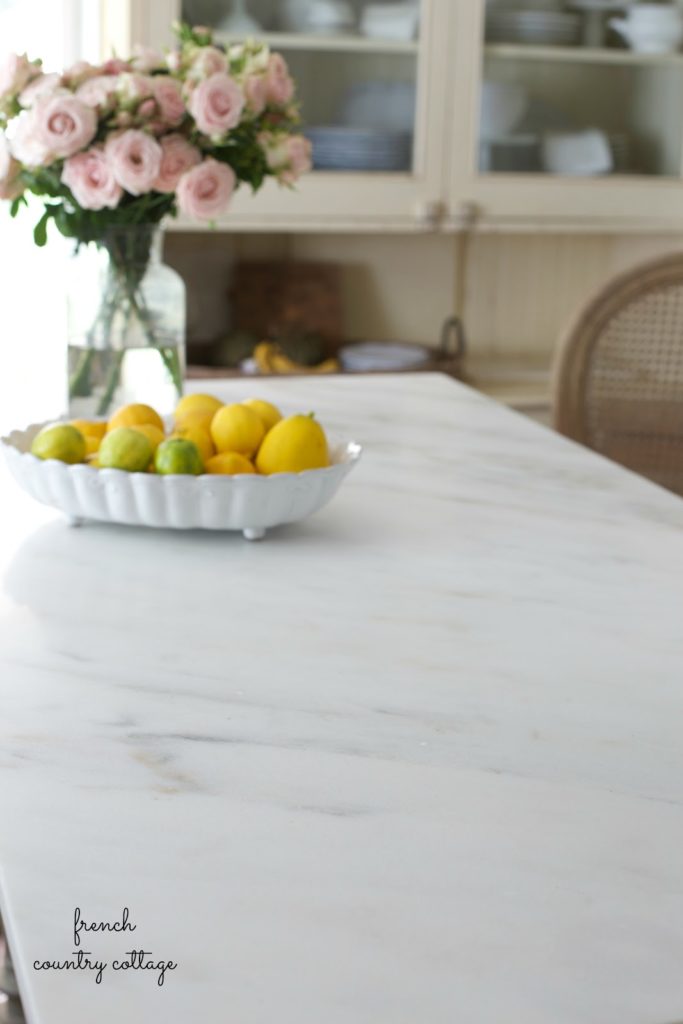
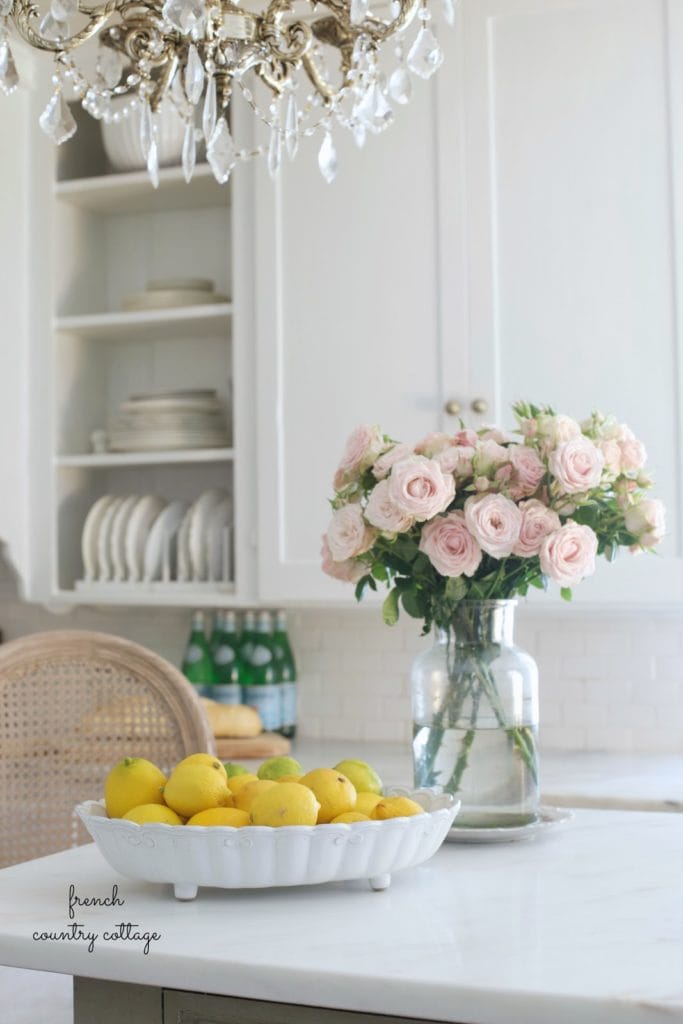
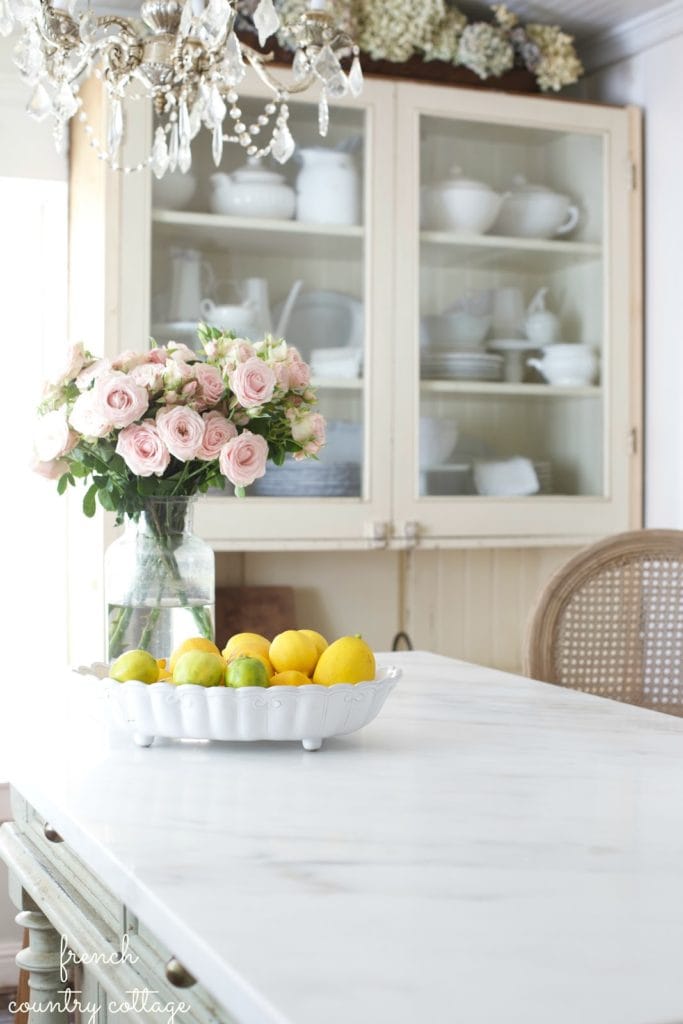
So after over a year with these marble counters in the kitchen-
with various mishaps here and there-
how are they holding up?
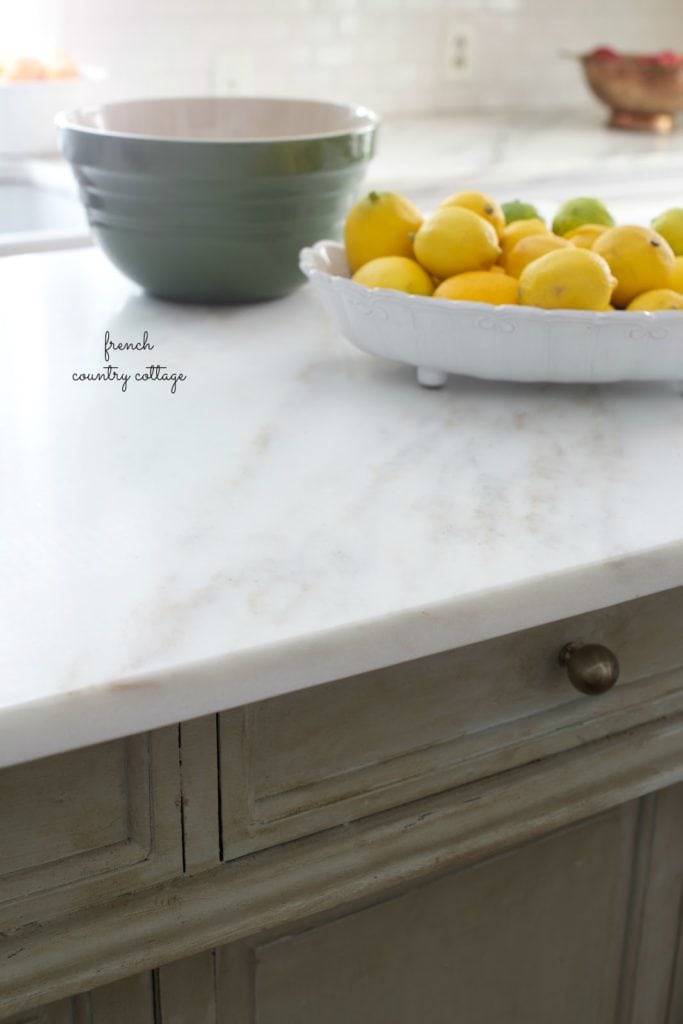
And what have I learned since that first spot of marinara sauce
and buttered popcorn and now berry juice?
A lot actually.
Here are a few thoughts:
that sealer worked.

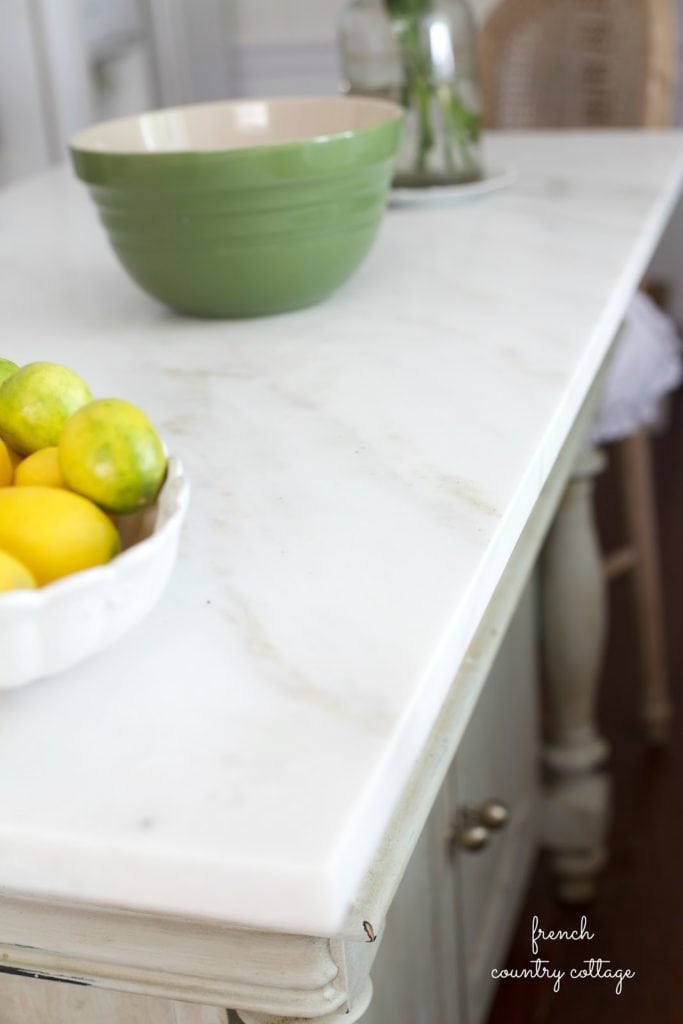
has seasoned the counters.
and take away from them just by looking at them-
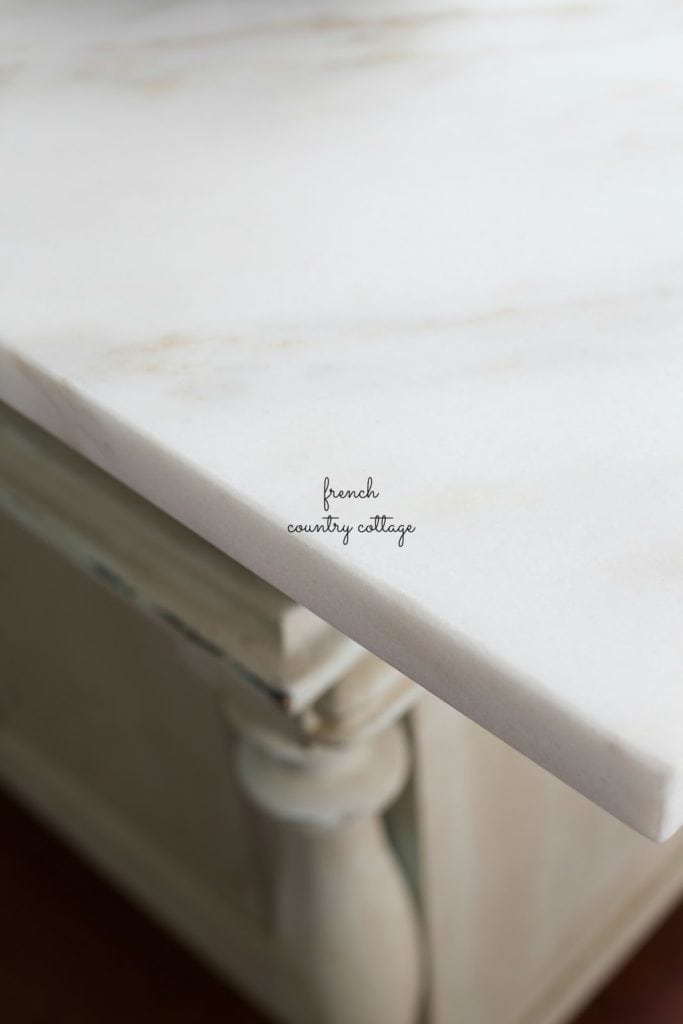
Etching
Again- part of the patina.
IF you look for it-and scrunch down to eye level- you will notice it.
If you don’t – you will not.
Though I love shiny- honed is the way to go folks.


I found the oxyclean fix on google- and it worked for me but use at your own judgement.
Enter your email address:
Delivered by FeedBurner
The post The Great Blackberry & Marble Countertop Debacle appeared first on French Country Cottage.
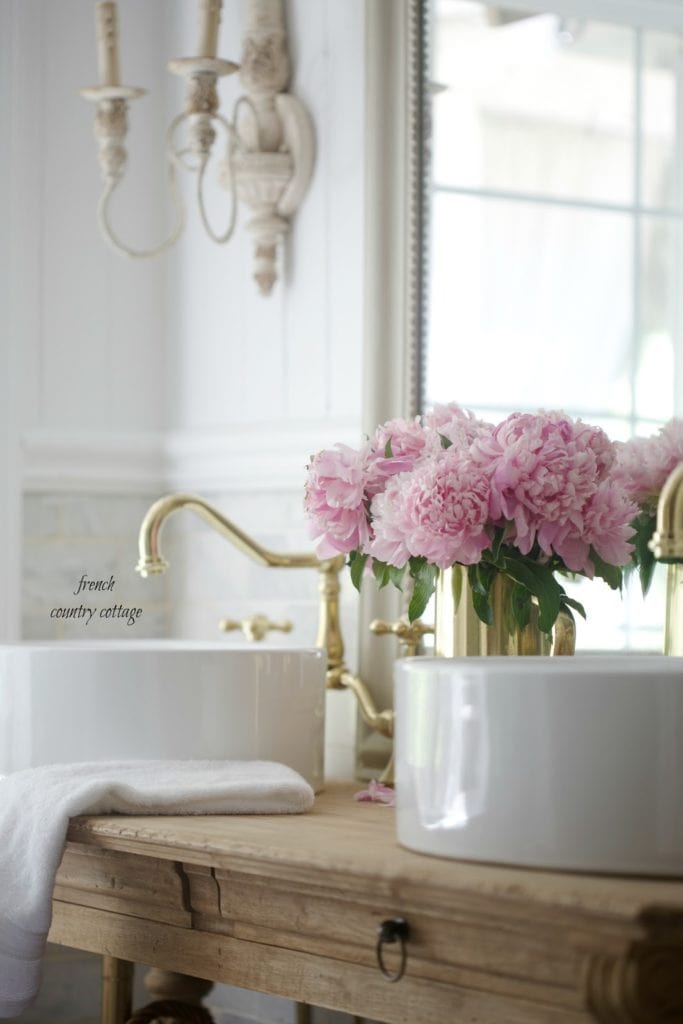
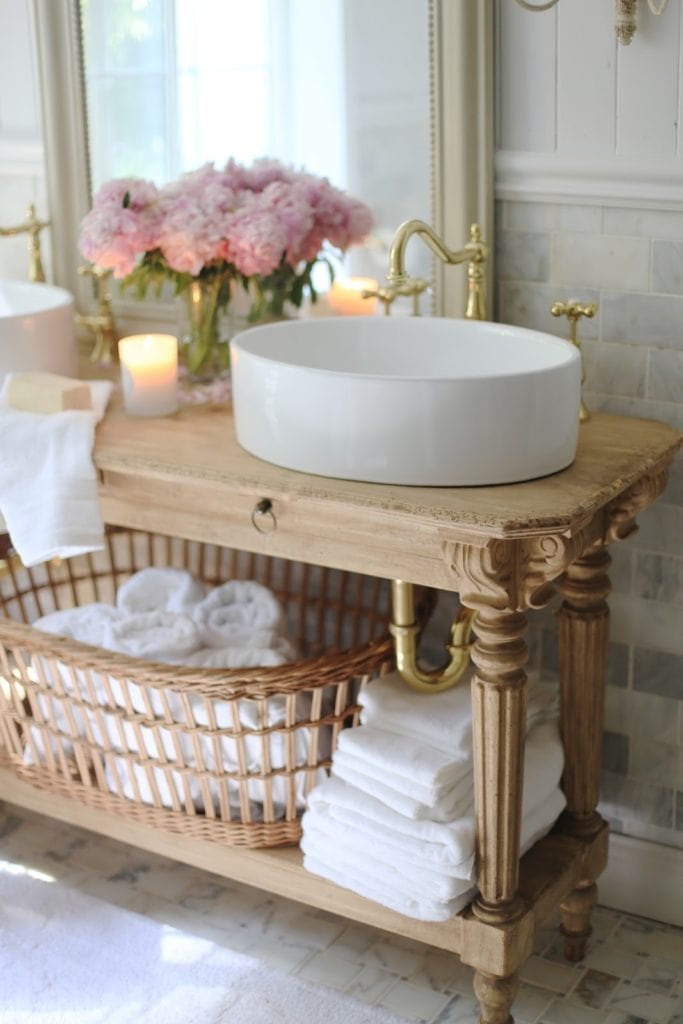
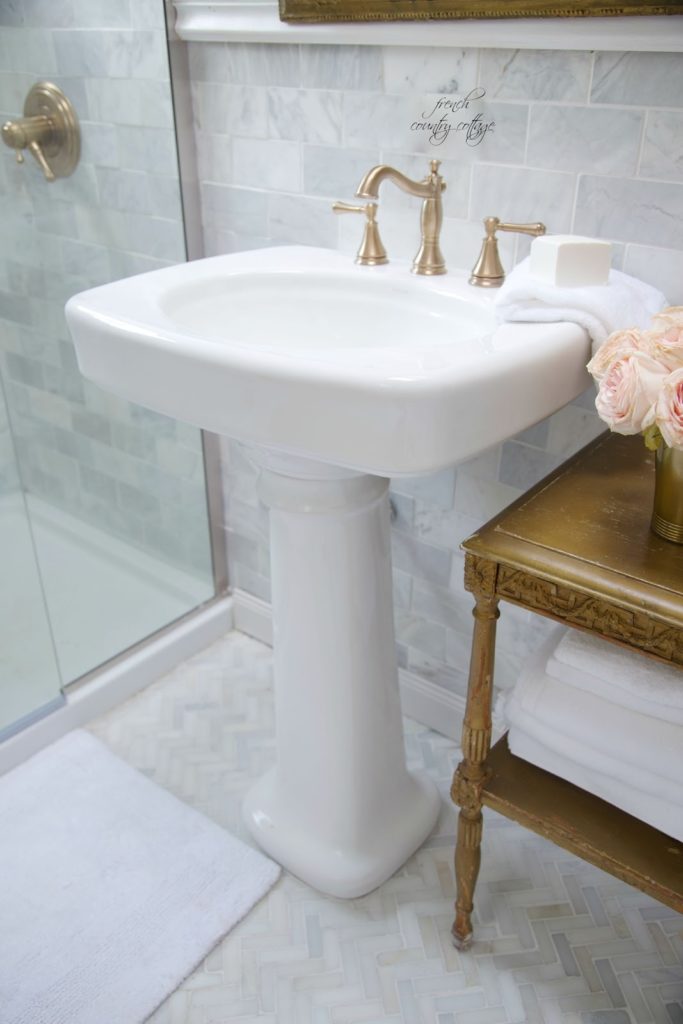
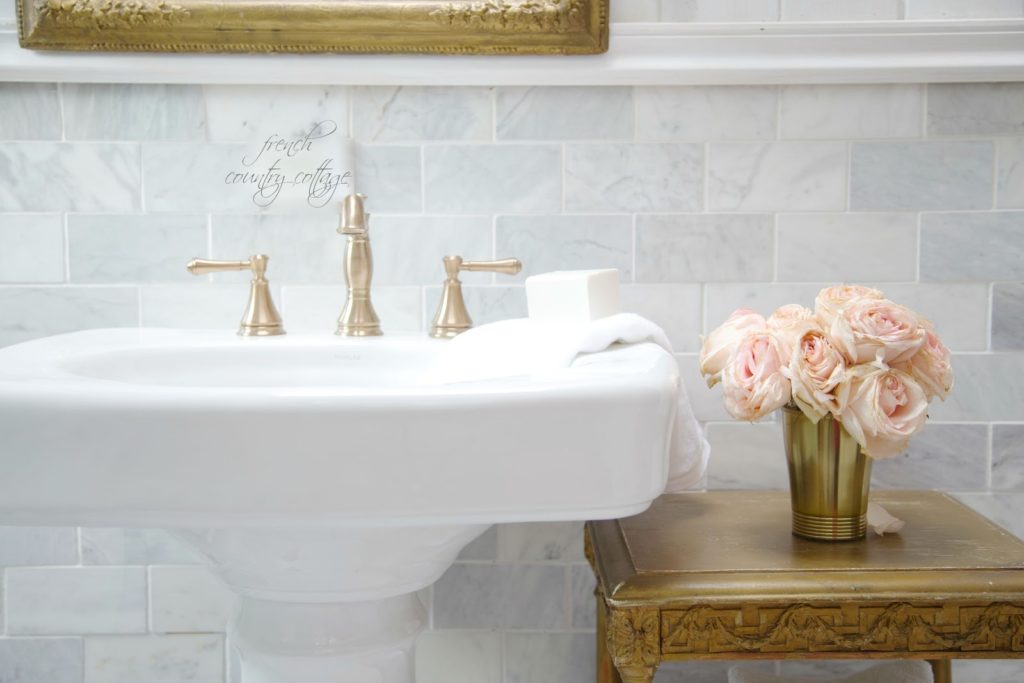
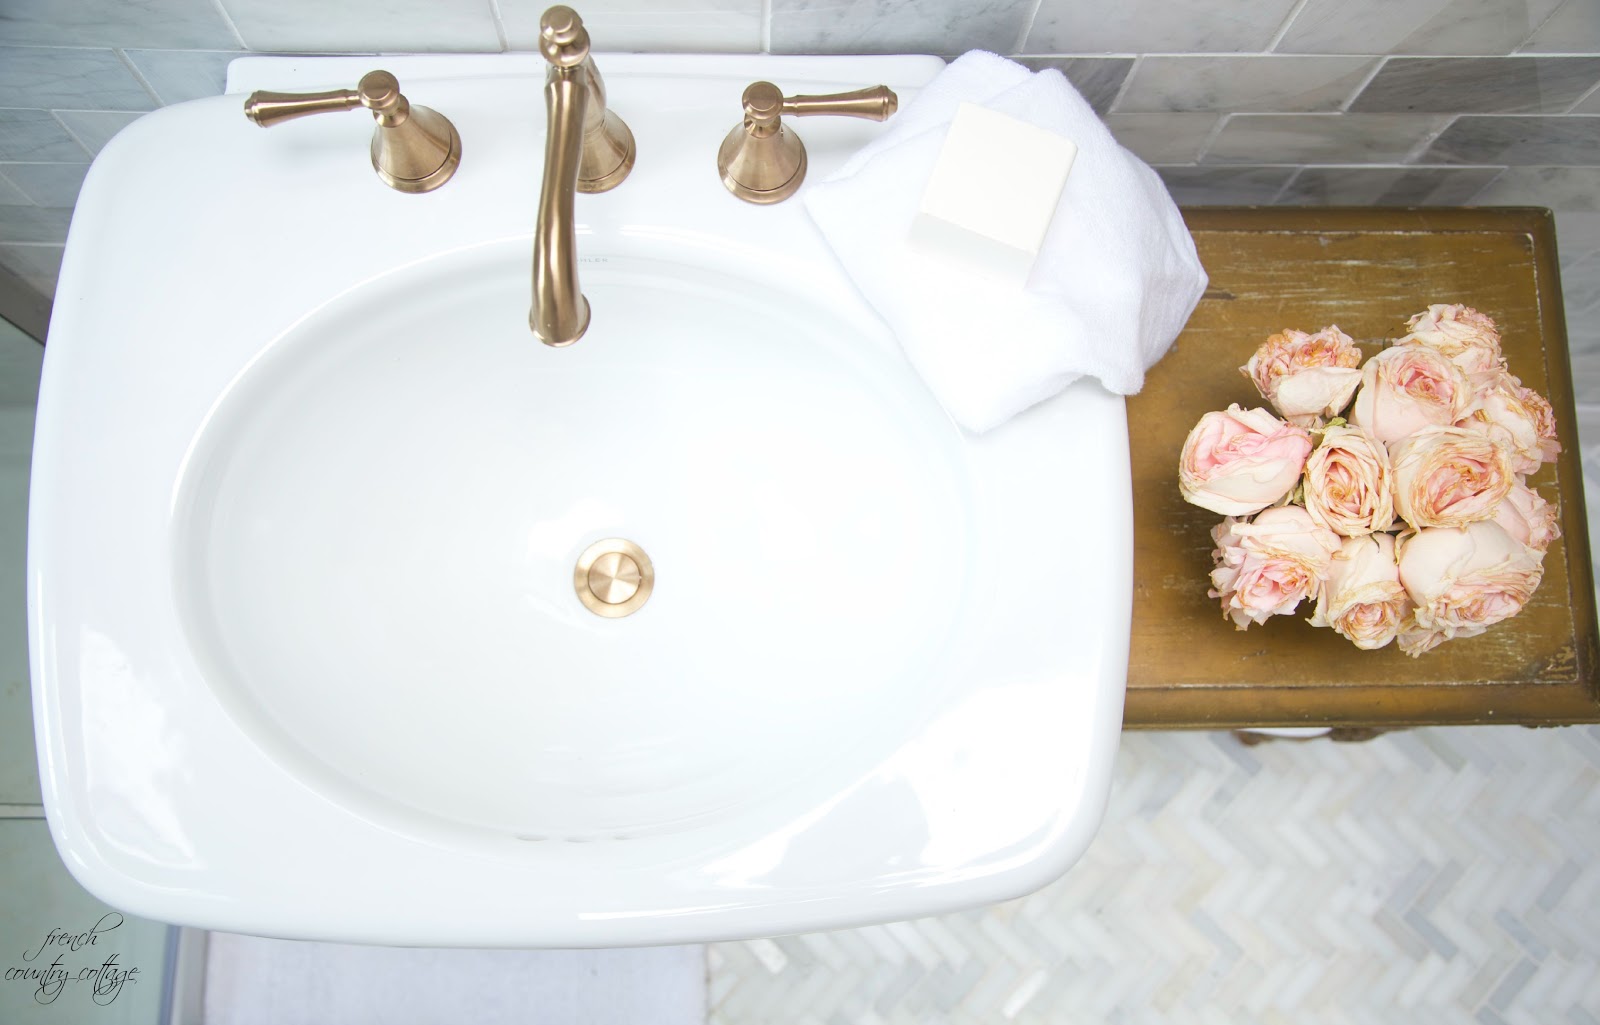
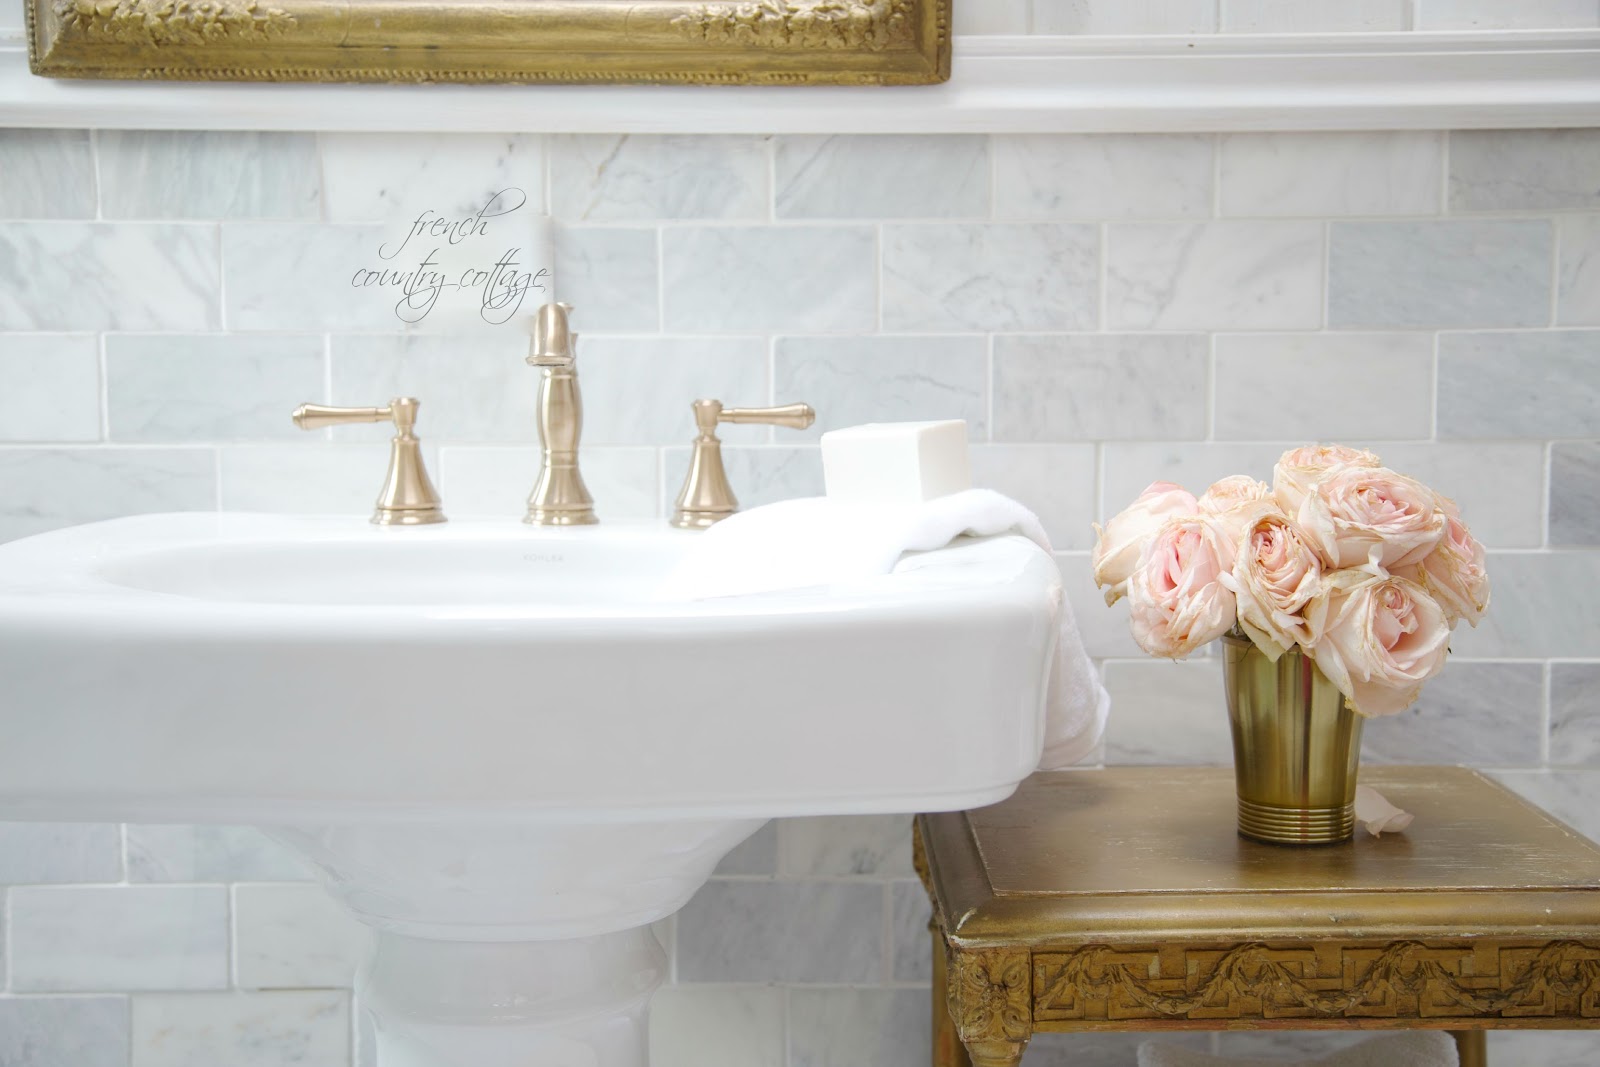
]]>The post Details~ The perfect pedestal sink appeared first on French Country Cottage.
]]>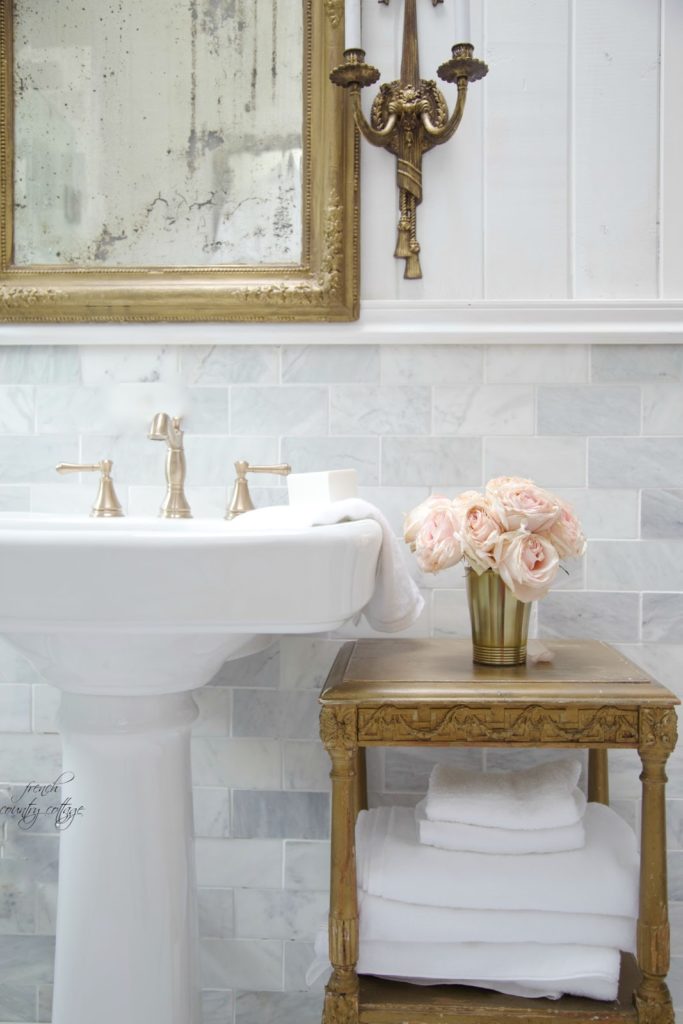


that this was the sink that fit the design perfectly.

Enter your email address:
Delivered by FeedBurner
The post Details~ The perfect pedestal sink appeared first on French Country Cottage.
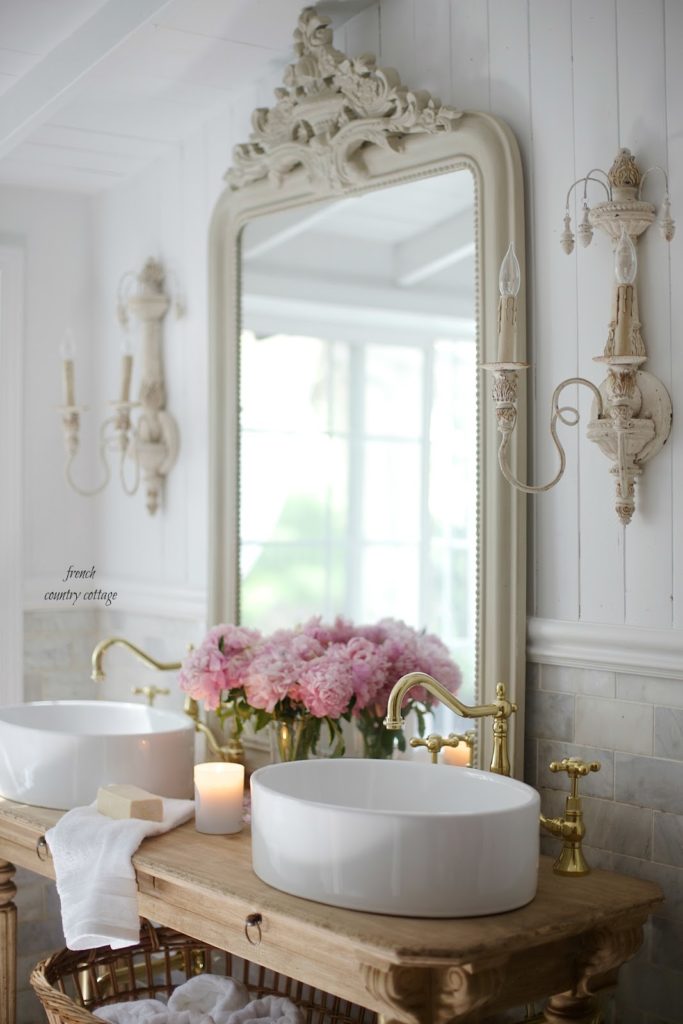
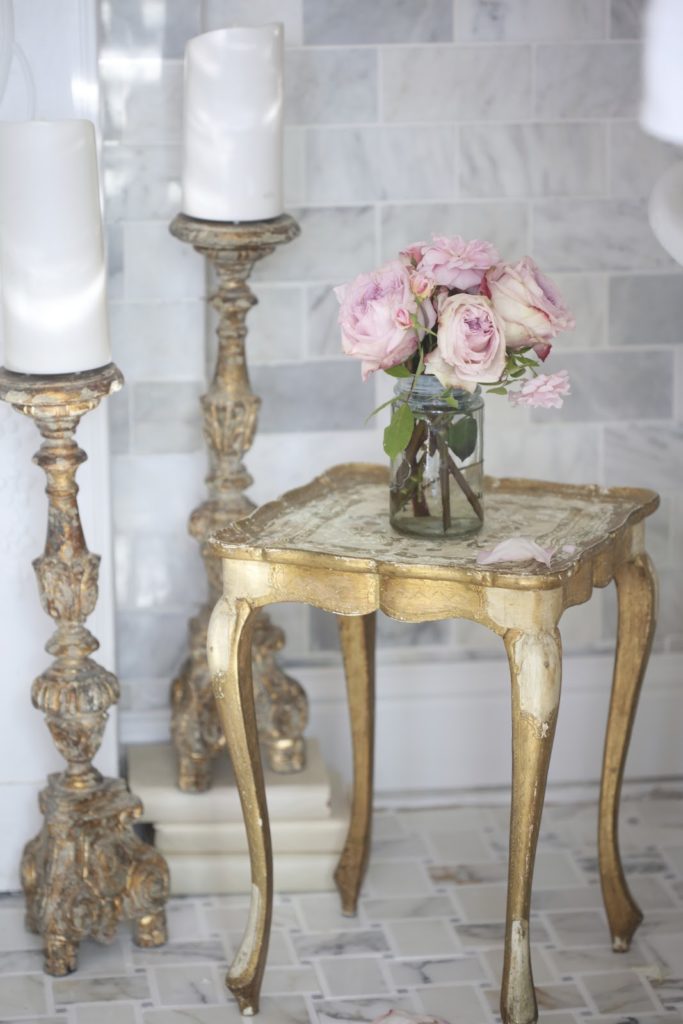
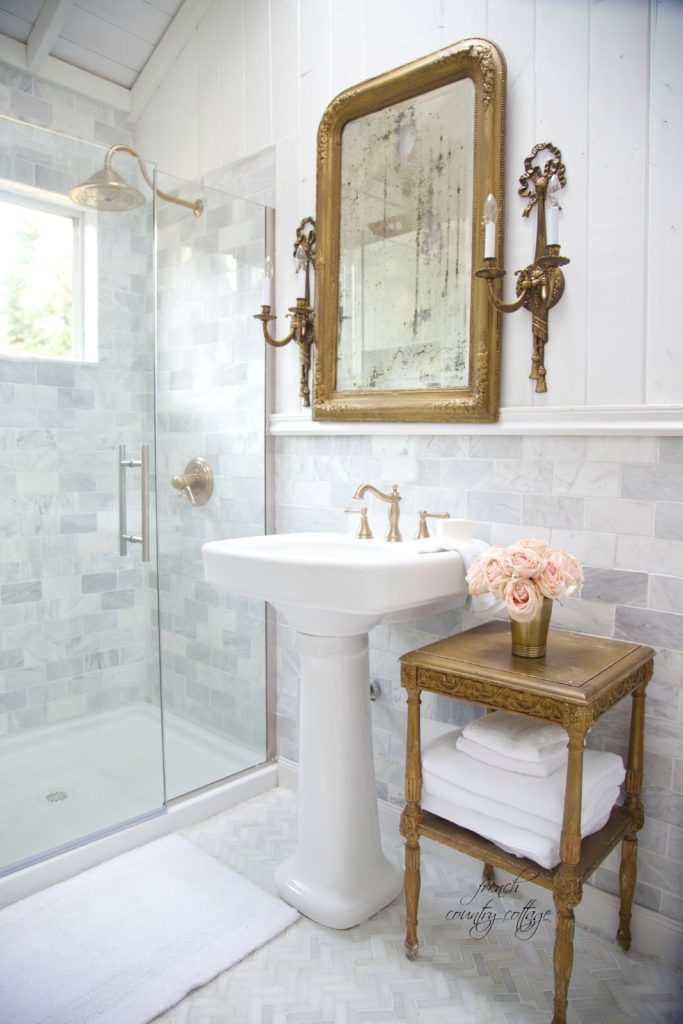
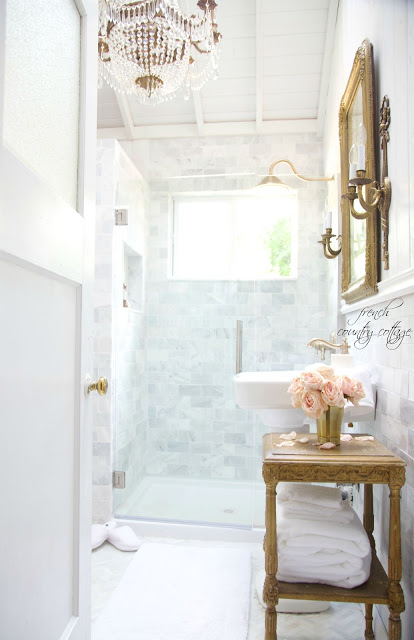
]]>The post French Cottage Bathroom Renovation- Reveal appeared first on French Country Cottage.
]]>


and random things hidden inside walls

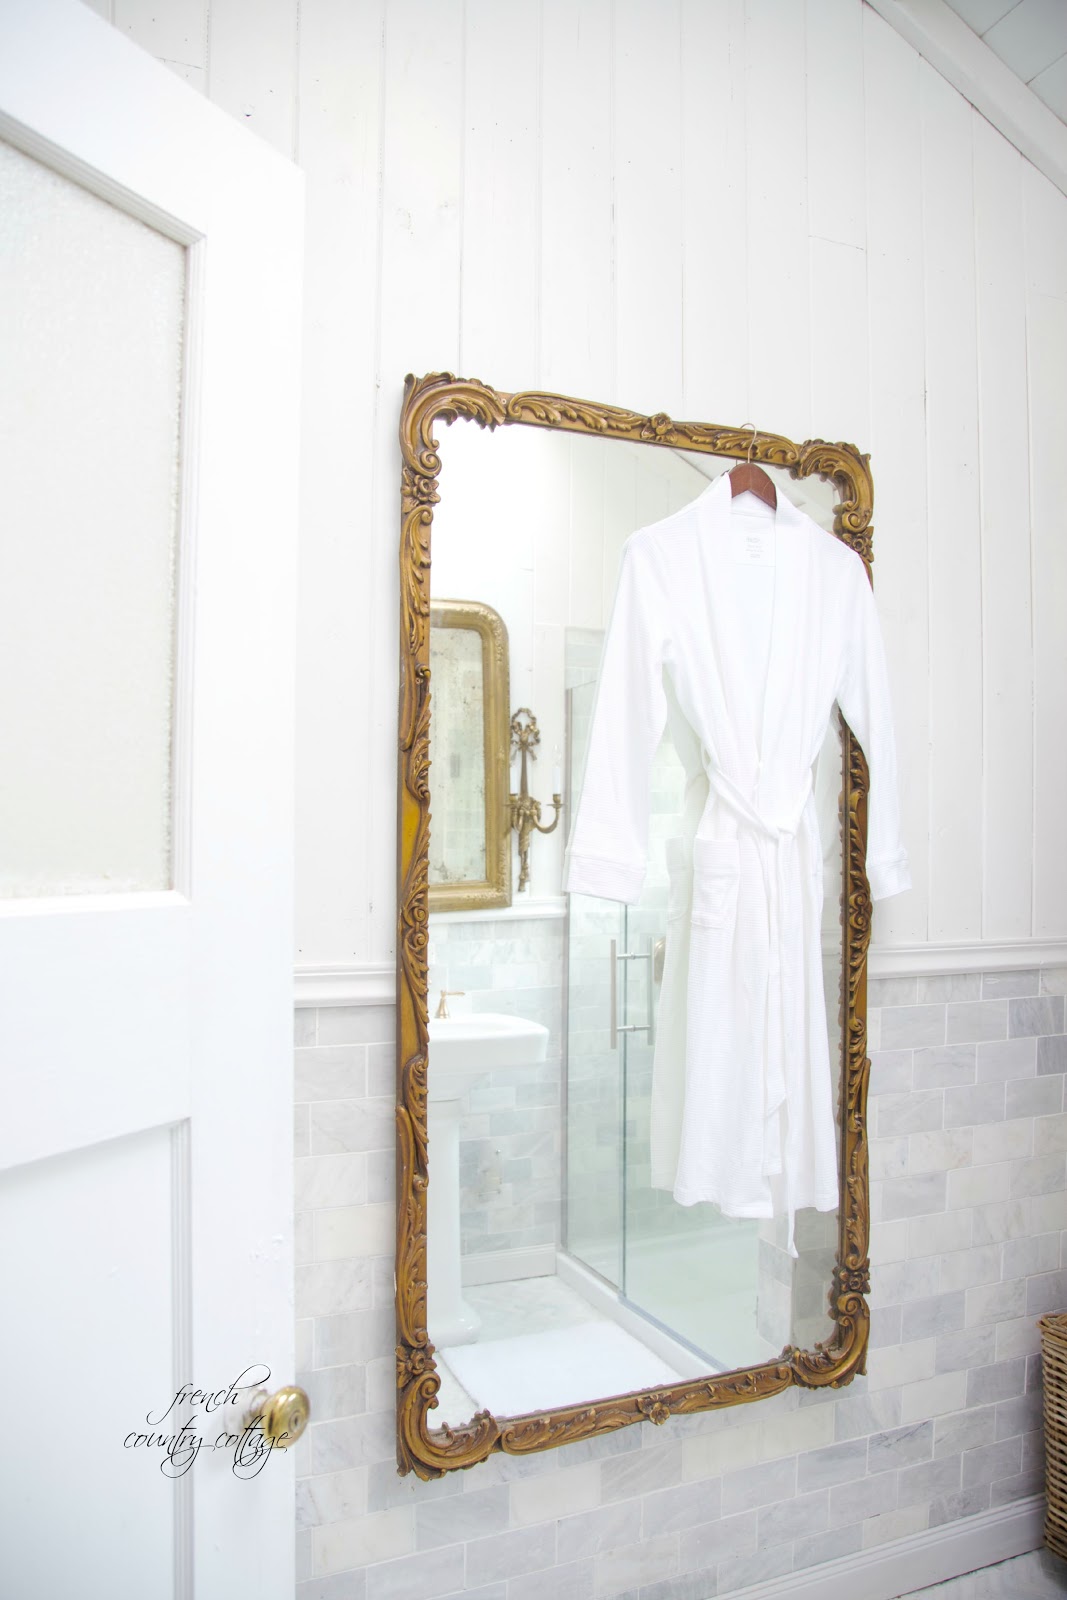
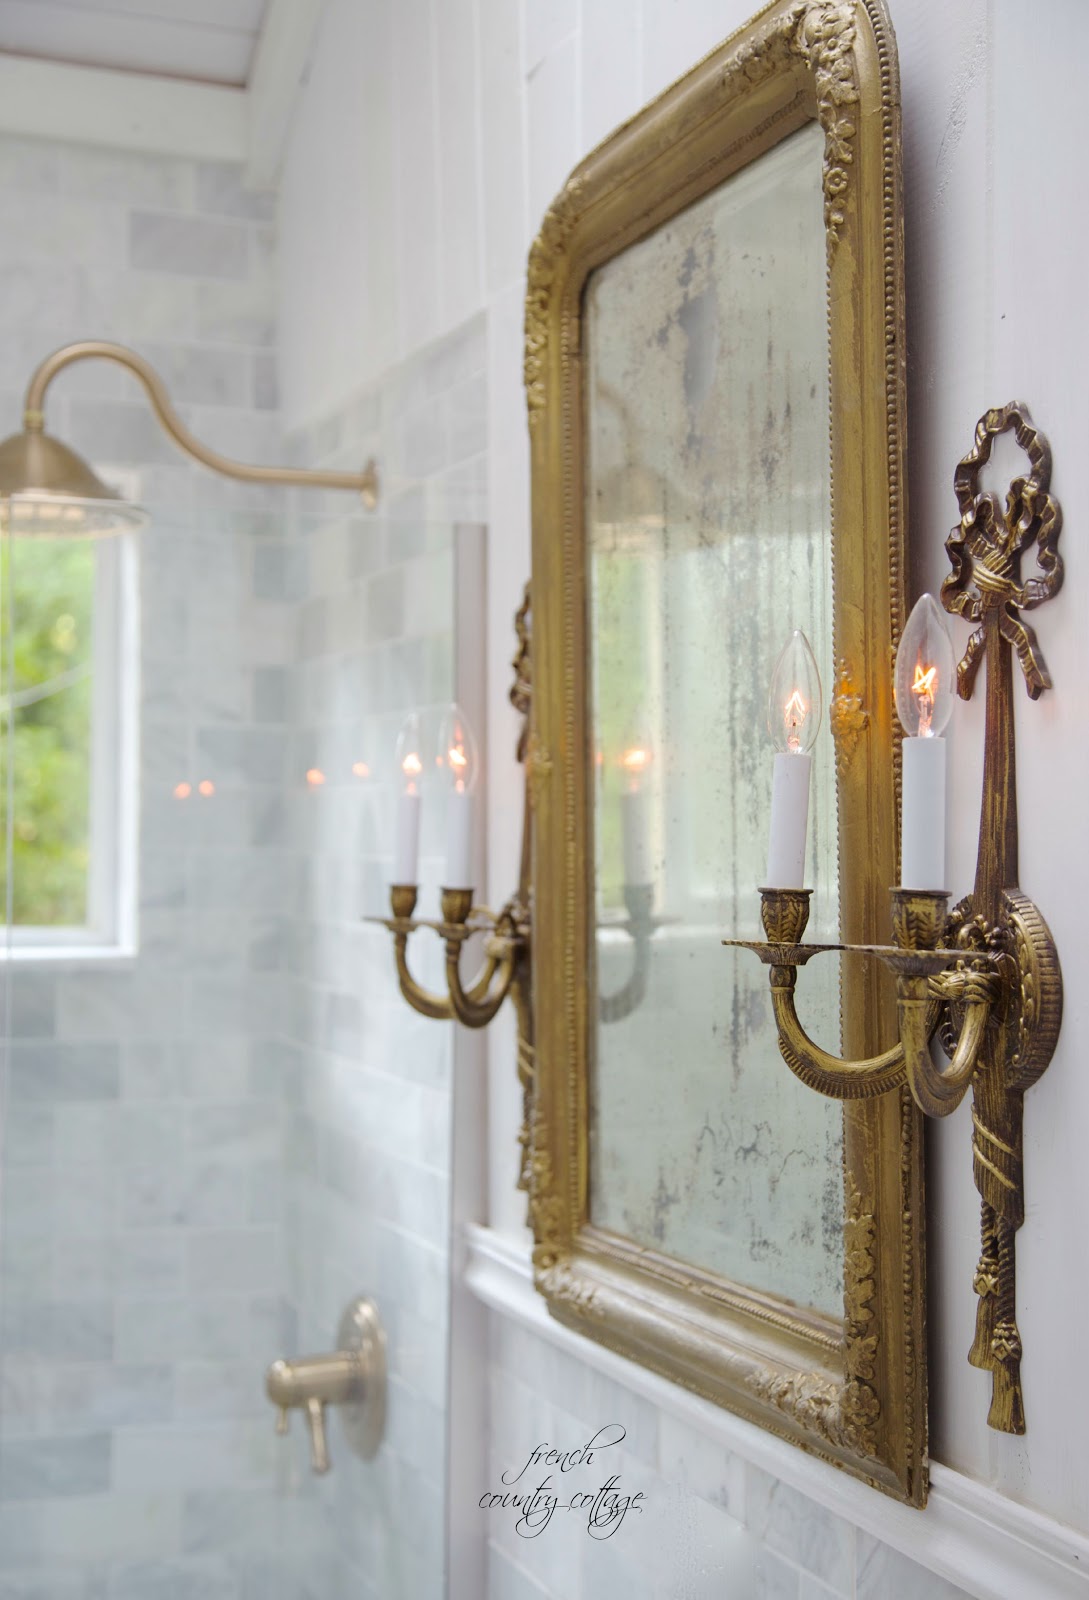
Do you remember that vintage mirror I found in San Diego?

but I am going to break down a few specifics
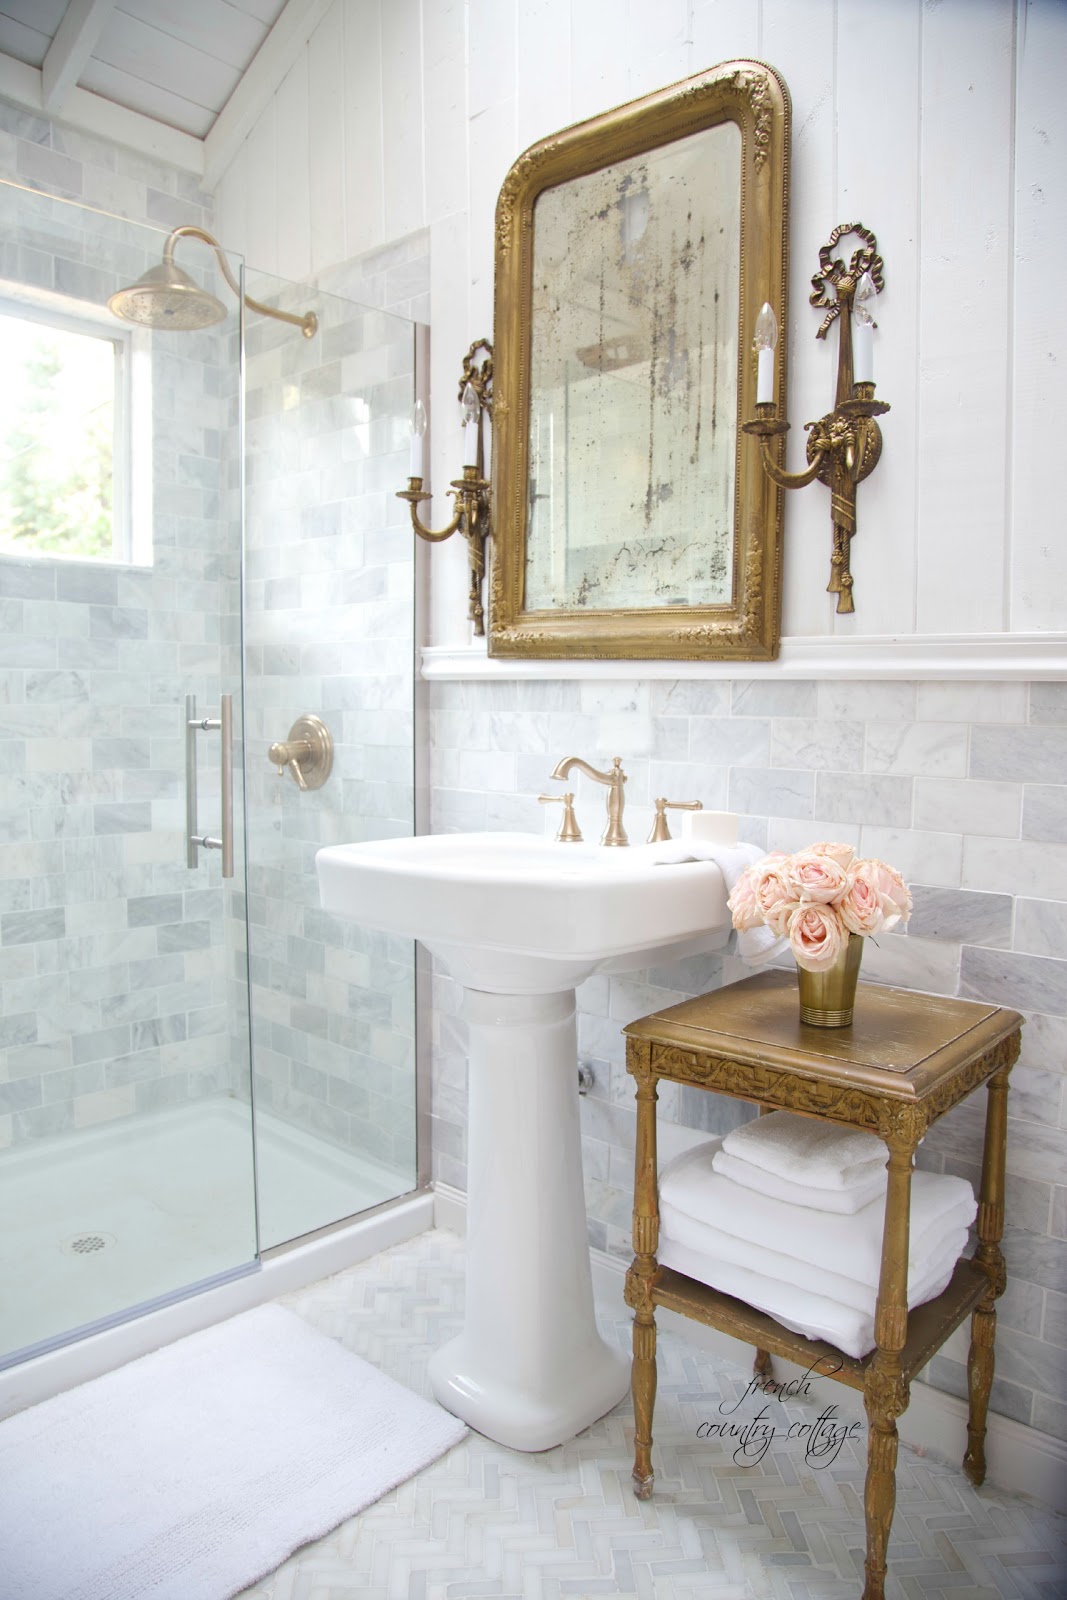
The Floor
Herringbone. Marble. Tile.
Need I say more?


The post French Cottage Bathroom Renovation- Reveal appeared first on French Country Cottage.
]]>