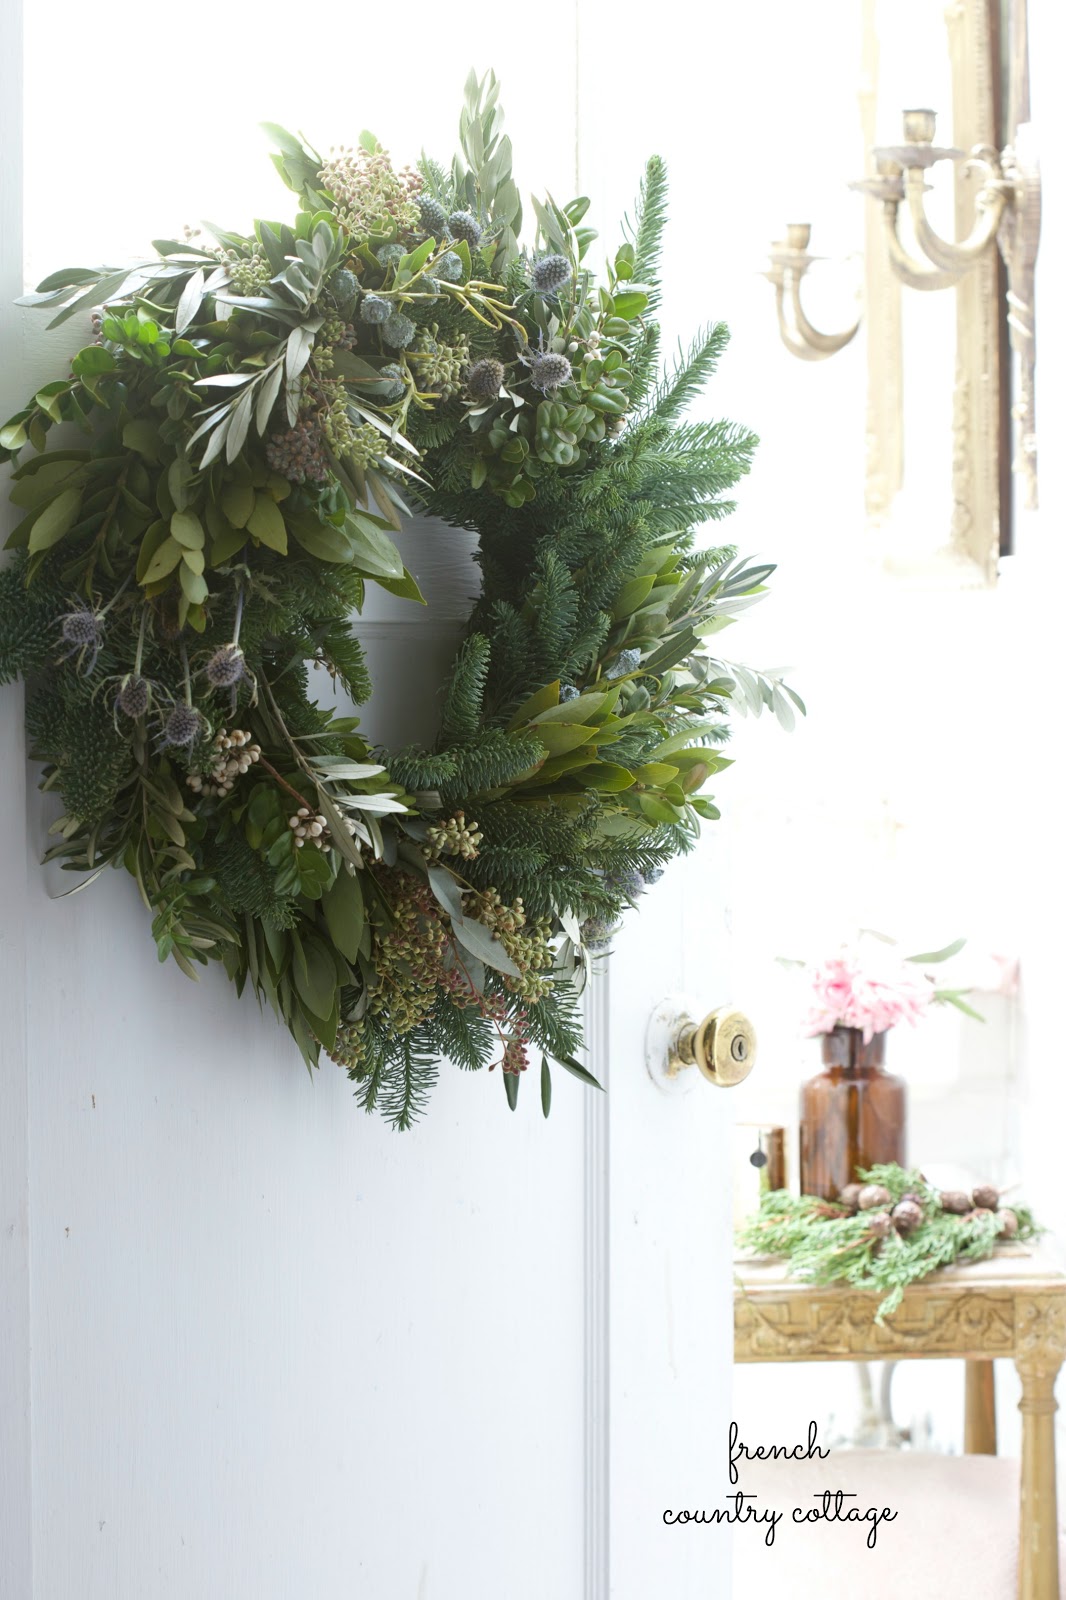
The other day I ran around like a wild woman looking for THE perfect wreath.
One that wasn’t too big. One that wasn’t too small.
One that wasn’t cedar, or pine, or redwood or anything like that…
but one that was definitely filled with Christmas charm.

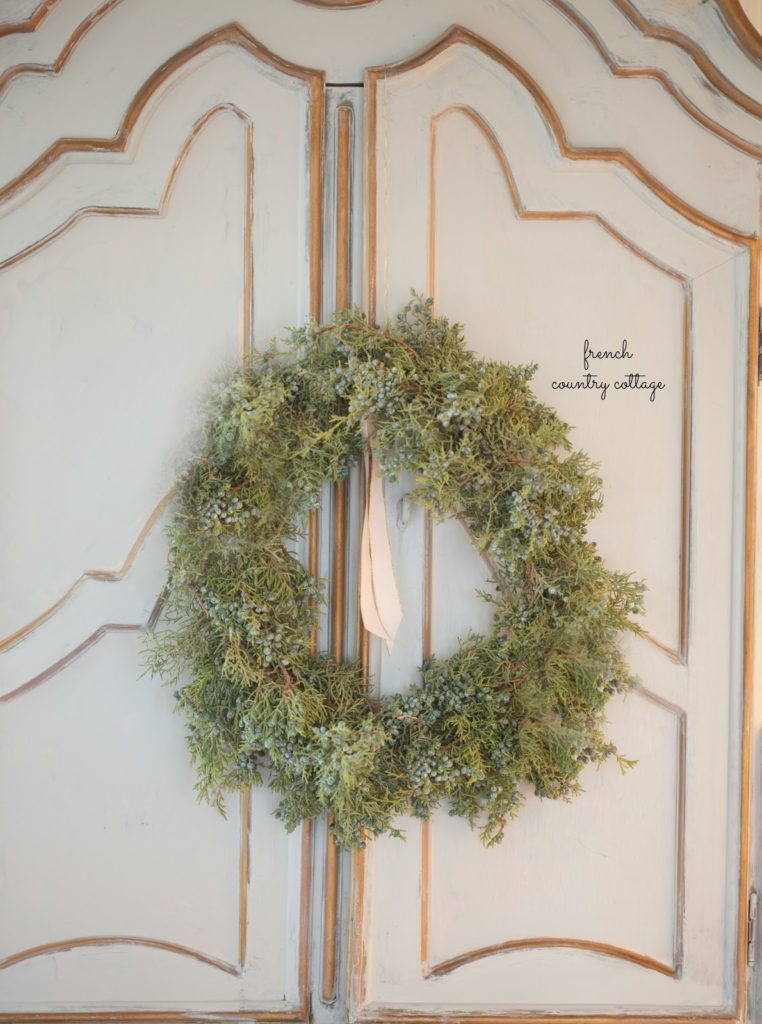
And then I remembered that bundle of goodness that I brought home from the flower
market… those charming little juniper branches with that subtle sweet smell
that were dotted with those little blue berries.
And I knew that they would make a perfect wreath.
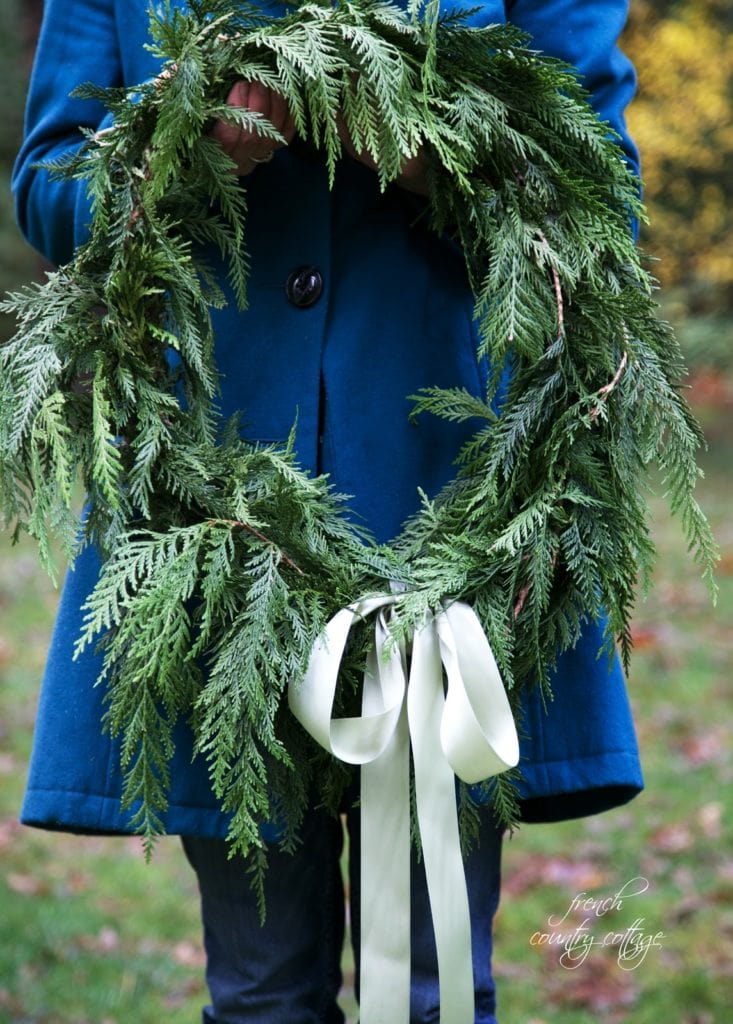
I gathered up the juniper branches and snapped them into long pieces
and then started to tie them together
one by one
bit by bit.
Until a wreath started to take shape.
Just a half at first… and then 3/4 and then a whole round.
A wreath that was admittedly… a bit less than perfectly round
but that was perfect nonetheless.
A little pale blush ribbon
and it was exactly what that cupboard in the bedroom needed.
Making my own wreaths is kind of an obsession of mine sometimes.
I have made large cedar wreaths with those gorgeous cedar bits draping down
and very tiny little wreaths with nothing but a single branch
tied together with twine for the backs of a chair.

And then there are those wreaths that were embellished for a whole new look
like this one…

and this one…which is a Christmas wreath totally customized.

Once you know how to make a wreath or customize a wreath- and how easy it is-
you just might become wild and simple wreath making obsessed too.
Every year I share a few tips for simple and easy ways to make your own wreaths- and today I am sharing a method that works for free formed wreaths
aka- the kind that are a bit wonky and a bit fuller in some areas and less in others.
Which I think are some of the best out there.

What you need:
Fresh branches and small clippings
Wire
wire clippers
ribbon
Start by separating your branches and clippings into large and smaller.
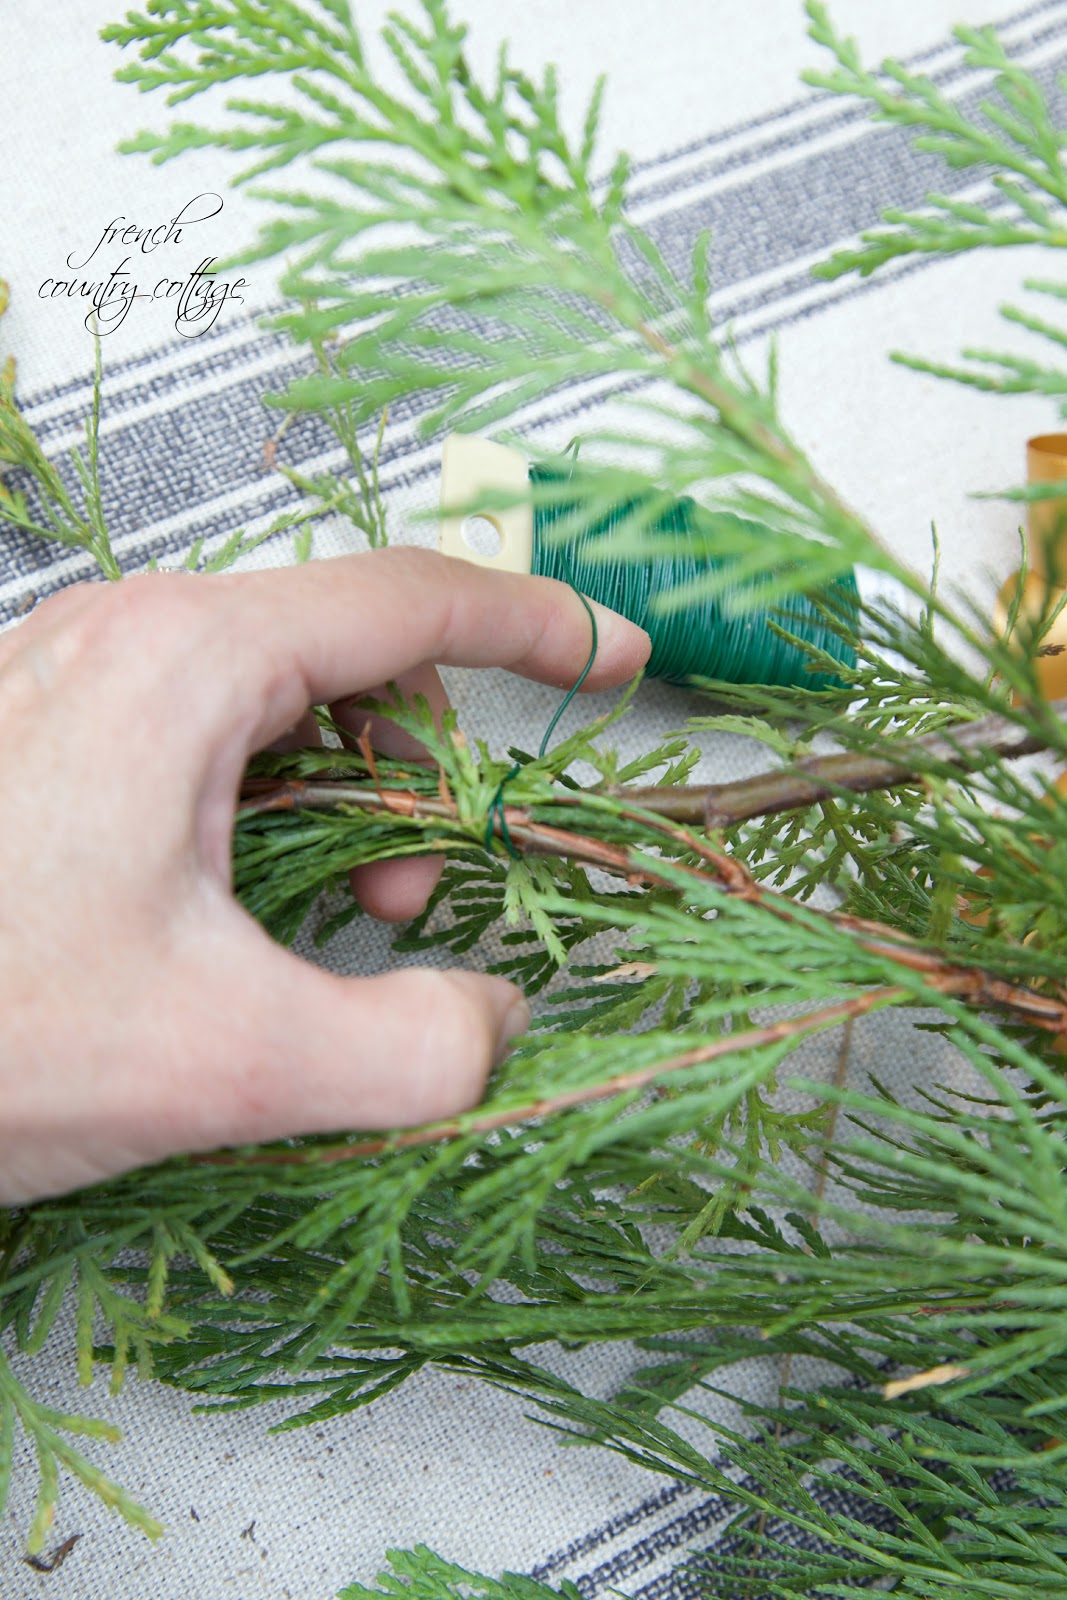
Start by taking the largest of the loose branches
and tie a piece of wire to it to start.
Don’t cut the wire- you will want to keep it going as you wind
around and attach each branch.
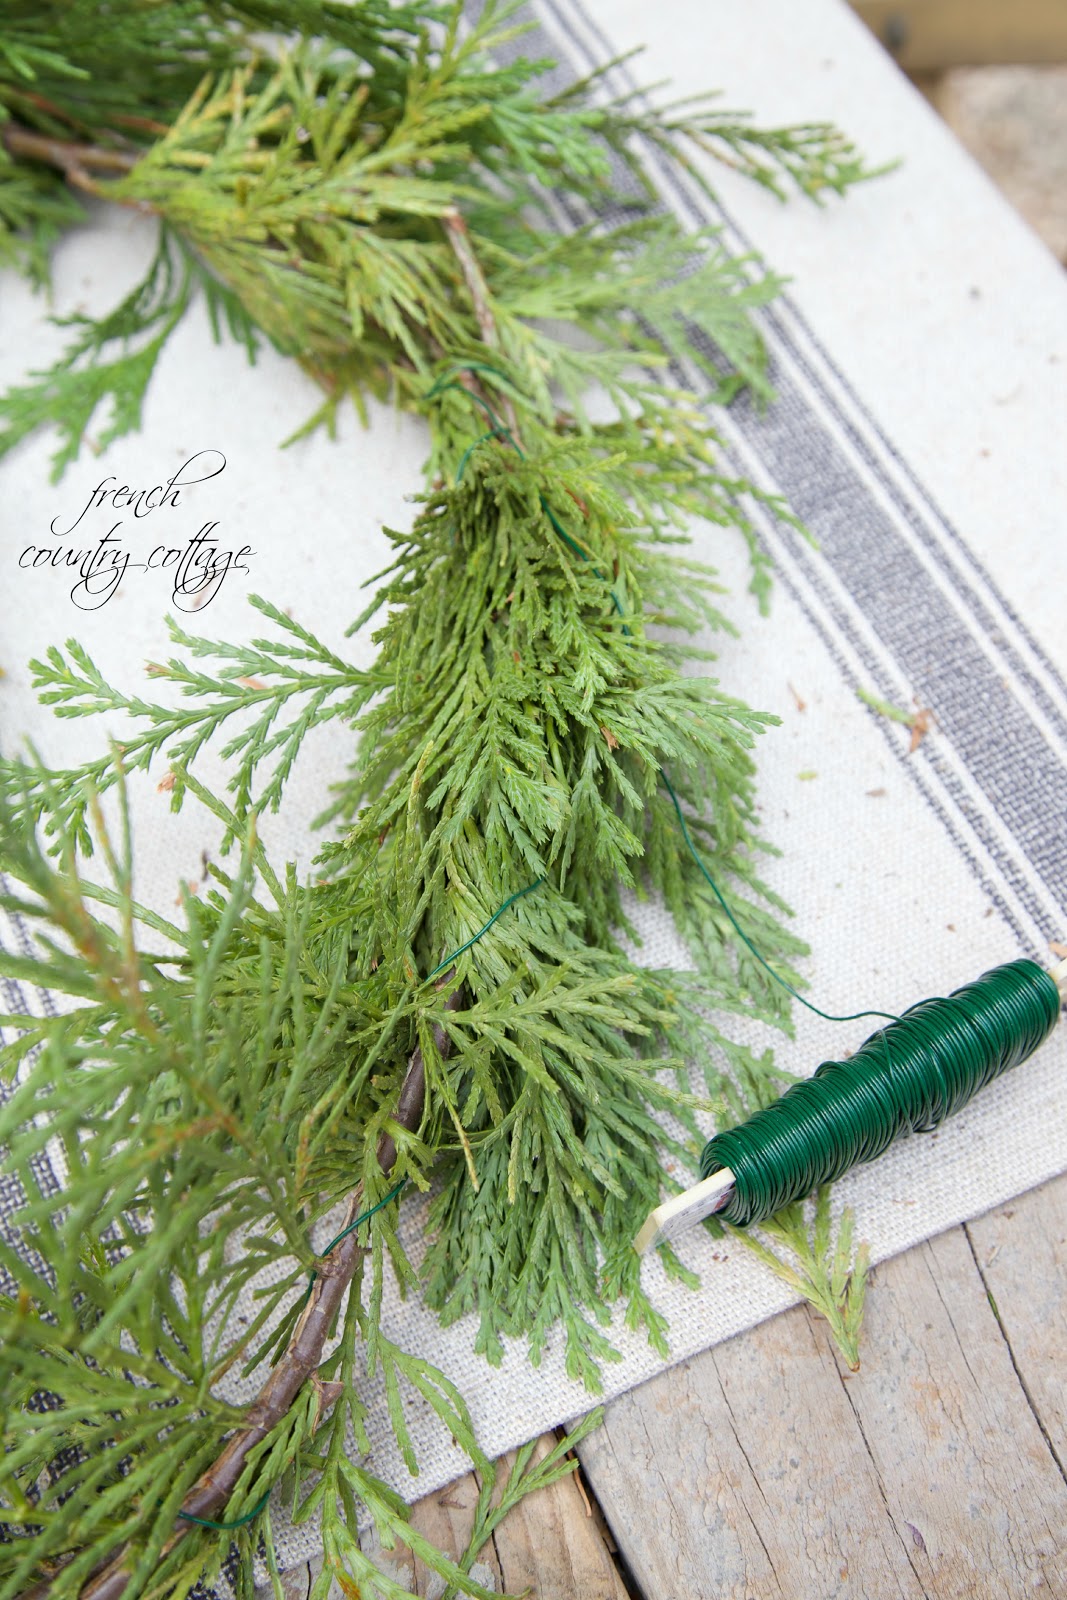
You can form a circle as you are going and you can also make the wreath totally custom in shape and size.
With each new branch- start tying it about halfway down the previous one and keep going
and then do that again with the next.
Eventually you will reach the first branch and will want to attach to that to form your wreath.

Don’t cut the wire yet~
now it’s time to fill in the wreath with smaller clippings
and branches to give it a nice fullness.
Simply wrap the wire around each one as you tuck them in.
Once you get the wreath as full as you like
simply clip your wire and twist to secure it
and then add a pretty bow if you would like and call it good.
See you tomorrow for a little about the week in review
and a bit more.
Happy weekend everyone.

Love the idea. I was at Hobby Lobby looking for some greenery — nothing looked good. I could totally do this!! BTW our Christmas tree from Balsam Hill came today. I'm in love with it and it's in the window. Thank you!!!
Oh that is awesome!!! Which tree did you get? They really are amazing aren't they?
Simply charming, Courtney. Cheers, Ardith
Thank you Ardith!
love your wreath, the one with the little rose's is cute too.
They are all so pretty. I made some wreaths, but with wine corks (being in wine country and all). Now everybody wants one.
Love the wreath but I have a question about the piece of furniture the wreath is hanging on. Did you paint that yourself or did you purchase it painted?
I just painted it recently and will be sharing all the details soon!