There was a day last week when I decided it was time to work
on a little diy project.

A day when I was avoiding a big mess of sawdust making
board nailing and overall big old mess
that was going on down the hall.
It is all part of a new look that is happening as we speak.
A hugely exciting new look that I cannot WAIT to get done.
But right now… it is in the chaos stage of the project.
And I will admit… I was avoiding.
The pine sawdust makes me sneeze and the mess…oy.
So… I avoided.
And I decided why not make a quick and easy wreath.
I can’t help it if I love a simple DIY.
It is addictive.
Take one thing and transform it into another
in just a couple steps- yes, please.
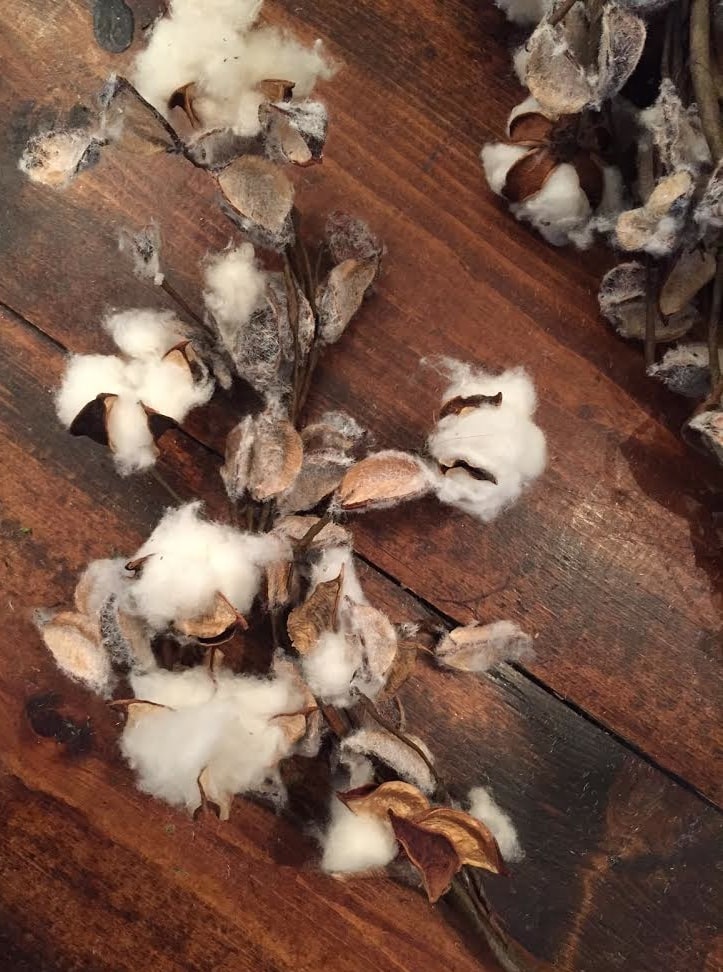
I had a box of faux cotton branches that were for another project
and after that was done- I looked at the rest and thought…
Cotton Ball Wreath.
Yes, I know what you are thinking…
You can purchase real and faux cotton ball wreaths-
so why DIY one?

But this one- well, this one is chunky.
And charming and large.
And come on- diy is fun, right?
Or at least keeps you from having to help with that messy project
😉
Here’s what you need:
10-12 faux cotton picks ( I used these)
Wreath form, wire or strong hands to tie picks together
There are a couple ways you could make a wreath with picks.
Simply clip them short and wire them to a grapevine wreath or a wreath form- hot glue them to the wreath or even just twist the branches together and create a more free form wreath.
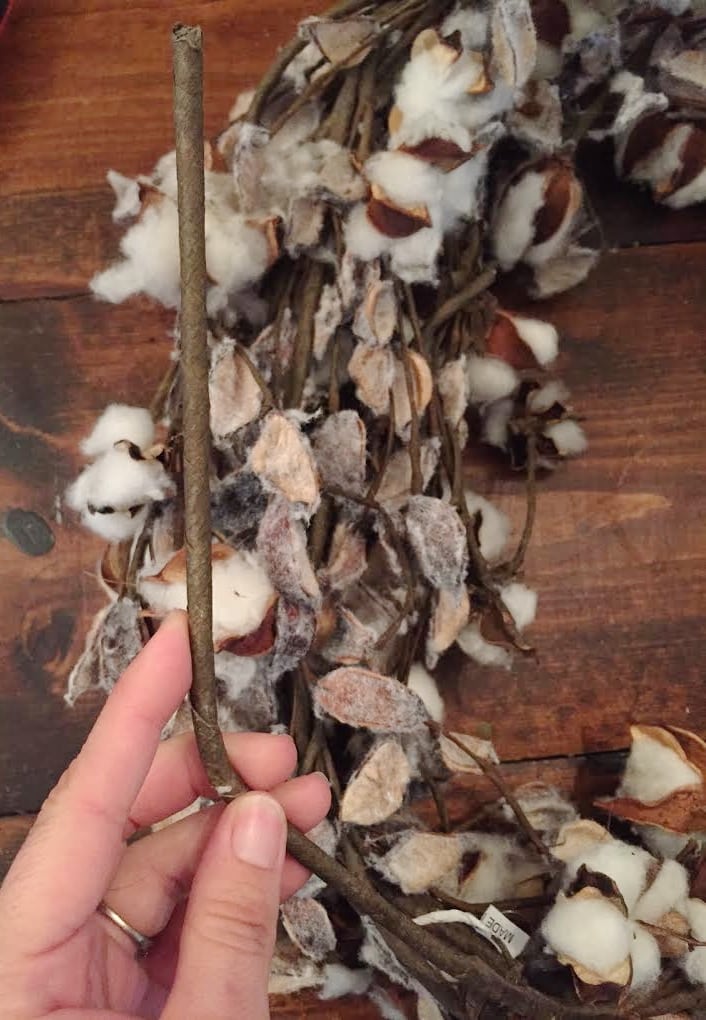
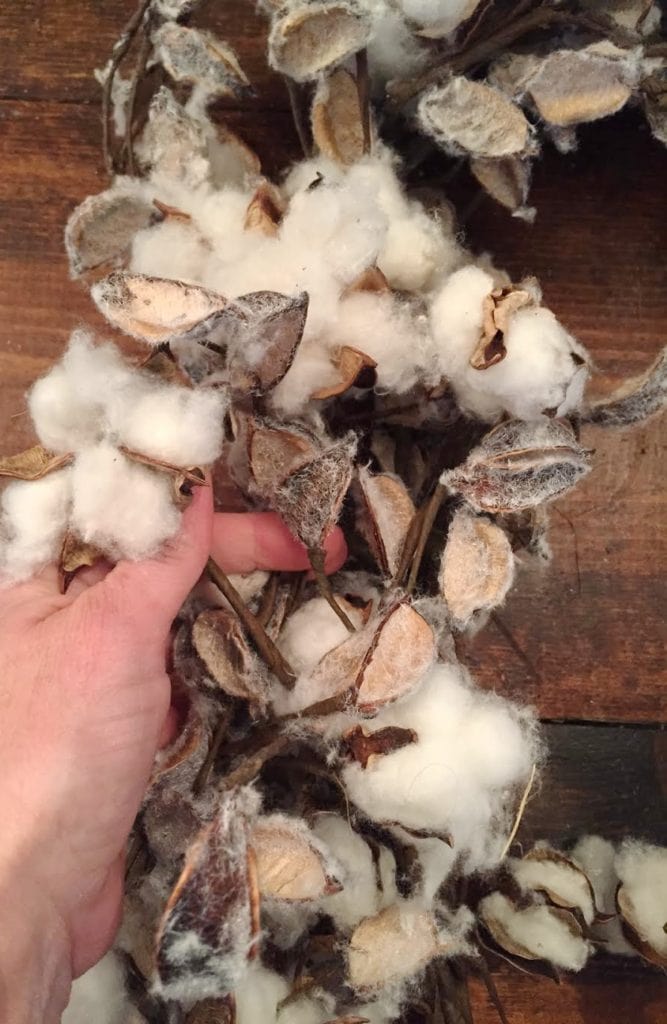
I chose to take the wild and crazy route and simply twist and tie the branches together.
It isn’t the easiest as those chunky bottoms are definitely not super easy to twist- but you can do it.
Start with one branch- and add another spacing the cotton to be at the front of the other cotton.
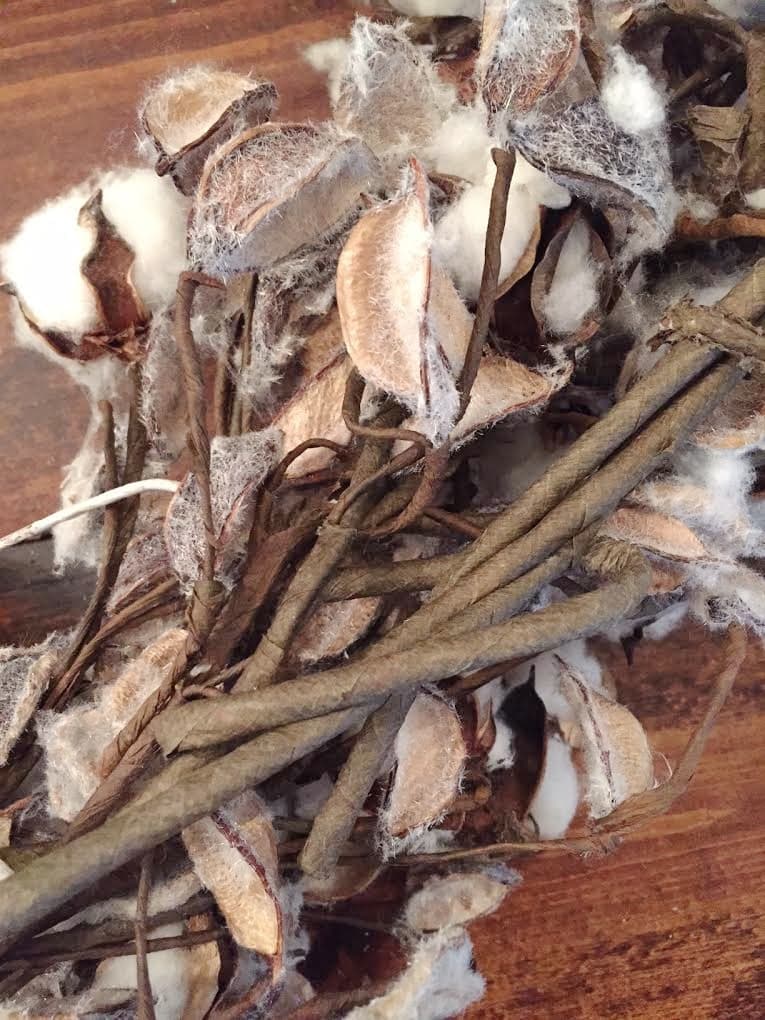
Then take the thick stems of the pick- and twist with the other and repeat with the next pick.
You can also use a craft wire and wire each bit together if that is easier.
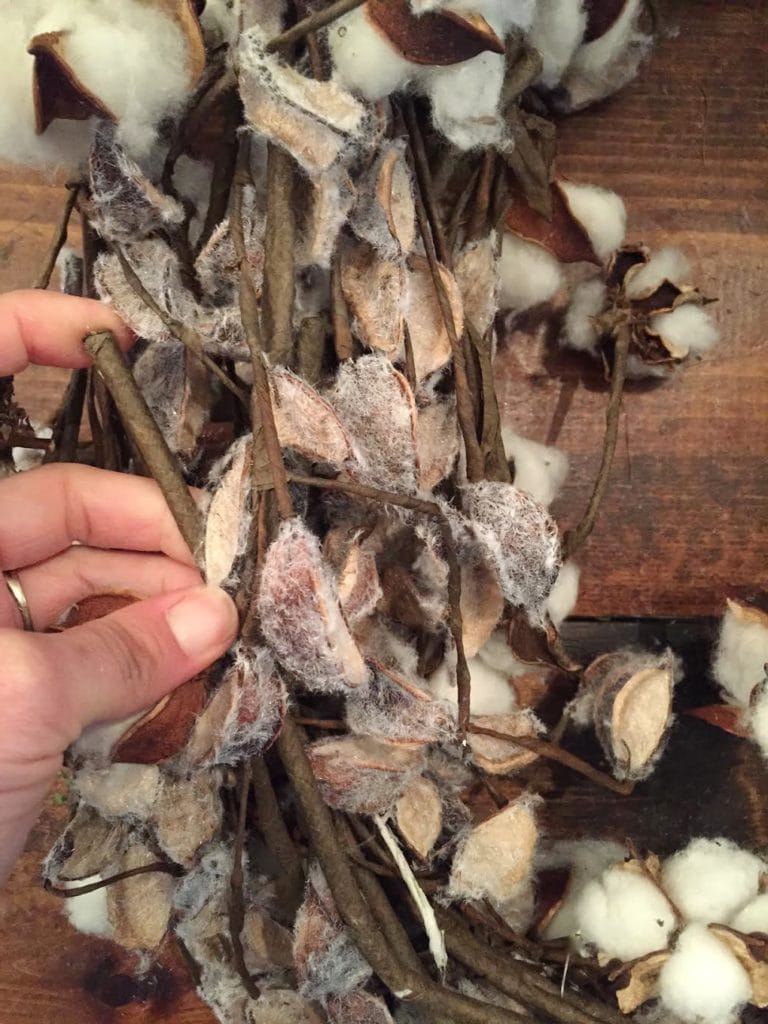
Repeat. Repeat. Repeat. and make sure to shape your wreath by bending towards the first branch
and create a ‘wreath’ shape.
Once you create the wreath and secure it- you can fill it in
and fluff it.
I used probably two picks of cotton for each section
to get the fullness I was looking for.
Then flip it over- and fluff your cotton and shape it a bit to make it even all over.
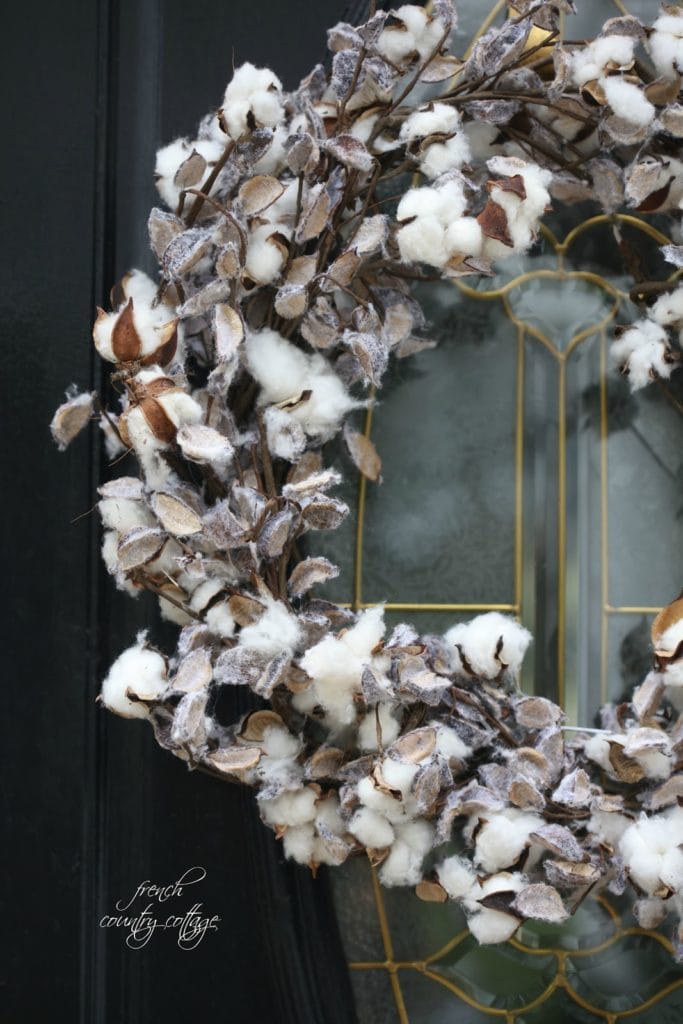
There will be areas that are thinner than others-
but what I did was just hang it up and then pulled and shaped the cotton to fill it in
and even it out.

That is it.
Simple and sweet
and gets you out of being covered in sawdust
which makes it my kind of project.
😉
Hope your week is off to a great start!
You can also take a peek at a few other ways to use faux cotton picks
and another wreath- over at the Balsam Hill Blog today.
and another wreath- over at the Balsam Hill Blog today.

Enter your email address:
Delivered by FeedBurner
Really, really beautiful
What a great project. We have a large wisteria vine on our property and I think this would be a lovely way to use up some of the vines and add in cuttings with the cotton.
We have a large wisteria vin on our property that I think would work well with this project. I'm always looking for ways to use some of the prolific growth from our vine. I think this would be a great way to do it and also make these as gifts. Thanks for the DIY project!
Love how your wreath turned out….just beautiful…..
Smiles~
Mari
Your wreath turned out great. I have a major crush on cotton wreaths and Cotten stems.
Have a great day.
Been wanting to make pieces out of Cotton branches,, my sister lives where there are filds for miles of cotton.
Just beautiful in your home.
Xx
Dore