Did you know this potting shed started as just a dream design? One that was inspired by lots of beautiful little old potting sheds that I had come across photos of. One that looked like they belonged in a little European garden. Filled with treasures like old gardening tools and bits that had lots of personality and charm.

But of course, when designing a brand new potting shed- those antique details are not just ones you can walk into a local home improvement store and find. But you can certainly create something inspired by them by doing just that.
This potting shed went from simple siding to shingled and to a whole other level of giddy for me. Here is how it began and answering some of your questions about the details as well.
A little place to putter and play
Though we have the greenhouse which is a place I definitely putter and play- I wanted something dedicated to tool and baskets & potting. While we had envisioned the somewhat meandering path going up towards the tree line. As I shared before- I wanted lots of layers of beauty on each side of the path- and a charming little building at the top. I specifically wanted a shed that was not too large in footprint- but that had a lot of height and old fashioned charm. Since this was built by hand- we just sort of laid out the boards, measured and calculated what we would need lumber and material wise and got started.

Design Details
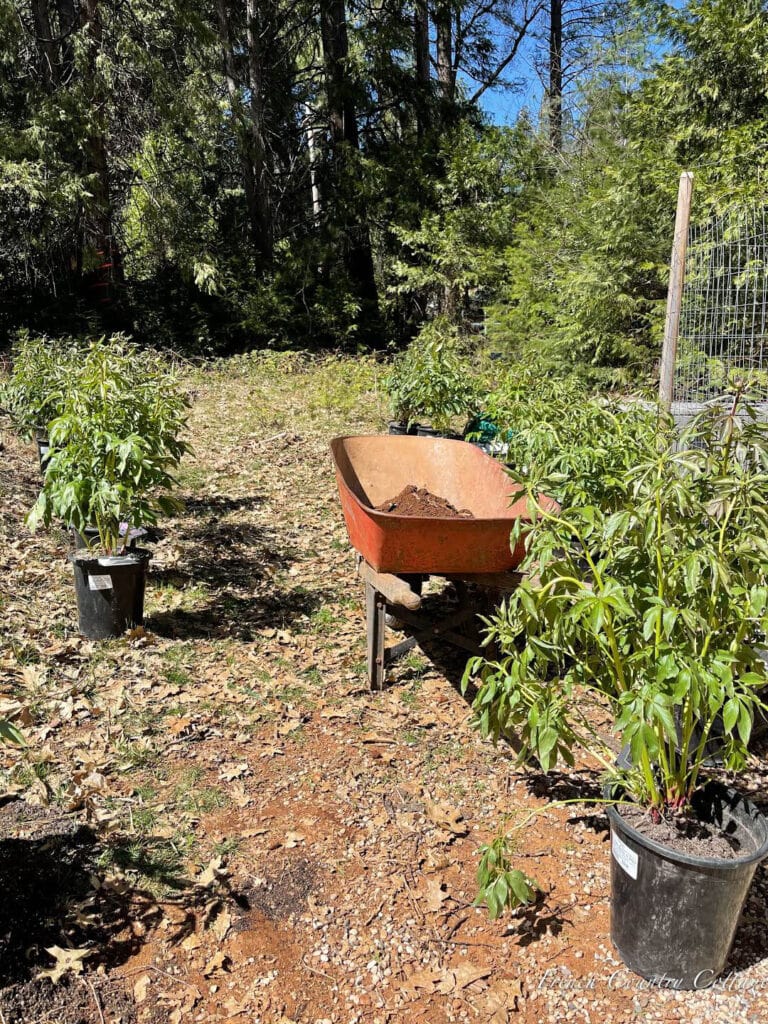
We cleared the area of the blackberries and brush- and dug the ‘foundation’ areas to be able to make the building level. Since it is uneven and on a rolling hill- it did require a bit of work to get there- but it is an important step obviously- unless you want a different kind of a charm with wonky walls of course.
The floor is actually a pea gravel floor- just like the greenhouse. We like pea gravel for the simple reason you can bring a hose in and water and it will just drain away. So with the open area being the floor – we just needed to build the foundation for the walls using cement blocks and concrete and pressure treated wood on both inside and outside to be able to tack the siding and shingles or walls to.

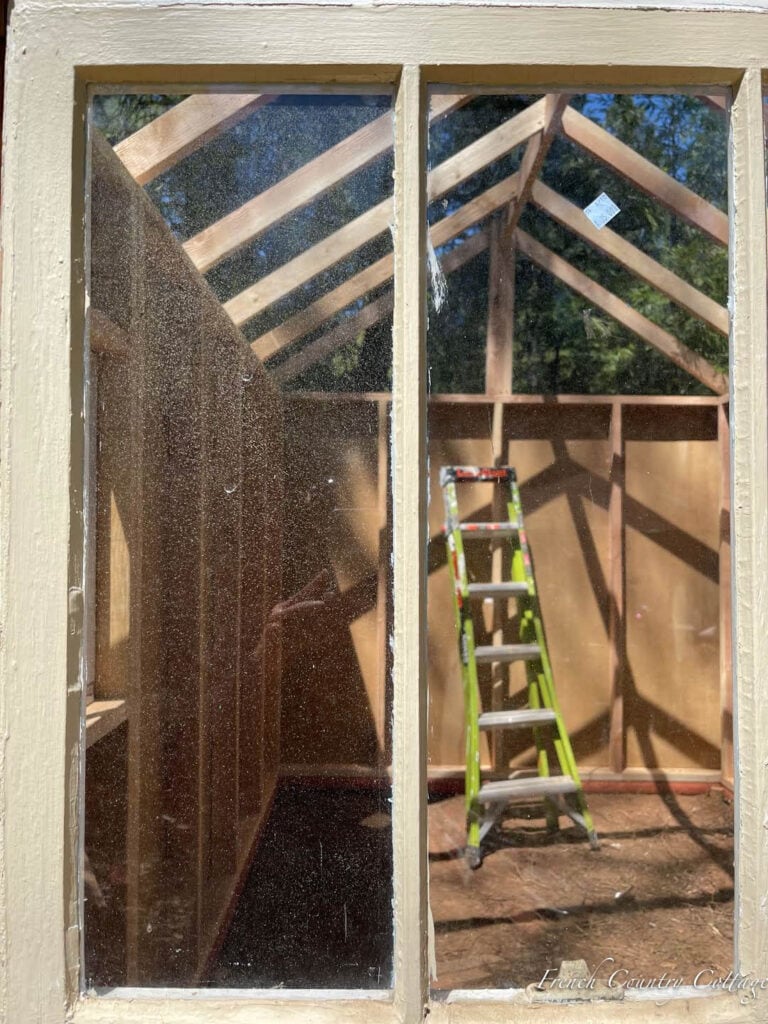
Once the foundation was in- it was all about building the walls. Since the building is not overly large- I wanted a tall bit of height to it with a peaked ceiling as well. The walls are standard size height- and the roof has a nice pitch to give me that taller rather than wider look I was after.
The Siding
We started out siding the building with regular siding for two reasons. Extra strength and a place to nail the shingles to. My husband not so secretly wished that I would just paint the siding as well- so for him a 3rd reason I suppose. But I knew I wanted to shingle with cedar shake – and siding gives you a nice base and adds the support and strength a building needs. We used hardiboard type siding – which is somewhat treated with a concrete type layer.

The Trim
We used plain pine 1x pine boards for the trim- in 2 widths to create a layered look.

Vintage Windows
The windows are ones that we just picked up at our local Re-Store. We kind of had an idea of the look and size we were looking for- but with vintage you just never know what you will find. These were perfect for this small space. We were able to find 3 matching- we may add a couple more at some point- but the pickings were kind of slim so we went with what we could find.
Dutch Door
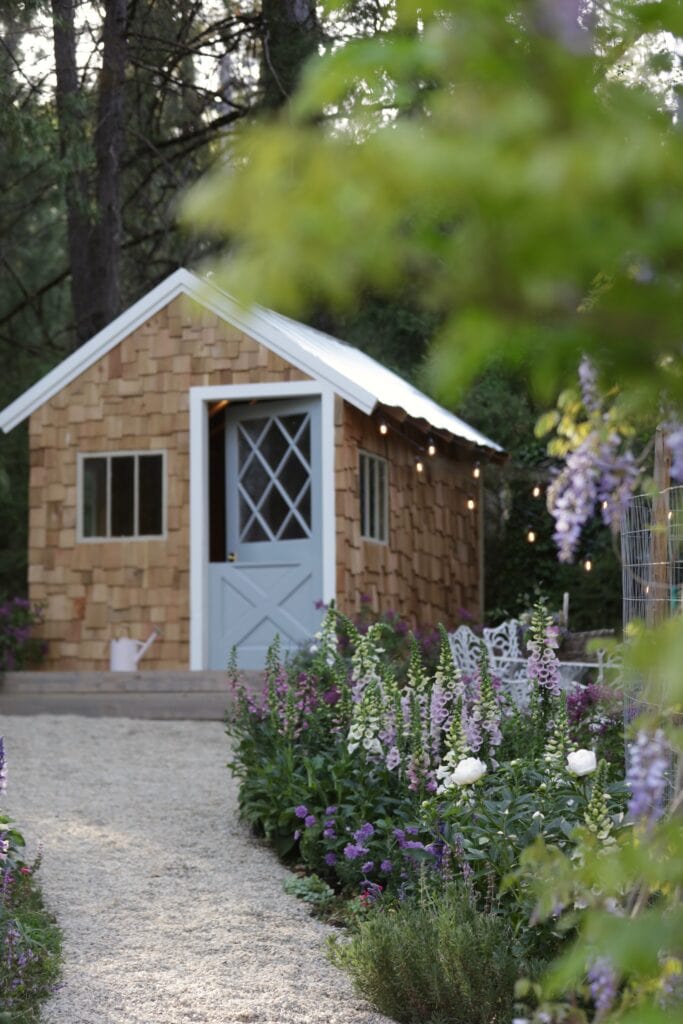
This dutch door started out as a regular door but one with dreams of being dutch and beautiful. I shared about how we created this dutch door in this post Here. The door paint is a favorite- it is called Benjamin Moore Boothbay Gray and is the same color we have on our front door.

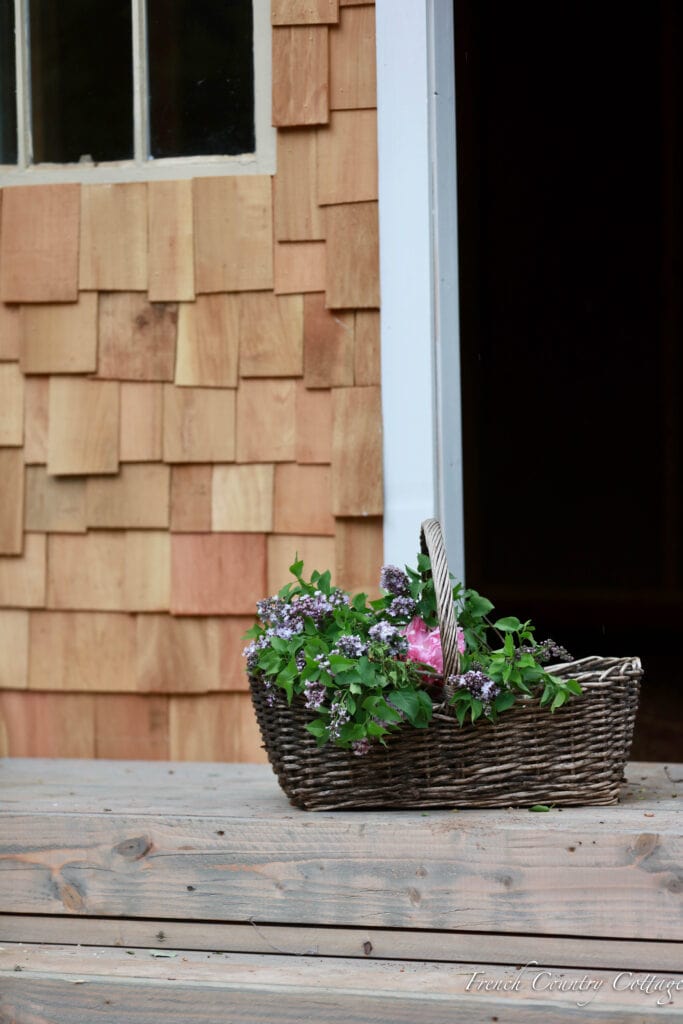
The Cedar Shingles
This was such a fun process for me. I have discovered over many projects that shingles and stucco are two things I enjoy doing in construction. They are both creative processes- and in the case of shingling- choosing shingles and layering them and create a unique look is key.

I will be honest and admit I started off trying to keep them in a straight line. (bottom rows) Which I am not good at haha. The pattern was becoming random with me trying to keep it level. So, decided random was the way to go. I will do a post on just how to shingle something like this soon- this is the 3rd building I have done this same process on.
The Deck
We also added a deck to the front. I wanted a place for chairs or a bench or something- and so- a deck was it. We did our best to find reclaimed wood at the Re-Store- but to no avail. With the lumber prices right now they said that any loose board wood was snapped up instantly. And so, we used new wood and aged it to look weathered in about an hour. More on that simple process coming soon as well.
The Roof
The roof is just metal roofing- similar to what you might put on a barn. This is an easy install if you don’t require cutting it- which we didn’t. Even so- be careful as the metal is quite sharp and can do a lot of damage and cause injuries.
Wrapping it up
After all those elements came together and the potting shed build was wrapped up- we added some landscaping around the front steps that will grow in and create that overgrown look we love soon. And we are currently working on adding some shelves and hooks inside – I will share a tour of the inside soon.
We built this using supplies and plants from Home Depot as part of their Doer Project- (this post is not sponsored) but we also used vintage elements to create a unique look.
What do you think of this little potting shed and how it turned out? Up next- rose garden and companion planting details- and what we are doing next with this area.
Happy Wednesday all!
How lovely! I hope that is a chandelier that I see inside? can’t wait to see the inside fully.
Very nicely done !!
Love it! But our neighborhood would not allow.
My potting shed that was built last Summer could be an almost identical Twin to yours!! As i was scrolling through i COULDN’T believe it! Id post a photo of mine but not sure how to add a photo to this comment.
Ours are both gorgeous!!
Awesome !!! the shed looks awesome!!!!
Love the potting shed and enjoyed the simple construction process. Looking forward to the shingling. Thought it was a novel idea for a potting shed.
Very nice indeed!
That is so dreamy!!! I would love to know all the be plants you have on the walkway!!
The shingles give this building so much textured. It was a perfect choice. Your flowers are lovely too.
Love how it turned out. Looking forward to seeing the inside. Pea gravel floor is a good idea. I am on the east coast, and the shed also looks like a cottage style seen in New England. Especially with the meandering pathway and plantings.
Courtney,
I love your garden shed and your home and grounds. I always wish we lived somewhere we could add a garden shed but in Southern California, we find land is such a premium that we’re lucky to have the garden we have. Haha.
You are very lucky to have a talented husband.😊👍
Karen
Mine was built by a high school construction class and they came and put it together, all for $900. I have had it over ten years now.
Absolutely beautiful!
so-O-O charming. . Wanted to do something like this in my younger Years, but never had the time to do it. still love seeing this type of garden sheds and the love that goEs into the construction of building this type of structure.
Your work. Is beautiful.
the shed turned out beautifully! Could not be cuter!!!!!!!!!
This is ABSOLUTELY amazing! I am working on our backyarD currently and needed some INSPIRATION. This DEFINITELY the vibe i am going for.