You know those pretty rooms inside a magazine?
The ones with the perfect furniture arrangement, the prettiest little flowers on the table and not a speck of anything out of place?
That room is likely hiding a whole mess of what does not look right
at all if you were to walk into it.
The sofa and coffee table might be touching. The chairs might be blocking the walkway area. When photos are taken for print- they are styled for print.
And styling a room for print is not the same styling it for every day relaxing on the sofa sipping tea.
The camera sees the room in a different way than your eye does.
Today I am sharing a couple of tips for styling your room for your photography. Things that make a photo come to life or add a bit of flavor and even a few things that are ‘secrets’.
For your own photos for your blog, for print, for whatever you are working on.
#1. Sometimes things have to look weird in real life for it to look perfect on camera.
My kids have walked in when I have been taking photos and asked what in the world I was doing and that it looked terrible. In person- yes. I would never have my sofas arranged all wonky in order to get a wider shot of the dining area for example. It just plain looks weird. But the camera loved it.
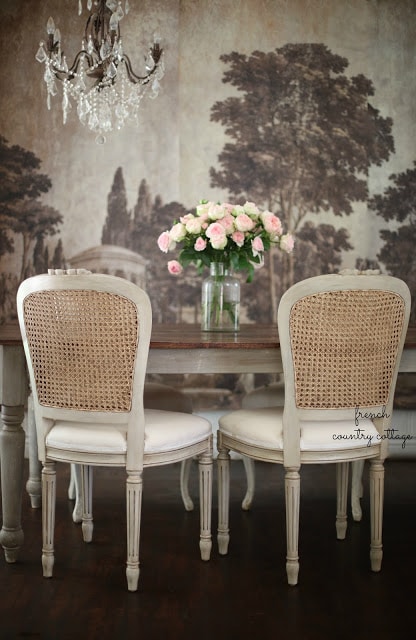
So when playing with rooms- pay attention to what your camera is seeing – and ignore what you are seeing standing in the room. You might need to take that lampshade and tilt it too far to one side. Or move that chair so close to a table that no one can walk by. Or in that dining room photo- the table and chairs are crammed together and against the wall to get the photo that was needed.
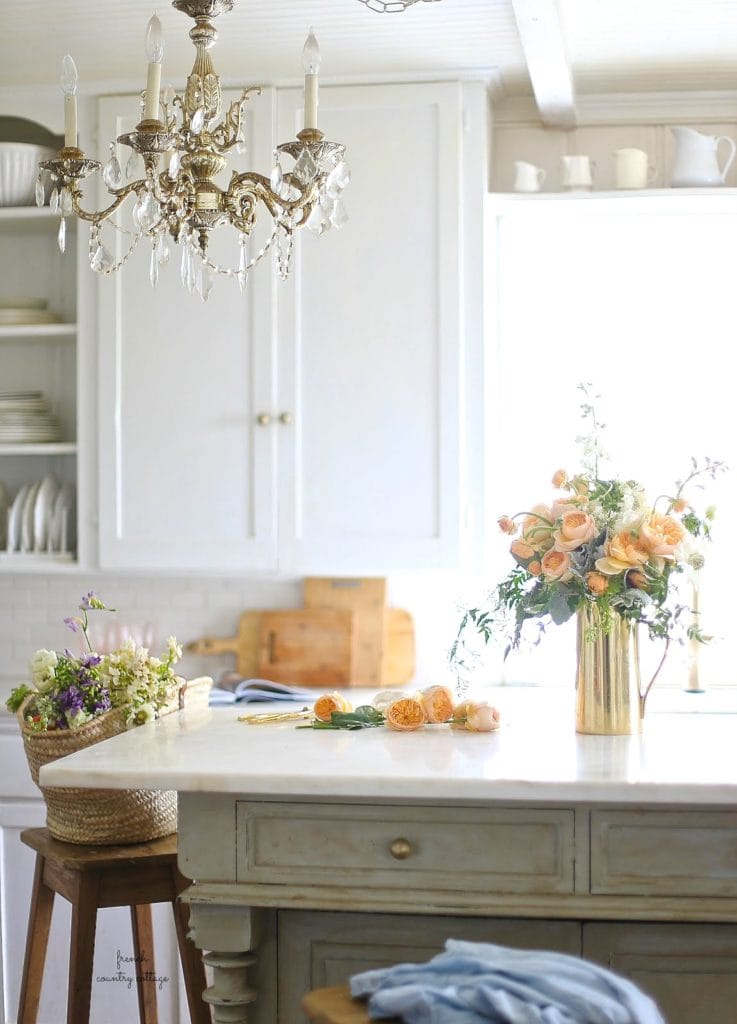
#2. Add something fresh. Almost ANY styling can benefit from something fresh.
That is one that I think I definitely indulge in often. 😉
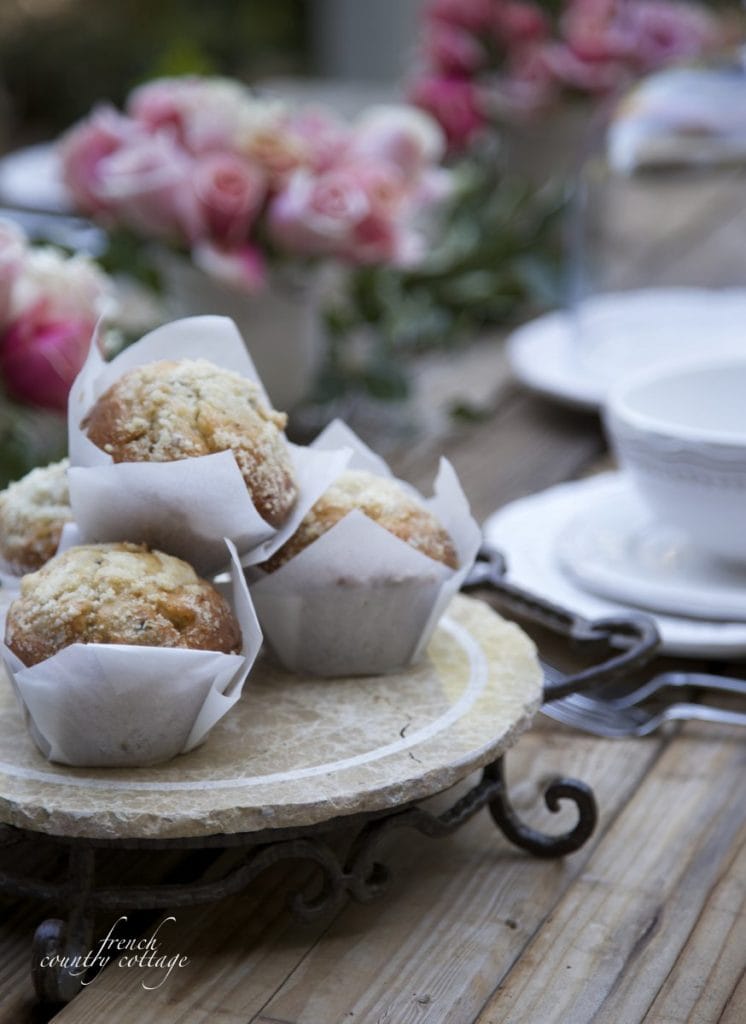
I remember the first time I played with taking photos of some pretty flowers that were on a table and how much that whole photo exuded so much pretty and so much that drew me into it.
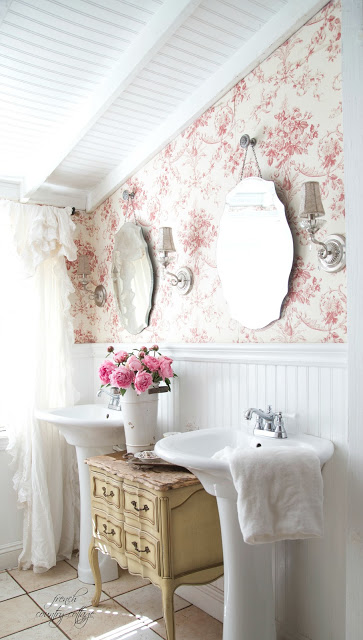
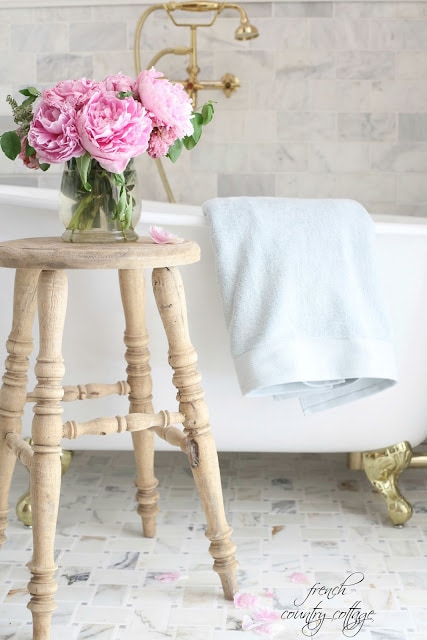
Anything you are styling- from the bedroom, to the kitchen, to the bathroom- can be even prettier with a touch of fresh flowers.
And don’t forget about things like fresh food when styling a dining table. That cake plate with croissants and fresh berries, glasses filled and food in process of being enjoyed. It all brings a sense of stepping into a scene.
So basically- fresh is good.
#3. Look for places to add interest in your photos.
Things that add texture. That draw your eye across the room and photo. That fill empty spaces and make it feel more ‘cozy’.
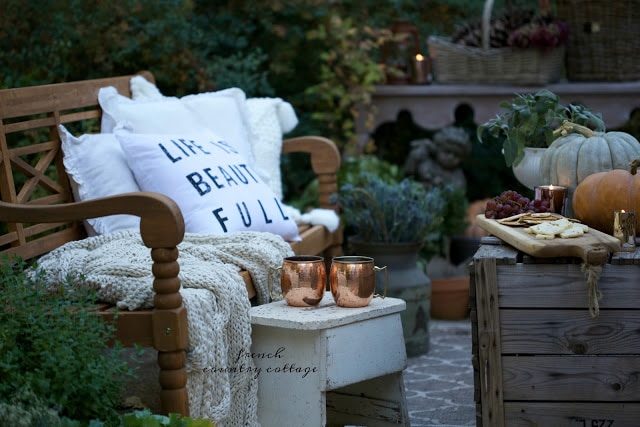
Adding interest can be as easy as bringing in baskets or a plant to fill a space under a sideboard. Adding a chunky throw and plump pillows to a sofa to soften hard lines
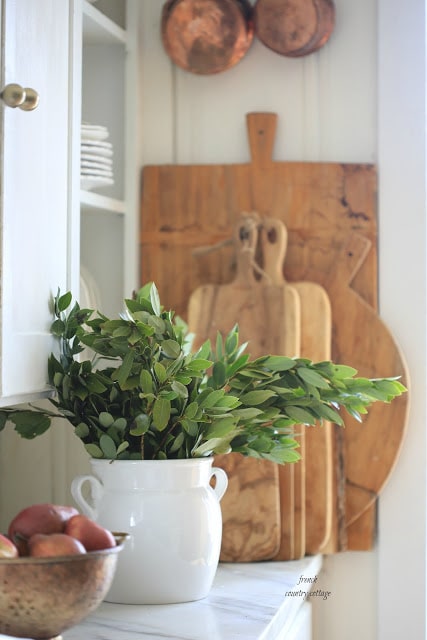
It is something that you do for the photography for the magazine- and is not necessarily where or how it would look on an everyday basis. It may not make sense to fill that spot with breadboards on the counter all the time (though they are like that in my kitchen all the time) maybe that takes up too much counter space – or that is the spot where you have your coffee maker everyday. It is basically something that you do to make the space more ‘photo friendly’.
Up next- a few more tips and wrap up.
For those of you who have been playing with some of these tips- would love to know how it has been going! And any questions?
As always, thank you for stopping by-your visits and comments are so appreciated!
Happy Wednesday everyone!
Oh dear, these days my house is a total catastrophe, having been turned into a huge atelier of couture. And I hate sewing. But I must. Actually I am quite pleased by the results so far. But more remains ahead.
I am absolutely using your tips for our AirBnB rentals in the south of France. We just had our first guests, and it was a total joy to see their jaws drop when they walked in. But the photos need to better capture that experience, and I am working with what you suggest to upgrade them.
Courtney
I have purchased the most gorgeous mirror atleast five foot long over a beautiful chest of drawers with beautiful lines. I don't want to capture the entire room which is not finished but would like to share the beautiful pair together. I have read tilting the mirror but the mirror is to large. What is the best way to hide reflections in mirrors?
Debby
Debbygoesshábby.blogspot.com
nice
Love, love this series!!!!…I find that sometimes an area would look great in person, and horrible in print.
Thank you so much for the tips in this article It explains why my pictures are always lack luster.
I am really enjoying your series of posts! I need work on this and enjoy hearing what all goes into what makes a great photo.
Thank you so much for this series, Courtney! I really appreciate your keeping it real. I've taken my camera outside (because of the natural light, and well, it's Spring!) to bolster my confidence. It's helping, and I'm almost ready to come indoors. 😀 Thanks again, Cynthia
Those are great tips. I've often noticed furniture placement in some photos and thought they couldn't have it placed like that all the time, but it does make for a interesting photo!
You make it all look so danged easy- I see AFTER the fact how gorgeous your styling talents are…me? Not so much – I have the home, yard, stuff, even lights, camera and tripod – but just no natural talent. I have bad eyes and I know that has something to do with it. Throw in ZERO patience, even little less time and it makes for a mediocre pic at best. But I hope the love I throw in my posts helps a little – while we come to you for the eye candy.
I'd do anything to be able to fly you here for a weekend and show you all the pretties I have never showed, and probably never will.
Keep up the good work – it is such a pleasure to visit your blog.