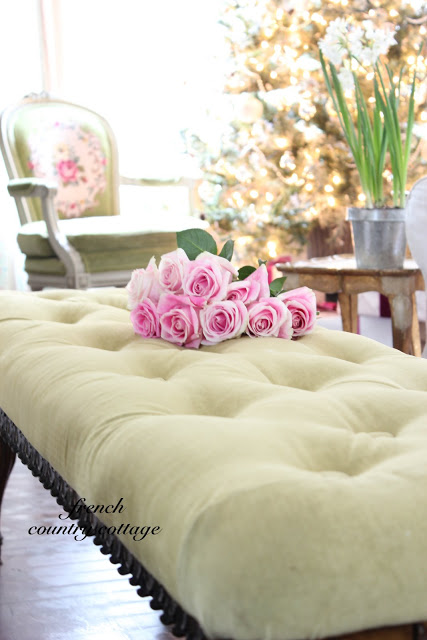
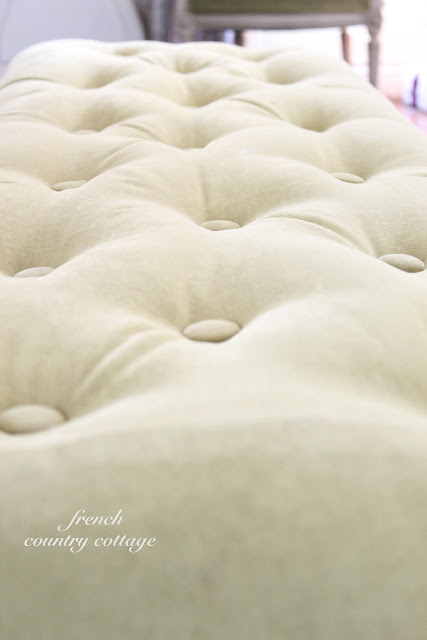
Last week I shared the velvety apple green fabric covered bench
with 17 delightful button tufts and tons of carved details
I promised to share a bit more about how we did the tufting.
Unfortunately some of my photos were deleted so I have to explain it more rather than show you.
Unfortunately some of my photos were deleted so I have to explain it more rather than show you.
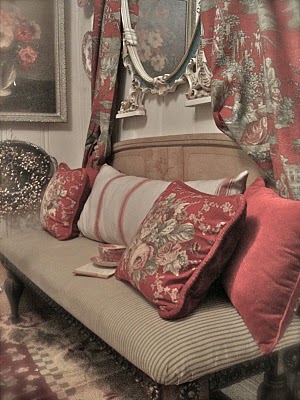
Here’s what the bench looked like before we started.
In this post~ it was covered in green and cream ticking stripe fabric~
and the photo was taken with my iphone.
Oy… but at least you can get an idea of what it looked like before tufting.
I had this beautiful remnant piece of apple green velvety fabric stashed away
and knew it was the perfect choice.
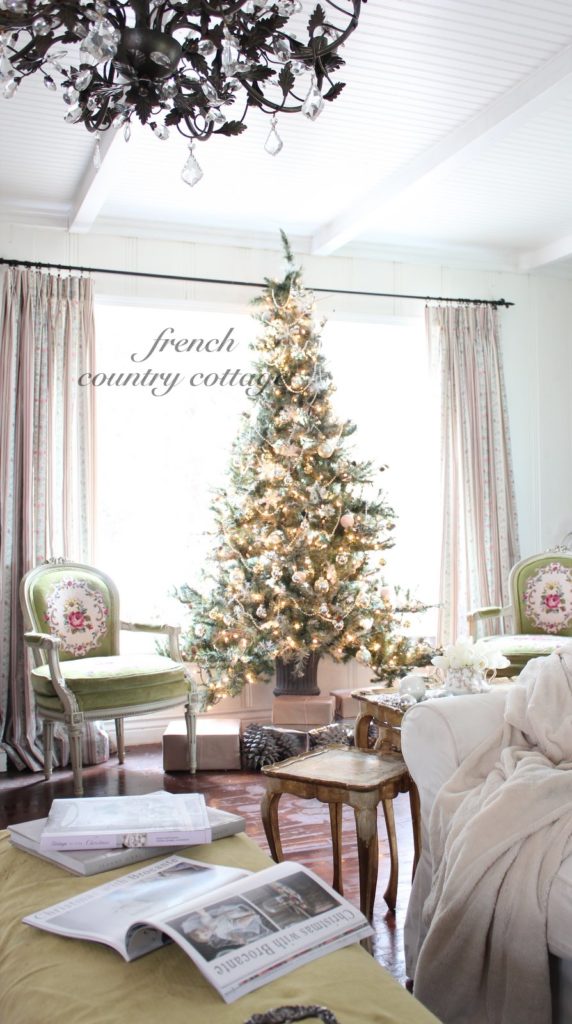
Here you can see it laid on the bench while I was testing the lighting
for a few pictures at Christmas.
and knew it was the perfect choice.
Here you can see it laid on the bench while I was testing the lighting
for a few pictures at Christmas.
Here’s what you will need:
drill to create your button tufting holes
Fabric
Button maker to create your fabric buttons
Upholstery needle (have an extra just in case one gets bent)
strong thread or twine
staple gun and staples
hammer
The first thing I did was to decide how many buttons I wanted on this bench
and to then make the buttons using a simple fabric covered button maker you can find
at most sewing shops.
and to then make the buttons using a simple fabric covered button maker you can find
at most sewing shops.
To make 17 of them- it maybe took about 15 minutes.
Up next was creating the button tufting holes.
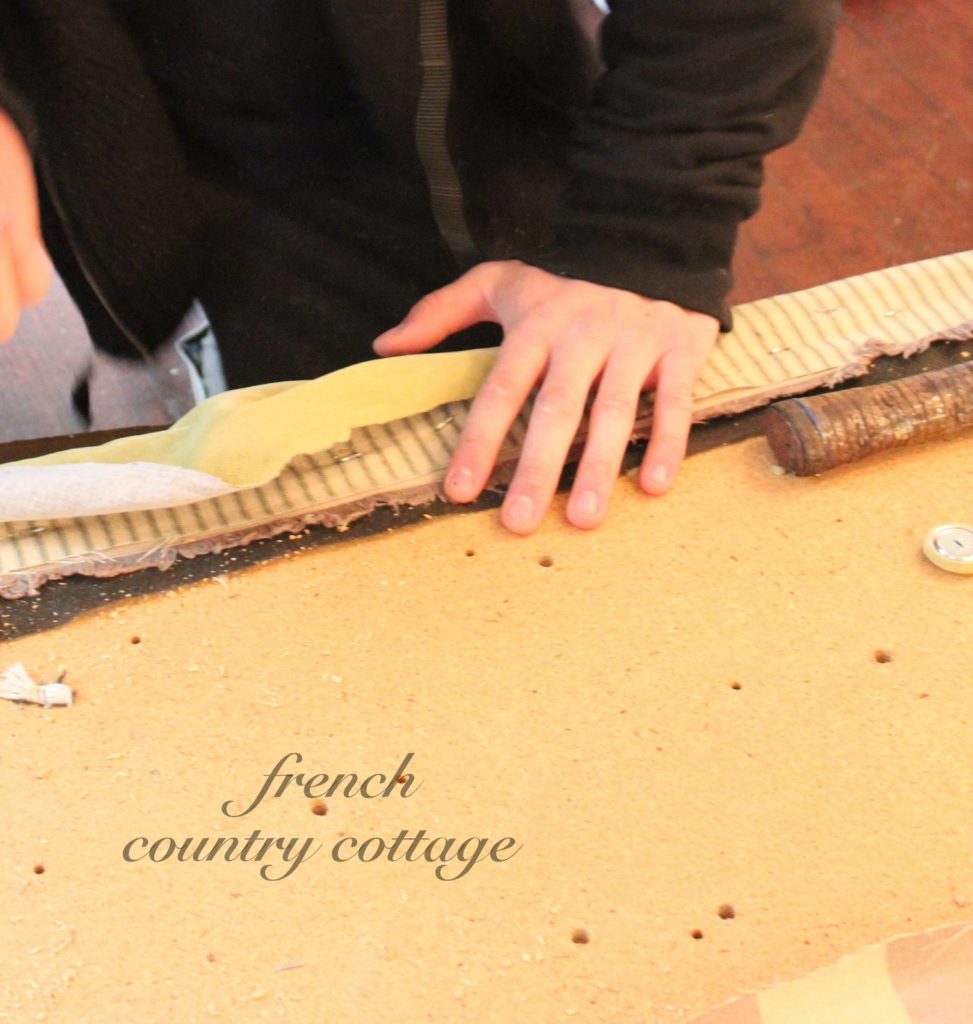
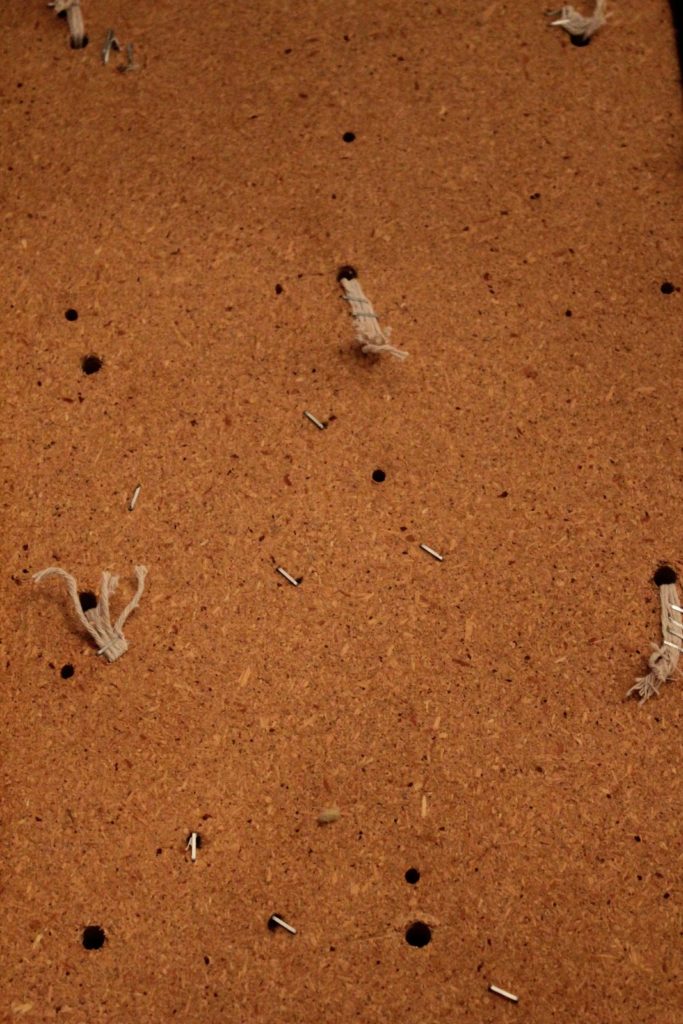
I turned the bench top over and marked off where I wanted the buttons to be
and then drilled the holes in the bottom of the bench.
(you can notice that this bench was tufted probably a couple times~ it is covered in tiny holes- but none of them lined up just where I was planning to put my buttons )
I used a decent sized bit and drilled as far through as I could.
The bit didn’t go all the way- it would get stuck at the thick batting each time
so I just reversed and went on the the next one
Once I had all of my button tuft holes ready- it was time to start tufting.
Honestly, tufting is not super easy work and not really all that fun either
but the results are worth the work.
Using a strong cotton twine or whatever you would like and thread your upholstery needle
Then take it and then push it up through your pre-drilled hole from underneath
and up through the fabric and the top
Then just thread the button on to it and take it back down through
from the top to bottom this time.
It can be a little tricky to find the hole in the wood while doing this
so be careful not to do it too quickly or too hard or you might bend your needle.
from the top to bottom this time.
It can be a little tricky to find the hole in the wood while doing this
so be careful not to do it too quickly or too hard or you might bend your needle.
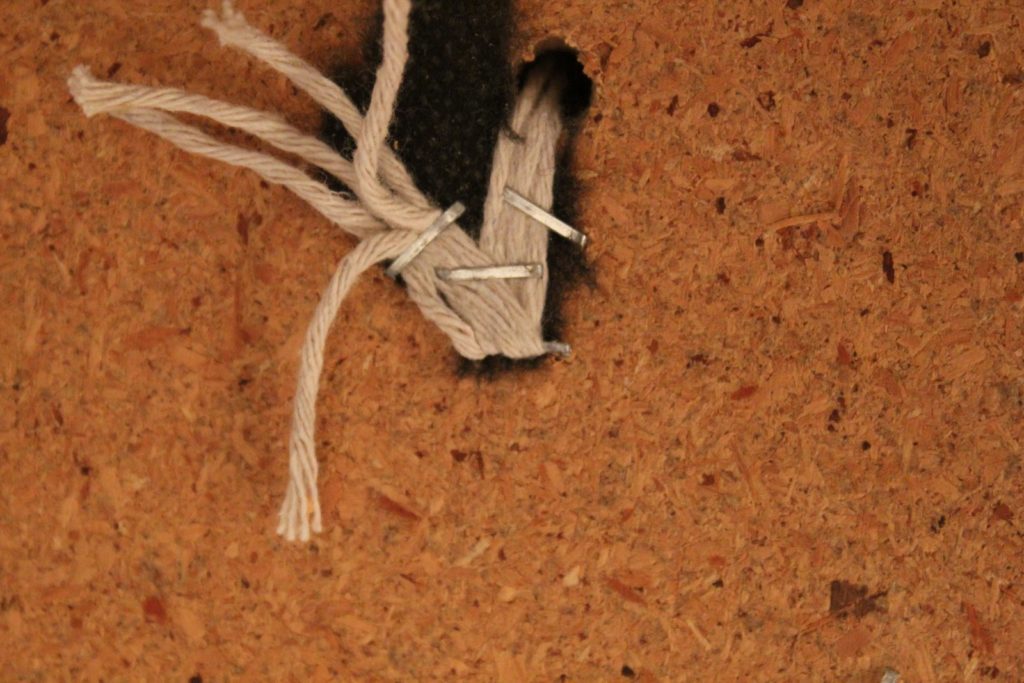
Once you have your needle through to the bottom again~ pull the threads from underneath
as tight as you can to create the tuft and then staple them to the wood to hold.
We also used a hammer to secure the staples extra tight.
as tight as you can to create the tuft and then staple them to the wood to hold.
We also used a hammer to secure the staples extra tight.
Repeat. Repeat. Repeat.
*sigh*
repeat again and again and…
if you are tufting 17 times
repeat again and again and…
if you are tufting 17 times
Cullan was my reinforcement- he is much stronger (and more patient)
than I am on detailed projects and he really got the tufts to turn out perfectly.
than I am on detailed projects and he really got the tufts to turn out perfectly.
After you get all the tufts done
go around the edge of the bench and pull your fabric tight and staple the edges
and you are done!
go around the edge of the bench and pull your fabric tight and staple the edges
and you are done!
sharing at
Wow
Wow


You are so right. It is well worth the effort, attention to detail…and sore fingers. 🙂 It looks beautiful. Little surpasses the lush, rich look of tufted upholstered pieces, and your fabric choice was in excellent taste.
Blessings,
Fiordelisa
Thank you for the tutorial! What a lovely piece!
xx
Anne
Gorgeous, the color in fantastic.
I was looking forward to this. Thanks so much for sharing this amazing project. I think I can do it with my husband's support! Patti
Looks so easy when you do it. It looks so pretty and positively love your fabric!
It's just lovely. It was a lot of work but so worth it! Enjoy.
Tufting can be a difficult process, but you did it very simply and it just looks beautiful!
So lovely! I would have lost patience, I'm sure.
Wow! Gorgeous. Good job guys!
I really enjoy your tutorials-very easy to follow. Hope your having a good week.
Beautiful!!!
Beautiful x
Hi Courtney!!!
I love the bench!!! You did such a great job…With a little bit of help:)
Thank you for the tutorial. I have a bench that needs done and now I know how thanks to you.
I love how it goes with the beautiful green chair.
Have a great Feathered Nest Friday!!
Pam
xox
Beautiful job!
Another great tip we got to secure the tufting, on the back/under side, is to use a two hole button thread the strings through, tie a knot and there it is!
Charlene & Jillian
http://www.whitebarnheirlooms.com
So stunning…..love that apple green velvet color!!! Just beautiful!
~Des
Thanks for the how-to! 😉
Simply amazing!
Absolutely gorgeous, Courtney! You really made tufting sound easy! I love the look and the color is just delicious! 🙂
xoxo laurie
LOVE LOVE LOVE (DID I SAY ) LOVED IT !!!!!!! FABULOUS .. THANKS FOR SHARING. MAKES ME WANT A NEW BENCH .. JUST LIKE THAT ONE : )
Thanks for sharing the tutorial. I've wanted to try this for ages but kept putting it off. Perhaps I have enough courage now to try it! It looks great!
xoxo
Kathleen
Charm Bracelet Diva {at Home}
Great tutorial! Thanks so much for sharing. Love the fabric. You always have such pretty flowers to add charm to every shot. Love that!
melinda
Looks amazing Courtney – but I need more than an assistant to help – I need someone to do it while I supervise while holding a glass of wine!
Kelly
It turned out perfect, I'm getting ready to do a square ottoman and I can't wait to see how it turns out. Have a good one!
it looks beautiful!!!
Thank you so much for the great tutorial….the tufted bench is just beautiful…I so love the color!!
Thank you for sharing your tufting tutorial! I've done it on stools with only 1 hole… 17 is way more and I'm not strong enough. We are so lucky to have our Mr. Muscles to help us with our projects!
Hugs,
Pendra
I just love this bench! That shade of green is the best color, it's just delightful and it always goes with everything!
Cindy
Beautiful! Thanks for the inspiration and I just love your photography!
I have to admit that I am totally coveting this bench! Gorgeously versatile color, and it just looks so inviting with its tufting… Thank you for sharing the 'how to' 🙂
It was really worth it! It looks so pretty now!
Just lovely! Just found your blog, and am so glad. What a gorgeous transformation!
I just adore this bench and you did such a great job. I don't if I am patient enough…..
Cynthia
it is just lovely!
Stunning! Just Beautiful!
Blessings,
Lisa
you are a tufting diva, courtney! bravo.
smiles to you.
michele
I just love your blog!! I have been a Francophile since school days and now I have my own web store – http://www.maisonsaintlouis.com.au – selling beautiful French inspired homewares. Your blog and many others keep me inspired and constantly give me ideas on product to offer my customers. Please keep it up and Viva La France!!!!
The tufting looks incredible! Thanks for the tutorial!
Hi Courtney! Beautiful bench and I so appreciate the tutorial! Question: was your fabric stapled to the bench top before tufting and then you pulled it tighter and restapled afterwards? I have a small bench that I'd love to try this on. Thanks! Hugs, Leena
I did not have the fabric stapled around the bench while tufting. I think it makes it easier to tuft if it is loose. The fabric was pulled tight and stapled after the button tufting was done. So tuft the bench before- then pull and staple the fabric around the edges of the bench. Hope that helps!!
Courtney your bench looks like a million dollars now. Very prettily!!! Leslie
Lovely bench and great tutorial. I have the same question as pink*cherub*moon. One question: do you staple all the fabric around the bench before tufting the buttons, or do you tuft everything before and then staple the fabric to the bench? I hope I wrote it properly to understand… Looking for your response, thanks a lot!!
The fabric is pulled tight and stapled after the button tufting. So tuft before- then pull and staple the fabric around the edges of the bench. Hope that helps!!
Thanks a lot, it really helps!!
It turned out awesome! Thanks for the tutorial! 🙂