I always get tons of questions on how to make old frames into chalkboards.
Yes. I am a wee bit obsessed with chalkboards…
and vintage picture frames….
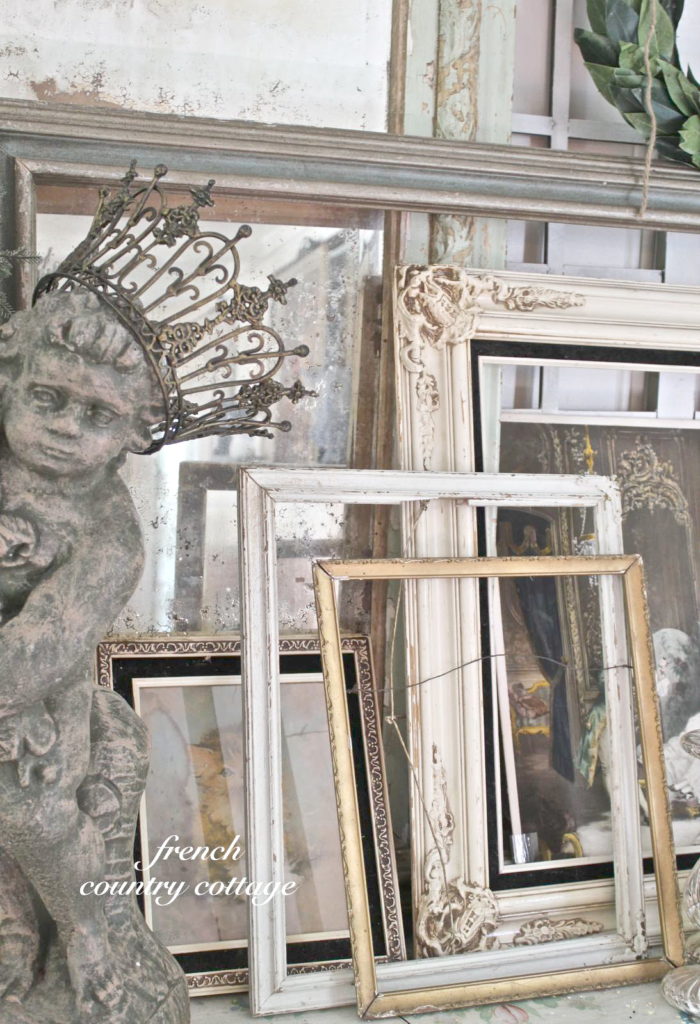
I am always keeping an eye out for the next fabulous frame
that is just itching to become a new chalkboard.
I found this chunky gold one at an antique shop and made this chalkboard for the kitchen
these out of small framed art from the thrift store
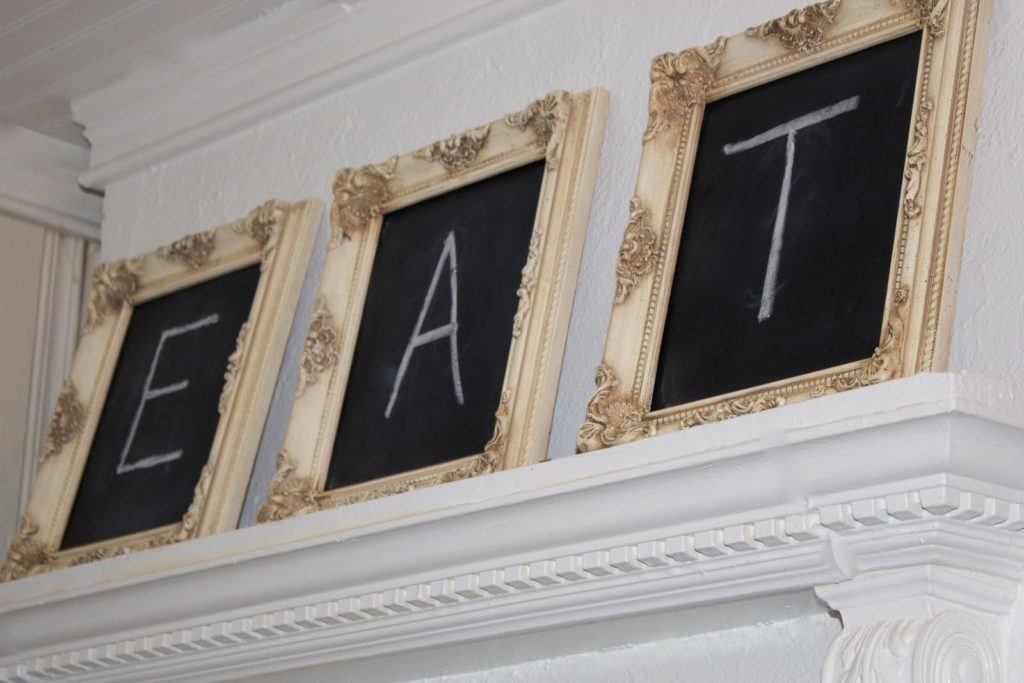
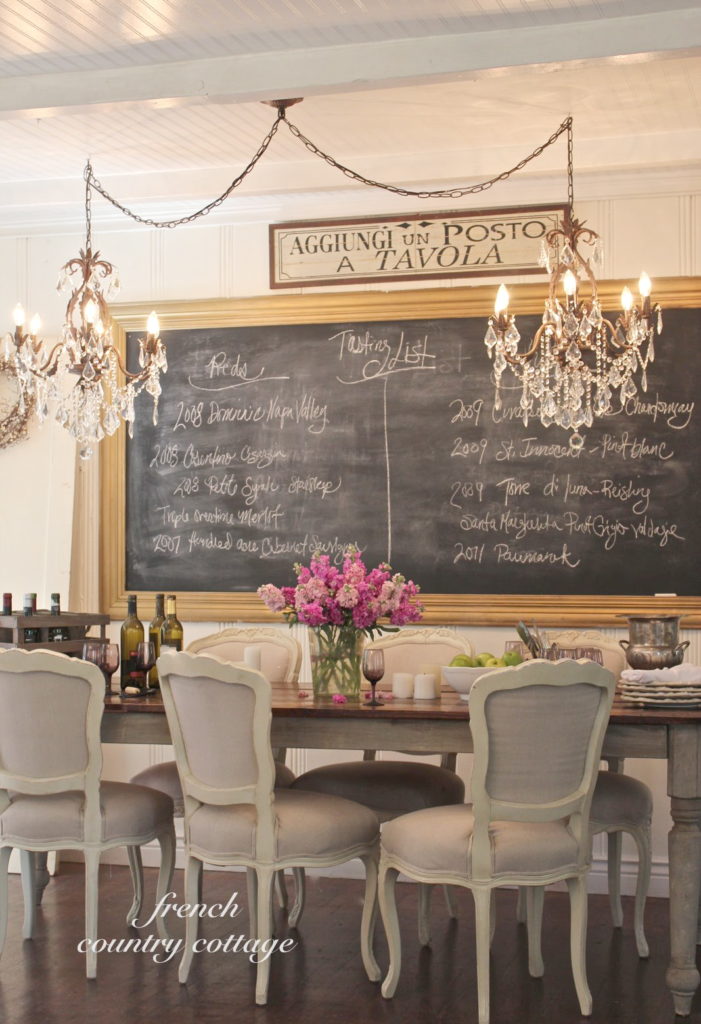
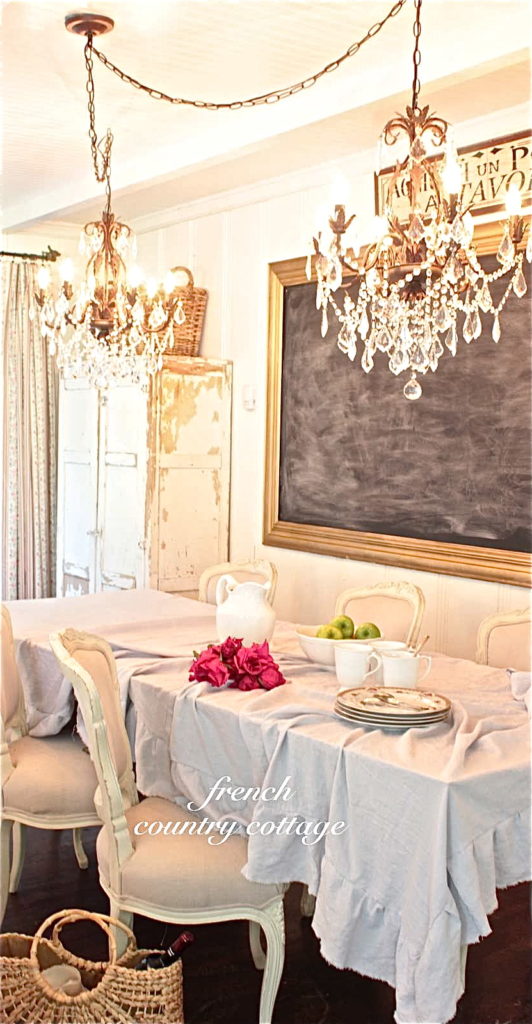
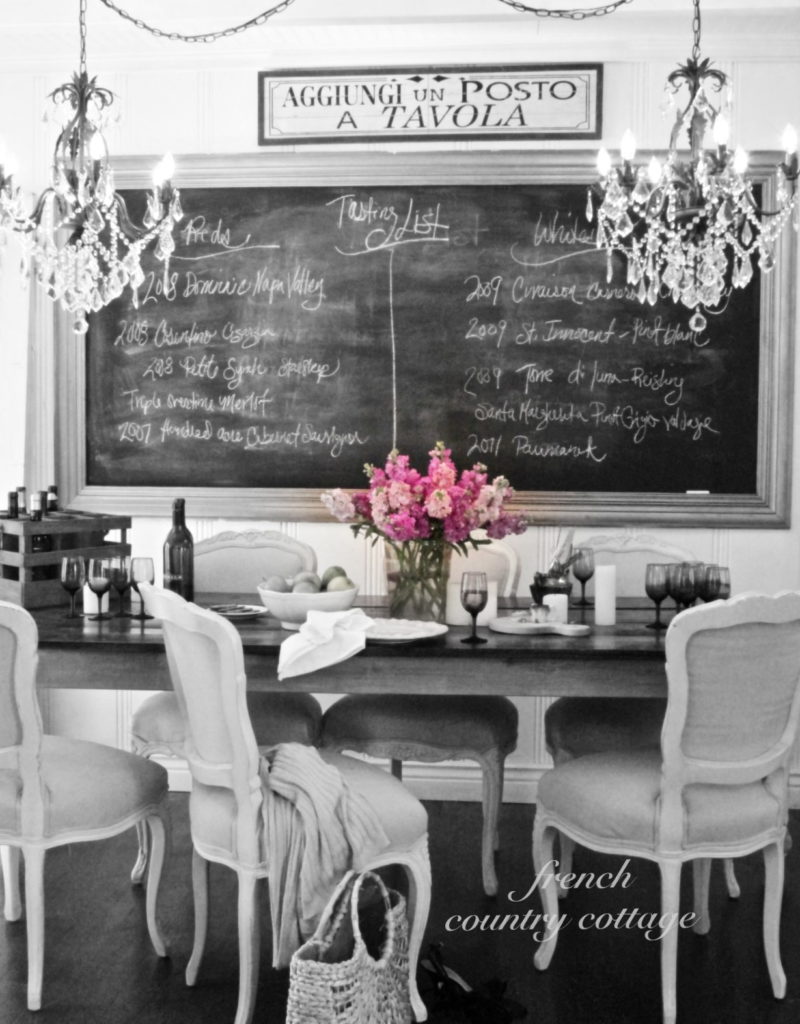
and of course this huge one in the living room
We had to make a new the frame for this one.
We had to make a new the frame for this one.
So next time you find that perfect frame and think
it would make a fantastic chalkboard-but aren’t sure how to begin
here’s how I make mine.
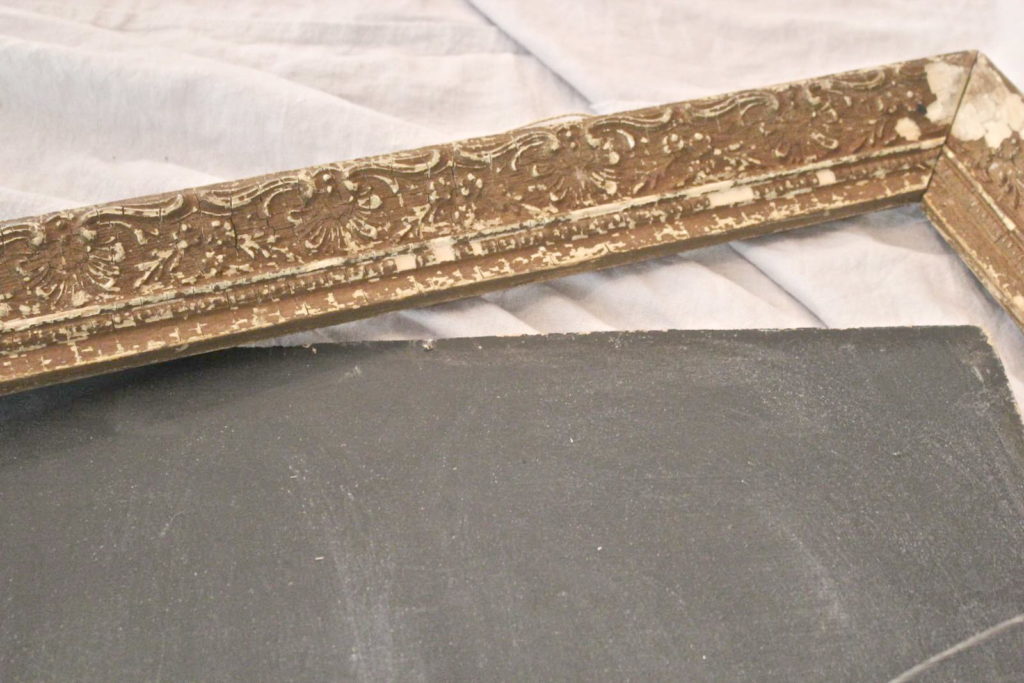
I start with a frame I like and if it’s crusty, flaky, peeling paint… I love it.
The chippier the better in my book.
it would make a fantastic chalkboard-but aren’t sure how to begin
here’s how I make mine.
I start with a frame I like and if it’s crusty, flaky, peeling paint… I love it.
The chippier the better in my book.
This old gold frame has been beaten up quite a bit- but it doesn’t bother me.
I love it’s character.
Measure the inside dimensions of the frame and then find a scrap piece of beadboard
or plywood or what ever smooth panel type board you might have.
I love it’s character.
Measure the inside dimensions of the frame and then find a scrap piece of beadboard
or plywood or what ever smooth panel type board you might have.
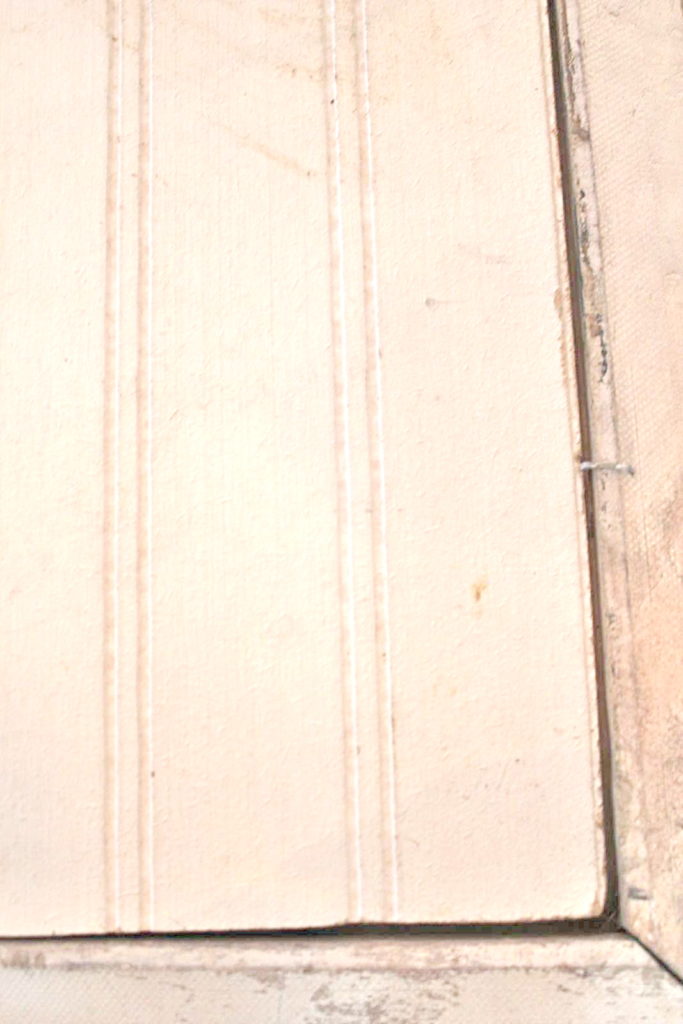
In this case, it was a very beat up piece of beadboard.
(Don’t judge this beadboard by it’s dirt 😉 it will be painted and the beat up side is going on the back)
Mark off your lines and using a jigsaw, cut the beadboard to the size that fits the frame.
If your surface is not smooth enough already- you can sand it a bit with sandpaper
but make sure to wipe if clean with a wet rag so you don’t have dust bumps in your finished board.
Now you are ready for chalkboard paint!
but make sure to wipe if clean with a wet rag so you don’t have dust bumps in your finished board.
Now you are ready for chalkboard paint!
You can find chalkboard paint readily available at Lowes
or another home improvement store in the paint section.
It comes in a can or in a spray paint- and in black or green color.
or another home improvement store in the paint section.
It comes in a can or in a spray paint- and in black or green color.
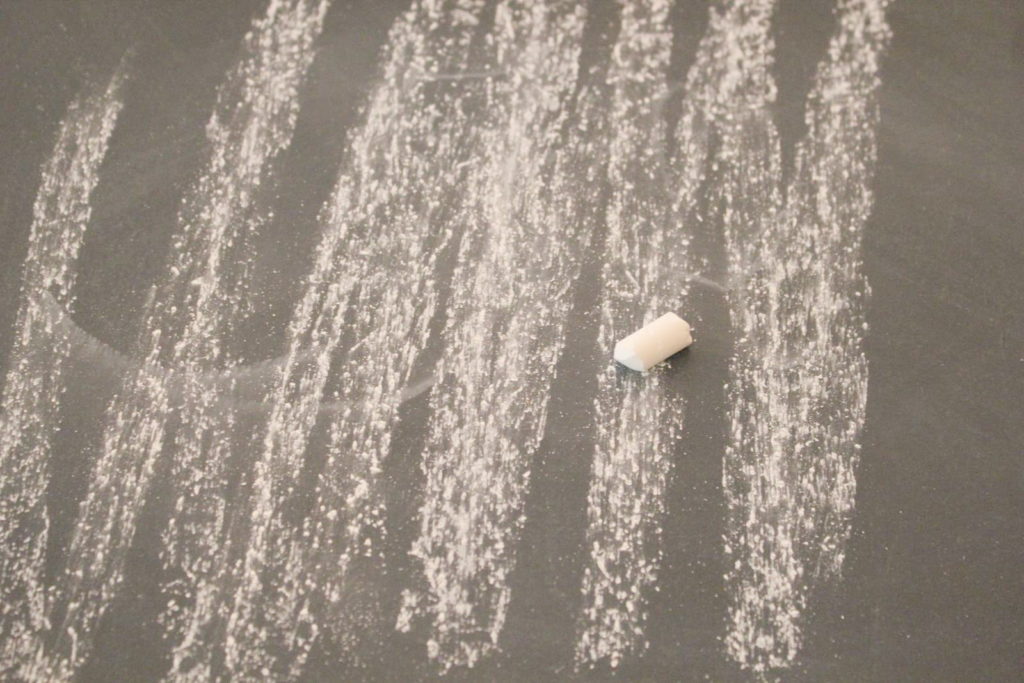
Then *cure* the paint by rubbing chalk all over it and wiping it off.
Messy messy- but a necessary step.
Just so you know~
If you decide to use smooth plywood- your board will be messy looking most of the time.
If you decide to use smooth plywood- your board will be messy looking most of the time.
The plywood is not smooth enough to keep bits and pieces of chalk dust settling in.
I love that it makes the chalkboard look more vintage and less new
by being ‘dusted’ with chalk and the remnants of writing
kind of like those old school chalkboards that always seemed to be coated in a layer of chalk.
by being ‘dusted’ with chalk and the remnants of writing
kind of like those old school chalkboards that always seemed to be coated in a layer of chalk.
But it’s all about personal preference and if you want a super smooth board-
you will need to use a hardiboard of some kind.
you will need to use a hardiboard of some kind.
Once you are done wiping the chalk off
put your brand new chalkboard into the frame and secure it with staples or nails
put your brand new chalkboard into the frame and secure it with staples or nails
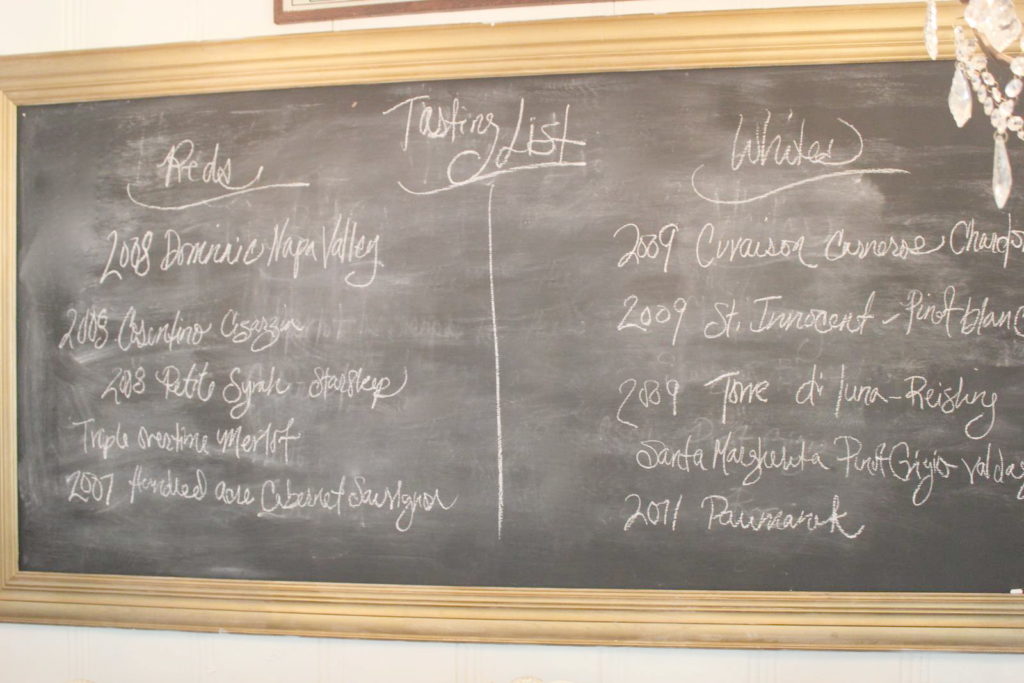
and then grab your chalk and start having fun
with a little inspiring quote or drawing therapy.
with a little inspiring quote or drawing therapy.
Enjoy!!
🙂
See you tomorrow for Feathered Nest Friday!



Love this, thanks for the tutorial!!
Beautiful! Love all the frames you chose. Thanks for sharing!
[email protected]
I love the idea of a chalk board for a wine party! That is a great idea you show! Now I do need to make a chalkboard.
You've got some great looking frames awaiting their turn for something, Courtney! I love your large chalkboards ~ the dining room one is my favorite.
I, too can't get enough chalkboards and have even sold quite a few….it's an obsession:-) I'm glad to hear I'm not the only one who uses the dirty old stuff I already have lying around for my flat surface if I put them in a frame. Using old doors or cabinet doors also works great by just painting the inside area.
Enjoy your day!
Kathleen
I've been making chalkboards like crazy lately!
Great tutorial!
Love it, Courtney. I purchased masonite for my chalk boards, and was going to cut it with a box knife, but I think I might need a jig saw! It could come in handy for lots of things.
Thanks for the inspiration. I always love visiting – you have great style.:)
-Revi
Thank you for the tutorial. I have the frame and the paint – just need to get the board to paint. Yours look great!
I love chalkboards too:)
They are all so pretty, Courtney!
xo-Lisa
Love these! Thanks for the tutorial!
{ps – I found you through Post Road Vintage!}
Thanks for the tips. I have an old frame in my garage and have been meaning to turn it into a chalk board. Gotta get goin' on this now! Yay!
Oh, and I love that Italian sign in your last picture. Where did you get it?
ciao!
Thanks for the tips, Courtney! I bought the paint and have a few frames ready to go…now I feel like I have a little more confidence to hop to it!
Best Wishes and Blessings,
Amanda
Looks we make ours the same way:)
Blessings,
Linda
I LOVE making chalkboards also!! Yours are beautiful!!
Blessings~
Love that you use them throughout your home, Courtney! They are all beautiful!
Thanks so much for sharing this tutorial. I've just recently been wondering how best to make a large chalkboard for our office area. And wouldn't you know it, but I'll have plenty of bead board to use! 🙂
They are all cute. When I see great ones like that mine seem pretty unexciting.
~Bliss~
Thanks for the info. I've been collecting old frames for years and I've always liked chalkboards so I guess I better get busy!
I love this! Your house is sooo beautiful!!!
xxoo
I just love all of your chalkboards….they look so beautiful in your rooms…great tips!
Une superbe publication… j'aime beaucoup vos tableaux noirs… Une interprétation différente mais un peu à la SOULAGE !… J'aime utiliser ma vielle ardoise pour laisser des petits messages…
Gros bisous
These are beautiful–I've never made one before, but it sounds easy enough by following your clear directions, so thank you!
Courtney: Now I want to make chalkboards…love yours. Thanks for the tips on types of "boards" to use. Yours look great. Lots of talent…
See you Friday!
{{HUGS}}
Joy
I have a large empty wall in my small galley kitchen; this would be great there. Thanks for the tutorial, always wondered how you make them besides buying the paint. See you at Feathered Nest Friday!
~Barbe~
Wow, love the dining room chalk board! x J
Thanks for the instructions – yours are certainly beautiful. Your dining room is gorgeous.
thanks so much for the Tutorial, Courtney, always inspirational…
Karen
Great tutorial:) I love old frames too and usually have several on hand. I have used a lot of them to frame pics of my girls.
Courtney,
Ahh yes I am loving this! I too love finding those old frames.I wish I had more wall space to hang those!Next thing to buy is a jigsaw!They look beautiful in your home.Great photos and inspiration!!!!
((((Hugs)))
Anne
Absolutely fantastic – I LOVE chalkboards and I adore vintage frames, so this is the perfect combination – great tutorial. Amazing chalkboards aside, I am just totally enchanted by your entire home – I could stare at that dining room for hours. You are SUCH a decorating inspiration!
Best wishes from England,
Paula xxx
AMAZING POST:) Your blog is so wonderful and Im following..I hope you will follow me back:)
If you want some bed inspiration..check out my new post:)
Have an awesome weekend
LOVE Maria at inredningsvis.se
(Sweden)
Oh how I love your dining room. beautiful and glamourous. I have the same chairs butbthey need reupholstering. But how do you take such gorgeous pictures? Fiona
What a lovely post 🙂 You made me really want to make one! 🙂
Have a nice evening. Grete